Lime & Coconut Green Smoothie

Green SmoothieGreen Smoothies!!! Ok, I’ve been meaning to get this up on the blog for about a year!…almost 2!!! haha

It should have been 1 of the first things I put up, but I wanted to do a really big post with a number of different flavours, but alas that might be another year away, so without further ado, I present you with one of the best green smoothies you will ever drink!!

We make them all the time in our house, my kids love them!! Well especially my little 17 month old! Mr 3 used to love them too, but he’s a little bit hit and miss these days! But alas that is fickle kids for you! Today he will drink a few sips and tomorrow he’ll drink a whole cup! The best thing I can do is to keep offering healthy food, it will pay off!

The key to a good or should I say great green smoothie is citrus, mint and parsley! These flavours disguise the strong flavour of spinach or kale and make it much more palatable. My favourite is lime, however orange, blood orange, lemon or grapefruit are also great!

Another essential ingredient in a green smoothie is avocado for creaminess! It is so much better with it!

Ice is also really important! The colder the smoothie the nicer it will be!

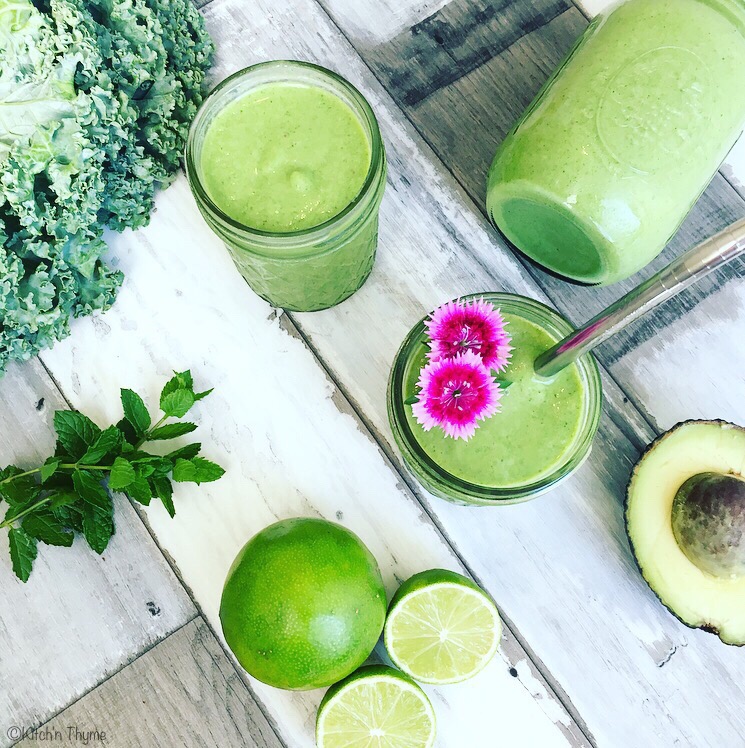
This is a bit strange but drinking through a straw also makes a green smoothie extra delicious! Try it and I’m sure you’ll know what I mean!

Here is a basic Green Smoothie guide:

Choose 400ml Base: Almond/Nut Milk, Coconut Cream/Milk, Coconut Water
Choose 100-200g Leafy Greens: Spinach, Asian greens, Cucumber, Zucchini, Celery
Choose 1 Citrus: Lime, Lemon, Grapefruit, Orange, Blood Orange
Choose 200-300g Fruits: Berries, Pineapple, Papaya, Mango, Peaches or Nectarines
Choose 1-2 Tbsp Thickeners: Chia or Hemp Seeds, Nut Butters
Choose a Power Up Booster: Mesquite, Lucuma, Maca Powder, Raw Cacao Powder, Medjool dates, Coconut oil, Acai, Cinnamon, Vanilla, Green Powders, or Protein Powders.

There are lots of others but this gives you a guide to go and create your own delightful flavours!

If you haven’t tried a green smoothie before, then give this one a go! It’s such a fabulous way of getting greens into the diet and is such a wonderful way to start the day! Adding some protein powder also makes it a perfect change to eggs for breakfast if you’re heading out the door and in a hurry!

Lime & Coconut Green Smoothie
Yields 1
Fresh, zesty, delicious green smoothie to start your day!
Write a review
Print
Prep Time
3 min
Total Time
5 min
Prep Time
3 min
Total Time
5 min
Ingredients
  1. 150g Frozen Bananas
  2. 1 Green Apple, cored & quartered, or Kiwi Fruit or Pear
  3. 1/2 Avocado
  4. 1 Lime, half skin removed
  5. 100g Ice
  6. 250ml Coconut Water
  7. 150ml Coconut Cream or Milk
  8. 4 Sprigs Fresh Mint, leaves only
  9. 4 Sprigs Fresh Italian Parsely, leaves only
  10. 1/2-3/4 Bunch Kale, de-veined
  11. 1 Tbsp Maple Syrup (optional)
Instructions
  1. Place all the ingredients into the Thermomix bowl and blend 1 Min/Speed 9.
  2. Pour into glasses and serve immediately.
Notes
  1. You can use water in place of the coconut water, but I do suggest adding the coconut cream/milk as it will make it nice and creamy.
Kitch'n Thyme https://kitchnthyme.com.au/

Sarah’s Paleo Nutella Cake

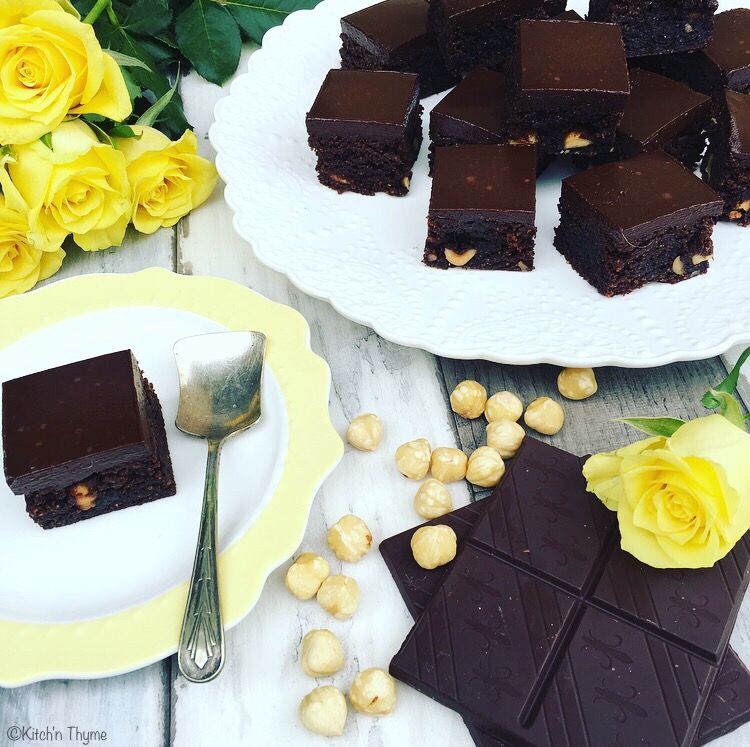
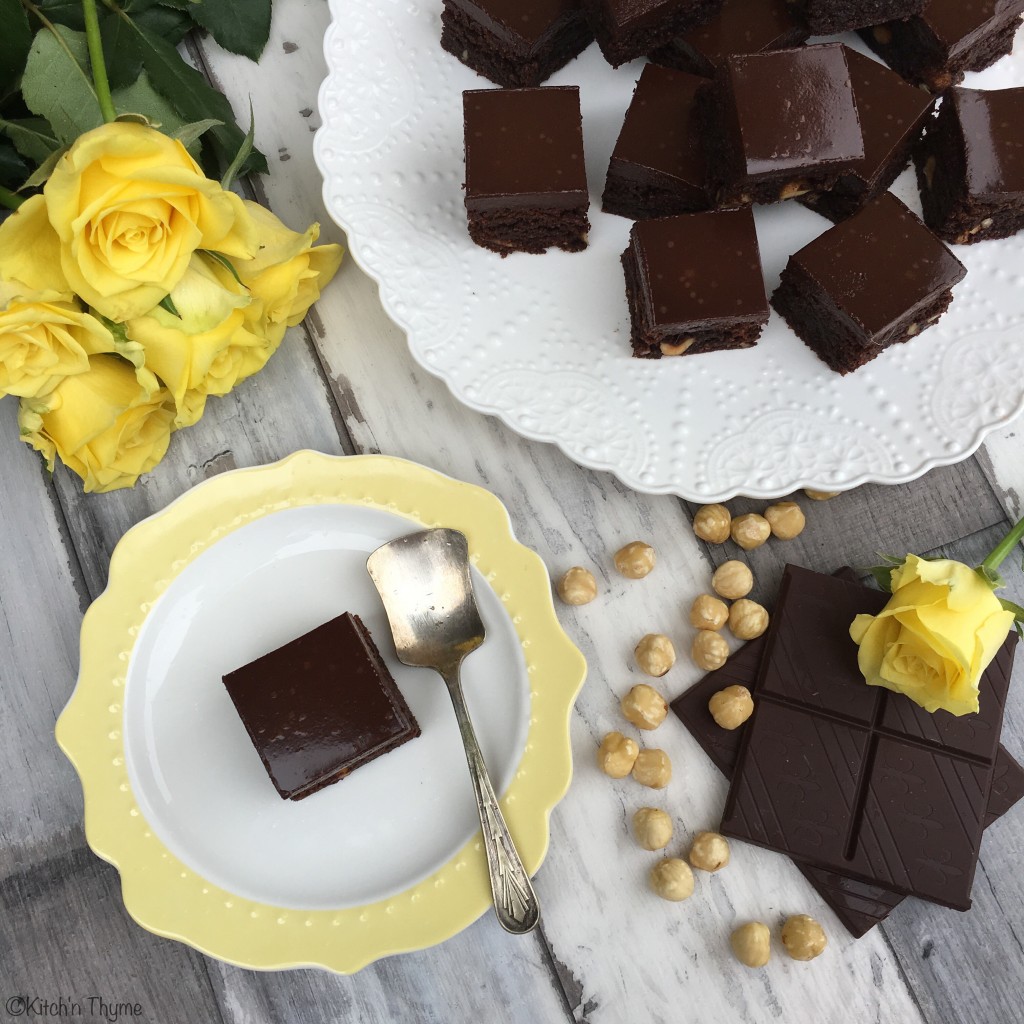
Nutella Cake 2Oh THIS!!!!! Yes this cake will suffice every single naughty nutella craving and every single chocolate craving!

It’s rich, decadently fudgy, brownie-like and yet delightfully healthier than a cake made with jarred crap!

The Nutella part is not that yucky stuff off the shelf! (Sorry if I offend any Nutella lovers!!) But I make my own healthier chocolate-hazelnut spread and use that in place! So if you can forget that it’s not out of a packaged jar, and delight yourself in the flavours that make you think all things nutella, I can tell you that you won’t be disappointed!!…And neither will your body! Shop bought Nutella is full of all sorts of trans-fats, white sugar and who knows what other junk! This is a much better option!!

In the title I’ve stated that it’s Paleo, now in my nutella recipe I do use organic butter as opposed to coconut oil, so more Primal than Paleo, and I do use Organic Dark Chocolate. If you want it to be completely Paleo, then use a dairy free dark chocolate of your choice.

So a bit of history, this gorgeous cake originates from my beautiful sister-in-laws kitchen. Sarah is a wonderful homely cook for her family. Her kitchen always smells of beautiful stocks simmering on the stove, hearty, flavoursome family meals and the sweet aroma of baked cakes or sweet delights! Oh and of course the fermenting crocks of kombucha and marinating feta! And albeit most of it is gluten free and grain free! 

We just love to cook together. With families to feed our individual homes centre much around the kitchen, and with our similar cooking styles, we have loads of fun when we get together!

Nutella Cake

This cake is best served straight from the fridge. You can leave it out, however the nutella softens and the cake texture is more like a cake. I prefer the more set nutella texture and that real fudgy brownie-like crumb!

Print

Sarah’s Paleo Nutella Cake

Deliciously fudgy healthy nutella cake perfect for just about any occasion!

  • Author: Kitch'n Thyme
  • Prep Time: 30
  • Cook Time: 30
  • Total Time: 60
  • Yield: 30

Ingredients

NUTELLA

  • 60g Roasted Hazelnuts
  • 75g Coconut Palm Sugar
  • 100g Organic 70% Dark Chocolate (Use Dairy Free for complete Paleo)
  • 100g Almond Milk
  • 70g Butter or Coconut Oil
  • 30g Raw Cacao Powder
  • 1 tsp Vanilla Essence

CAKE

  • 250g Cashew Butter
  • 160g Rice Malt Syrup
  • 100g Coconut Oil
  • 500g Nutella, plus extra for icing (Double batch of the above recipe)
  • 200g Almond Meal
  • 60g Coconut Flour
  • 2 tsp Baking Soda
  • 2 tsp Vanilla Essence
  • 120g Roasted Hazelnuts, halved

Instructions

NUTELLA

  1. Place the sugar into the mixing bowl and mill 10 Sec/Speed 9.
  2. Add the hazelnuts and mill 8 Sec/Speed 9.
  3. Add the dark chocolate and mill 10 Sec/speed 9.
  4. Add all the remaining ingredients and cook 6 Mins/60°/Speed 3.
  5. Place into jars and store in the fridge or set aside in a large bowl for use in the cake.

CAKE

  1. Begin by making a double batch of nutella. Set aside.
  2. Preheat the oven to 170°C and grease and line a large rectangular baking tray.
  3. If you need to make your own almond meal simply place 200g almonds into the bowl and mill 8 Sec/Speed 9. Set aside.
  4. If you need to make your own cashew butter, add 250g cashews to the mixing bowl. Mill 15 Sec/Speed 9. Scrape down the sides and continue 20 Sec/Speed 5 or until a nice nut butter consistency forms.
  5. Add the rice malt syrup & coconut oil and mix 1 Min/50°/Speed 3.
  6. Add the nutella (500g only) and mix 10 Sec/Speed 5. (Keep the excess nutella aside for icing later.)
  7. Add the almond meal, coconut flour, baking soda and vanilla and mix together 30 Sec/Speed 6. (As the mixture gets very very thick at this point, during this 30 seconds, you may like to get your spatula in through the mixing bowl lid to help stir the mixture through.)
  8. Add the hazelnuts and stir into the thick batter with a spatula. Pour into the prepared baking tray and bake for 30 minutes until golden brown and a skewer inserted comes out just clean. Leave the cake to cool in the baking tray for 1 hour.
  9. Spread the remaining nutella evenly over the cake. Tap the tray down gently on the bench to smooth out the icing and then place into the fridge to set.
  10. Once set, remove and slice into 30 squares (5 x 6) or 24 (4 x 6) larger squares and serve.

Notes

  • This cake will keep in the fridge well for up to a week or can be frozen. Perfect for lunchboxes.

Choc Hazelnut Spread

Luciously creamy indulgent chocolate hazelnut spread! 

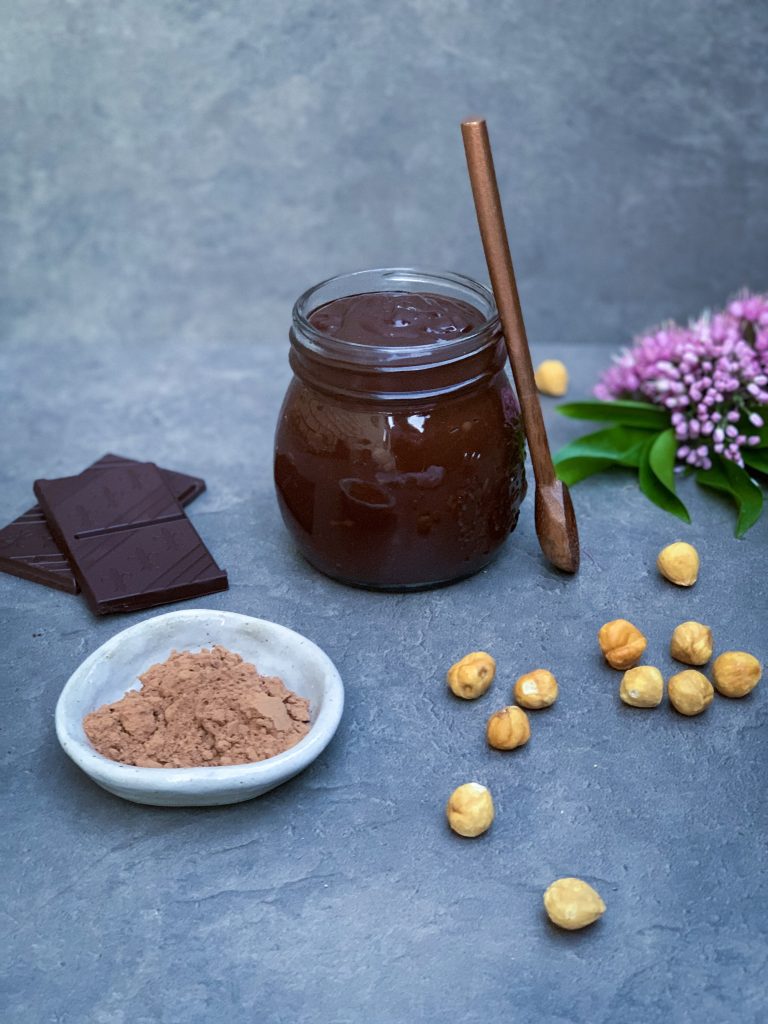
🍫🌰Choc Hazelnut Spread🌰🍫 Think drizzled on pancakes, as a crepe filling, drizzled over a cake, over fruit skewers, sandwiched between cookies (yup that recipes coming!!), stuffed into medjool dates, or simply spread on some crusty sourdough bread! Yum!! 😍

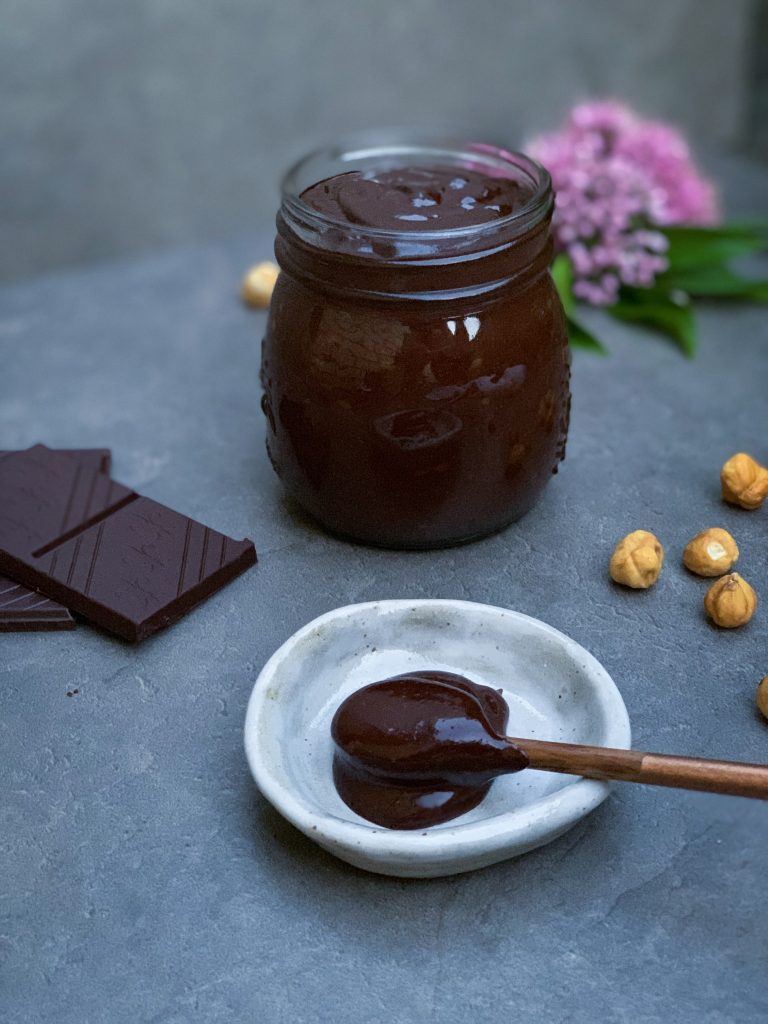
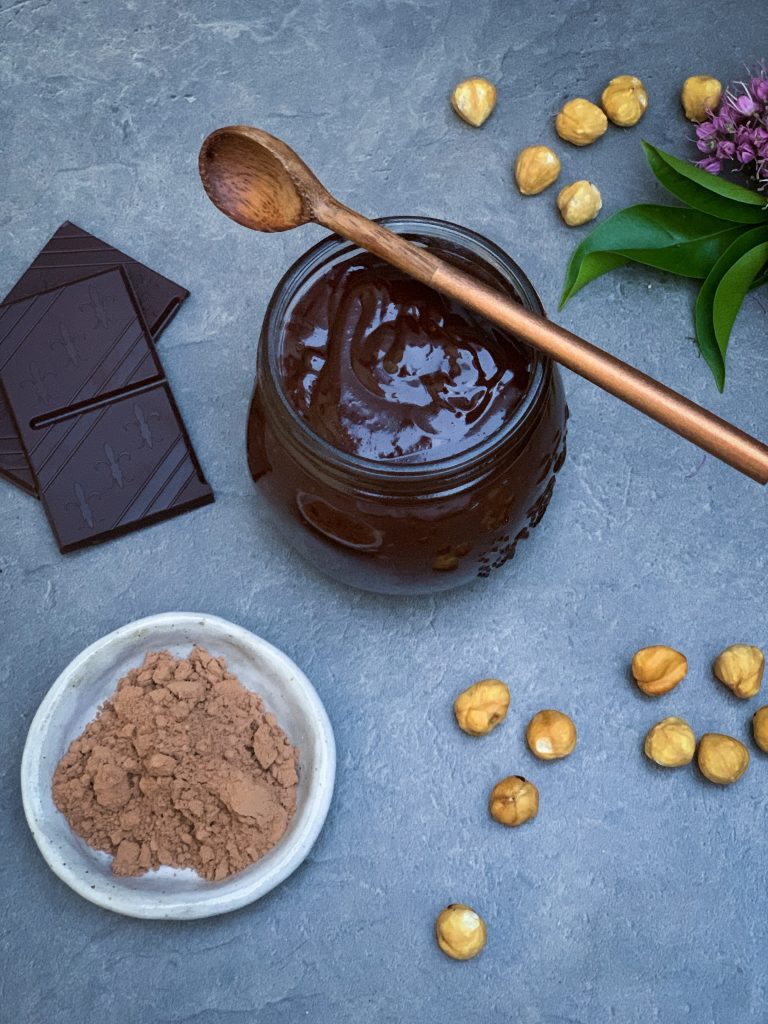
(You can see in the image above how molten and lusciously creamy it is straight after being made!)

It is SO easy to make your own Choc Hazelnut Spread or ‘Nutella’ in the Thermomix! .

Using natural healthier ingredients and making it from scratch there is a lot to love about a spoonful of this decadent creamy goodness! .

Have you ever read the ingredients list on a bought Nutella or choc hazel spread? Next time you go to the shops, make sure you do so! 🙃

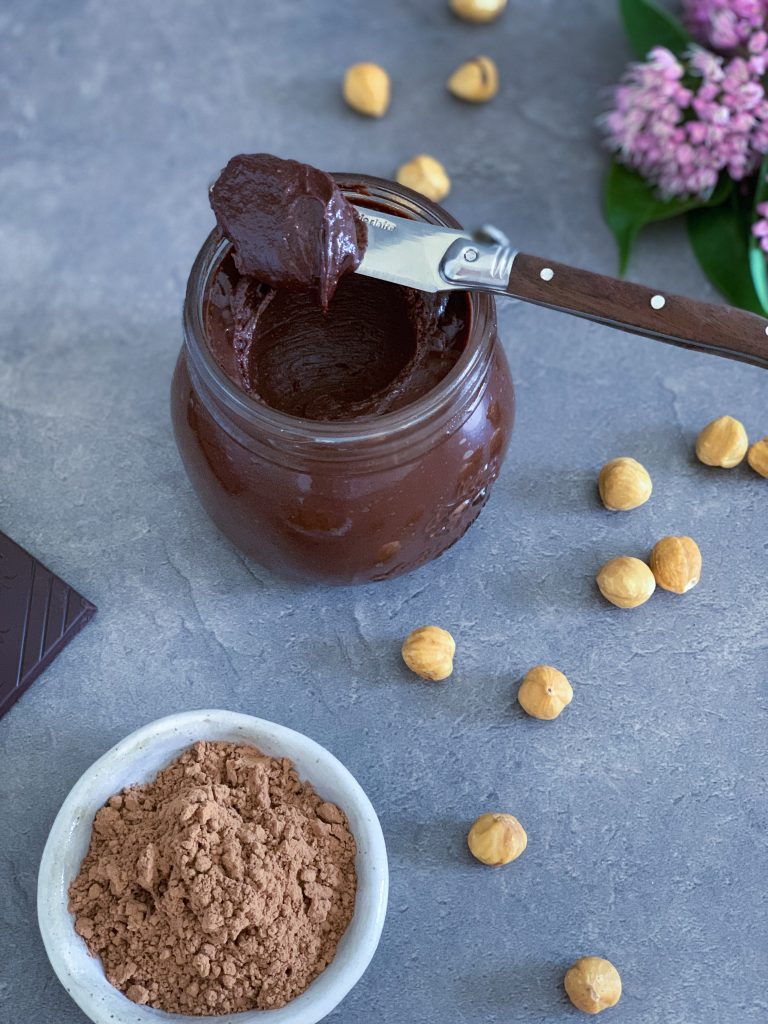
Now look at the image below of how the ‘Nutella’ sets after being in the fridge overnight! It sets up so nicely and is the perfect spreadable consistency after sitting out of the fridge for just 5 minutes!

I made this ‘Nutella’ a few years ago and now use it on my sister in laws Paleo Nutella Cake on my website, so give it a go if you haven’t already! 

Gabrielle xx

Print

Choc Hazelnut Spread

Luciously creamy indulgent chocolate hazelnut spread! 

  • Author: Gabrielle
  • Prep Time: 2 Minutes
  • Cook Time: 6 Minutes
  • Total Time: 8 minutes

Ingredients

60g Roasted Hazelnuts

75g Coconut Palm Sugar

100g Organic 70% Dark Chocolate (Use Dairy Free for complete Paleo)

100g Almond Milk

70g Butter or Coconut Oil

30g Raw Cacao Powder

1 tsp Vanilla Essence

Instructions

  1. Place the sugar into the mixing bowl and mill 10 Sec/Speed 9.
  2. Add the hazelnuts and mill 8 Sec/Speed 9.
  3. Add the dark chocolate and mill 10 Sec/speed 9.
  4. Add all the remaining ingredients and cook 6 Mins/60°/Speed 3.
  5. Place into jars and store in the fridge or set aside in a large bowl for use in the cake.

Notes

Make sure you make the delicious Paleo Nutella Cake with this delicious spread! 

Chicken, Quinoa & Chickpea Salad

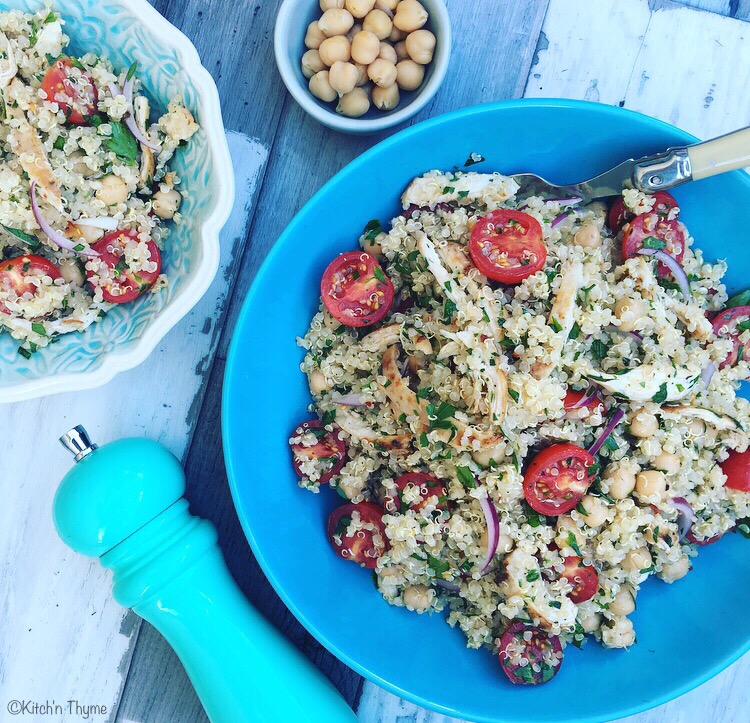
Chicken, Quinoa & Chickpea Salad
This salad is delightfully fresh, zesty and punchy! The fresh herbs really make it!

My sister-in-law and I always used to make this salad with cous cous. It’s merged over the years to have quinoa instead as its a healthier option & of course gluten free. It’s delicious with the cous cous, however I think it’s better with quinoa!

I love quinoa, it’s little nutty tasting, soft textured balls make for a delicious bowl of goodness!

I sear the chicken in a pan and then if necessary finish in the oven. It gives the breast some nice caramelisation which I really love! You can do this too, or if you like the chicken steamed you can steam it on the Varoma tray 17-20 Mins/Varoma/Speed 2, whilst you are cooking the quinoa.
Or if you have 500g pre-cooked and shredded chicken you can toss that into the salad!

The fresh herbs are integral to this awesome salad! They add the flavour and freshness.
Chicken, Quinoa & Chickpea Salad 2

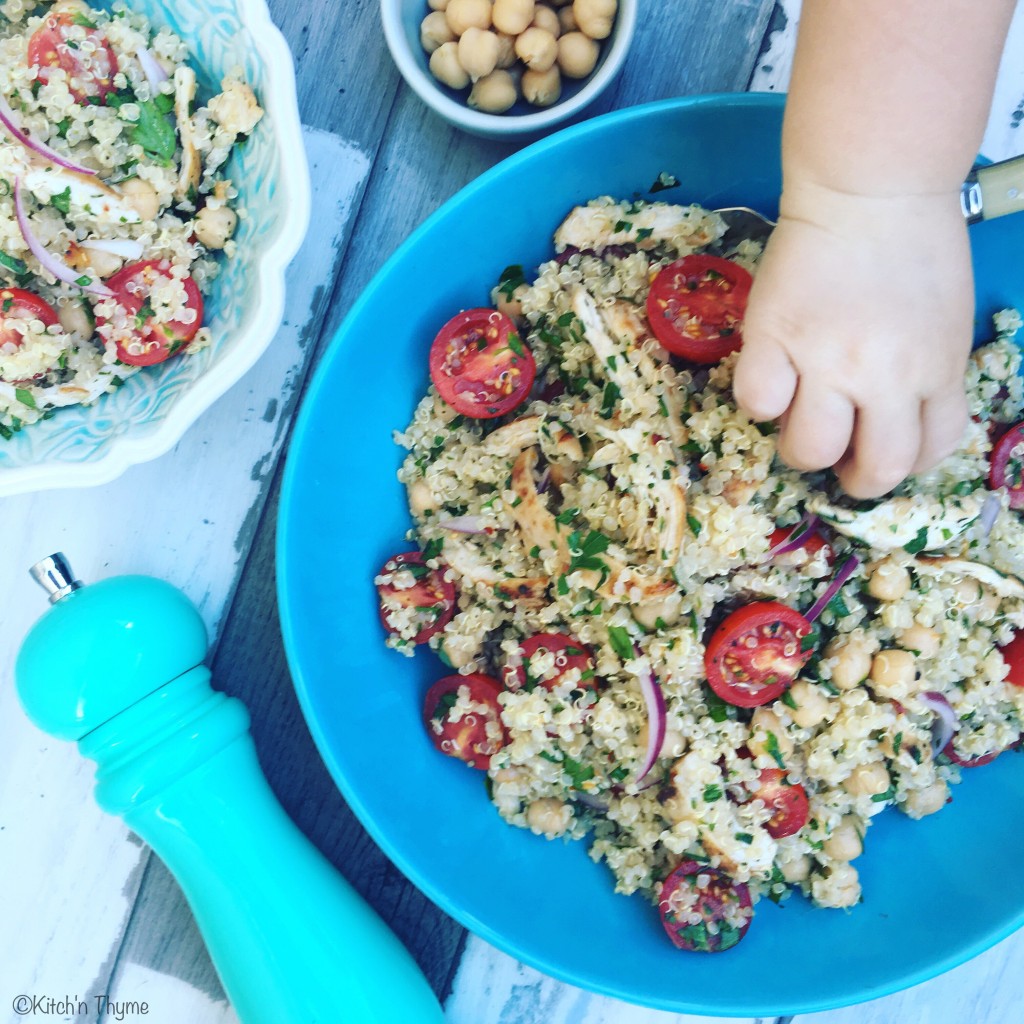
My kids love this salad, especially my little 17 month old! As you can see by the picture she really loves to eat it right when mummy wants to take photos! Of course…it’s much too yummy to be looked at, it is to be eaten after all!

Enjoy! xx

Chicken, Quinoa & Chickpea Salad
Serves 6
This delicious fresh flavour-packed simple salad makes the perfect addition to any bbq, celebration or simply for weekday lunches or kids lunchboxes! Reader Heidi says: "This is a flavoursome simple recipe which is divine on your taste buds!."
Write a review
Print
Prep Time
15 min
Total Time
45 min
Prep Time
15 min
Total Time
45 min
Ingredients
  1. 2 Organic Chicken Breasts
  2. 1 Tbsp Olive Oil
  3. 1 tsp Italian Herbs
  4. 1/2 tsp Smoked Paprika
  5. 1 tsp Celtic Sea Salt
  6. 1/2 Lemon, zested
SALAD
  1. 170g White Quinoa
  2. 800ml Water
  3. 400g (1 Tin) Cooked Chickpeas
  4. 250g Cherry Tomatoes (halved)
  5. 1/2 Red Onion, sliced into thin wedges
  6. 1 Bunch Fresh Italian Parsley, leaves only, chopped roughly
  7. 1/3-1/2 Bunch Fresh Mint, leaves only, chopped roughly
DRESSING
  1. 60ml Olive Oil
  2. 20ml Lemon Juice
  3. 1 tsp Italian Herbs
  4. 1 tsp Garlic Powder
  5. 1 tsp Onion Powder
  6. 2 tsp Celtic Sea Salt
Instructions
  1. Soak the quinoa 30 minutes prior to cooking this recipe.
  2. Toss the chicken in the herbs, spices and lemon. Heat a fry pan over medium heat and sear the chicken breasts until golden brown on each side. If not fully cooked through, place onto a baking tray lined with baking paper, cover with foil and finish cooking in the oven 10-15 Mins/180°C.*(Alternatively, you can slice the breast into strips before marinating and cook in the Varoma tray above the quinoa for 17-20 Mins/Varoma/Speed 2.)
  3. Once the chicken is cooked and cooled sightly, shred the chicken into pieces by hand or place into the Thermomix and shred 3-4 Sec/Speed 4-5/Reverse (keeping a close eye on it that it doesn't turn into paste!) Set aside.
  4. Place the soaked quinoa into the simmering basket. Place the water into the mixing bowl and insert the basket. Cook for 20-25 Mins/Varoma/Speed 2. Remove the simmering basket and set aside to drain. Place the quinoa into a large mixing bowl to cool down.
  5. Once cooled, add the chicken along with all the remaining ingredients.
  6. Place the dressing ingredients into the Thermomix and mix 3 Sec/Speed 5. Pour over the salad just prior to serving and toss to combine! Yum!
Notes
  1. *When cooking the chicken breast, if you have really thick breasts you can slice them horizontally to make them a little thinner so that the meat will cook more evenly.
  2. * This makes an awesome salad in a jar too! Place the dressing on the base of the jar, followed by the chicken, quinoa, tomatoes, onion, and herbs on top!
Kitch'n Thyme https://kitchnthyme.com.au/

White Nectarine & Coconut Cake (Gluten Free)

Coconut Nectarine Cake 2
White Nectarines are so often sweeter than yellow! I remember eating very sweet yellow ones as a kid, however they just don’t seem to be what they used to be, unless from a beautiful ancient grandma tree!
I think the idea of white nectarine & coconut goes so perfectly together too! The light and white flesh and fresh taste of the nectarine goes so well with white summery coconut!
Coconut  Nectarine Cake 6 Full size
In my Kitch’n Thyme, I don’t use Organic Raw Sugar too often. I prefer to stick to the brown less refined sugars like coconut sugar or rapadura, however this time I wanted to keep the crumb nice and white, so I’ve opted for the raw sugar. I’ve significantly reduced the sugar since the first time I made it!

This cake is quite tall so you could afford to cut the cake into 16 pieces; I’ve even cut it smaller than that. But based on 16 pieces, that’s approximately 2.8 tsp of sugar per slice (not including the sugar content of the fruit). So not too bad, but definitely a treat! One to keep for a special occasion. We all are going to eat sugar at various times in life, I think the important thing is just to be mindful about it when we do eat something sweet, and not get in the trap of eating too much ‘hidden sugar’!

The flour mix is made up of rice, potato, & tapioca. Some people try to avoid the starches because of the low nutritional value, however as a gluten free option to wheat, which once again has a low nutrional value, the starches aren’t necessarily a totally bad option occasionally. Yes they are carbohydrates, but so is wheat, largely. They give a gluten free product a great texture, and make ‘gluten free’ a whole lot more enjoyable for some.
Coconut Nectarine Cake 3
The icing is a really quick lemon coconut butter! It’s super speedy to make and is a better option to a traditional sugar lemon icing!
Coconut Nectarine Cake 5
This cake would make the perfect treat for any birthday party or special occasion. Enjoy!

White Nectarine & Coconut Cake
Serves 16
Fresh, summery, with a delicate soft crumb, this cake is sure to delight the harshest gluten free critics!
Write a review
Print
Prep Time
10 min
Cook Time
1 hr 10 min
Total Time
1 hr 20 min
Prep Time
10 min
Cook Time
1 hr 10 min
Total Time
1 hr 20 min
Ingredients
  1. 170g White or Brown Rice
  2. 115g Potato Starch
  3. 75g Tapioca Flour
  4. 15g Baking Powder
  5. 1 tsp Guar Gum
  6. 180g Organic Raw Sugar
  7. 250g Organic Butter
  8. 4 Organic Eggs
  9. 250ml Coconut Milk
  10. 40g Shredded Coconut
  11. 4 White Flesh Nectarines, each cut into 8 wedges
  12. 1 Tbsp Rice Flour
  13. Handful Toasted Coconut Chips, for decorating
  14. 2 Extra White Flesh Nectarines, for decorating
  15. Edible Flowers, for decorating (optional)
Coconut Butter Lemon Icing
  1. 130g Coconut Butter
  2. 2 Tbsp Lemon Juice
  3. 50ml Maple Syrup
  4. 50ml Coconut Oil
  5. 50ml Water
Instructions
  1. Preheat the oven to 180°C. Lightly grease and line a 9" (or 24cm) round cake tin and set aside.
  2. Place the rice into the Thermomix and mill 1 Min/Speed 9.
  3. Add the potato starch, tapioca, baking powder & guar gum and mix to combine 10 Sec/Speed 6. Set aside.
  4. Place the sugar into the Thermomix and mill 10 Sec/Speed 9. Set aside.
  5. Place the butter into the Thermomix and melt 2 Mins/50°/Speed 4.Set aside.
  6. Without rinsing the bowl, place the reserved sugar into the mixing bowl along with the eggs. Mix 20 Sec/Speed 5.
  7. Add half the flour mixture and the reserved butter and mix 5 Sec/Speed 5.
  8. Add the remaining flour and the coconut milk and mix 10 Sec/Speed 3.5.
  9. Add the shredded coconut and mix 5 Sec/Speed 4/Reverse.
  10. In a small bowl, toss the nectarines with the rice flour, before adding to the Thermomix mixing bowl. Gently stir through the batter with a spatula before pouring into the prepared tin.
  11. Bake for 60-70 minutes or until golden brown and a skewer comes out clean. Allow to cool on a wire rack for 20 minutes before transferring to a wire rack to cool completely. (I usually place a rack over the over the topside of the cake and turn it out upside down. This way you end up with a flat surface to finish and it looks much nicer when the icing goes on!)
Coconut Butter Lemon Icing
  1. Place all the ingredients into the Thermomix mixing bowl and mix 5-10 Sec/Speed 3.5. Pour over the completely cooled cake and let it run over the sides a little. Top with the toasted coconut chips, the fresh nectarine slices and the edible flowers and serve.
Notes
  1. *Tossing the nectarine with a Tbsp of flour will stop the fruit from sinking to the bottom of the cake!
  2. *I usually place a rack over the over the topside of the cake and turn it out upside down. This way you end up with a flat surface to finish and it looks much nicer when the icing goes on!
  3. *Make my Coconut Butter here!
  4. * I suggest pouring the icing over the cake quite close to serving. The moisture in the icing tends to soak into the cake if left too long.
Kitch'n Thyme https://kitchnthyme.com.au/

5 Minute Coconut, Date & Blueberry Polenta

5 Minute Coconut Date & Blueberry Polenta

Creamy breakfast polenta is something I’ve been making since I was just a little kid! Of course not in the Thermomix as we didn’t have one back then but over the stove it’s almost just as simple! It’s super quick and easy and perfect when you’re on the go and need breakfast on the table fast!

This makes a really great breakfast for babies. Both my kids loved/love it! With babies under 1 I don’t add the honey, and reduce the dates and then its perfect.

I use coconut cream and water, however you can use any dairy free milk or even dairy milk if you like. I love the creaminess and taste of the coconut cream though, it’s just delicious.

The dates add a lot to this polenta. As I don’t add much sweetener, the dates add nice little pops of sweet with each mouthful. You can increase or decrease according to your tastebuds!

And it’s really as simple as that! Top with extra coconut cream and fresh blueberries, or any beautiful fresh berries and away you go!

5 Minute Coconut, Date & Blueberry Polenta
Serves 4
Creamy coconut polenta that makes for a delicious breakfast!
Write a review
Print
Prep Time
2 min
Cook Time
5 min
Total Time
7 min
Prep Time
2 min
Cook Time
5 min
Total Time
7 min
Ingredients
  1. 100g Polenta
  2. 200g Coconut Cream or Almond Milk
  3. 200g Water
  4. 20g Honey
  5. 1 tsp Vanilla Essence
  6. pinch celtic sea salt
  7. 50g Dates, chopped roughly
  8. 125g Fresh Blueberries
Instructions
  1. Place the polenta, coconut cream, water, honey, vanilla, and salt into the Thermomix and cook 5 Mins/100°/Speed 2.
  2. Add the dates and cook a further 1 Min/100°/Speed 1/Reverse.
  3. Spoon into serving bowls and top with extra coconut cream and fresh blueberries. Yummo!
Kitch'n Thyme https://kitchnthyme.com.au/

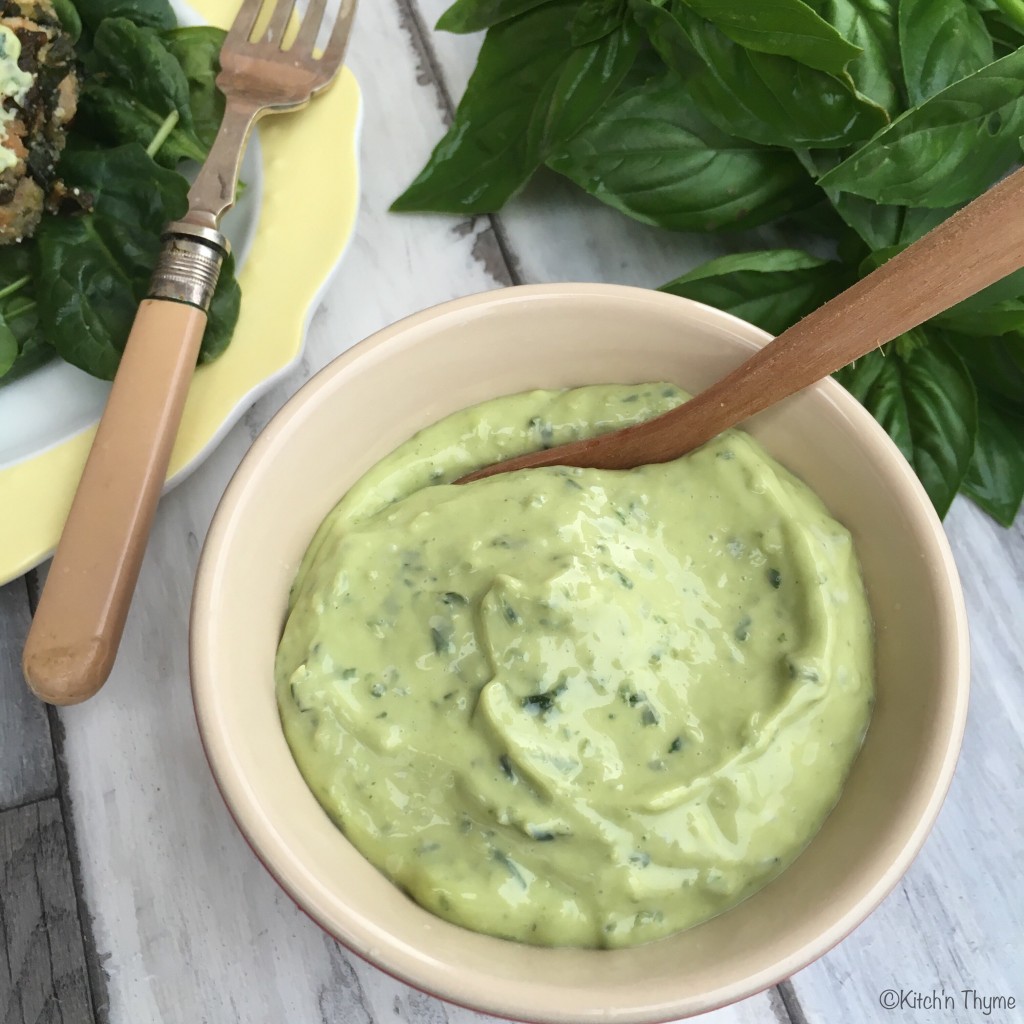
Basil Mayo

Basil Mayo
This basil mayo is such a simple but a goodie!

It goes with just about everything, from a burger to a green potato salad!

Have it ready to go in the fridge and serve with rissoles, as a dip, with crumbed chicken or fish, croquettes etc etc etc!

With loads of basil in season it’s the perfect thing to make!

It’s really so simple. Just blitz up fresh basil leaves and then continue like you ordinarily would to make fresh mayonnaise!

Enjoy!!


Basil Mayonnaise
Delicious fragrant basil mayo!
Write a review
Print
Prep Time
5 min
Total Time
5 min
Prep Time
5 min
Total Time
5 min
Ingredients
  1. 1 Garlic Clove
  2. 1/2 Bunch Basil, leaves only
  3. 2 Egg Yolks
  4. 2 tsp Dijon Mustard
  5. 2 tsp Lemon Juice
  6. 1/2 tsp Celtic Sea Salt
  7. 250g Avocado, Macadamia or Rice Bran Oil
Instructions
  1. Place garlic and basil into Thermomix mixing bowl and chop 3 Sec/Speed 7. Scrape down sides of bowl and repeat again if necessary.
  2. Place a jug on top of the Thermomix lid and weigh 250g oil and set aside.
  3. Insert Butterfly. Add the egg yolks, mustard, lemon, salt and pepper and mix 20 Sec/Speed 4.
  4. With the butterfly rotating on Speed 4 and MC in place, pour the oil onto the mixing bowl lid somewhat gradually. Add oil slowly to start with and then faster as the mayonnaise starts to emulsify.
  5. Place into a jar and keep in the refrigerator for up to 3 weeks.
Kitch'n Thyme https://kitchnthyme.com.au/

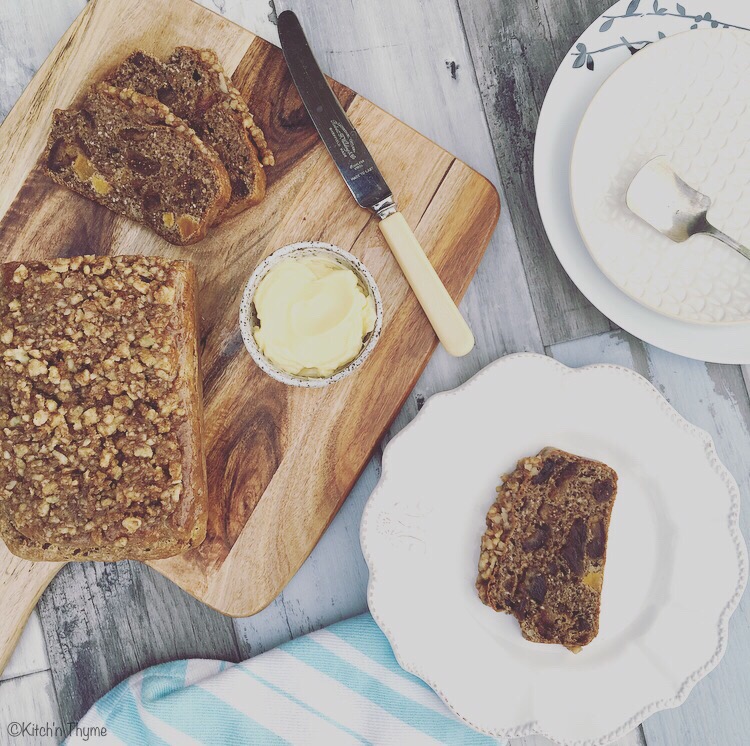
Chia & Almond Fruit Bread

Chia

I started making the basic version of this bread from Tania Hubbard a while ago and absolutely love it! I’ve made it so many times and have often added sundried tomatoes, feta or cheddar, chives, basil and parsley to the mix for the perfect Mediterranean bread! It’s amazing!

Well recently I was in the kitchen with my good friend from Desperate Healthwives and we got cooking and came up with this one! How delicious is it!!! Well, I mean you probably aren’t too sure as you havent made it yet, but I highly suggest you just get straight off here and go and make it! It’s so quick and sooooo delicious!!

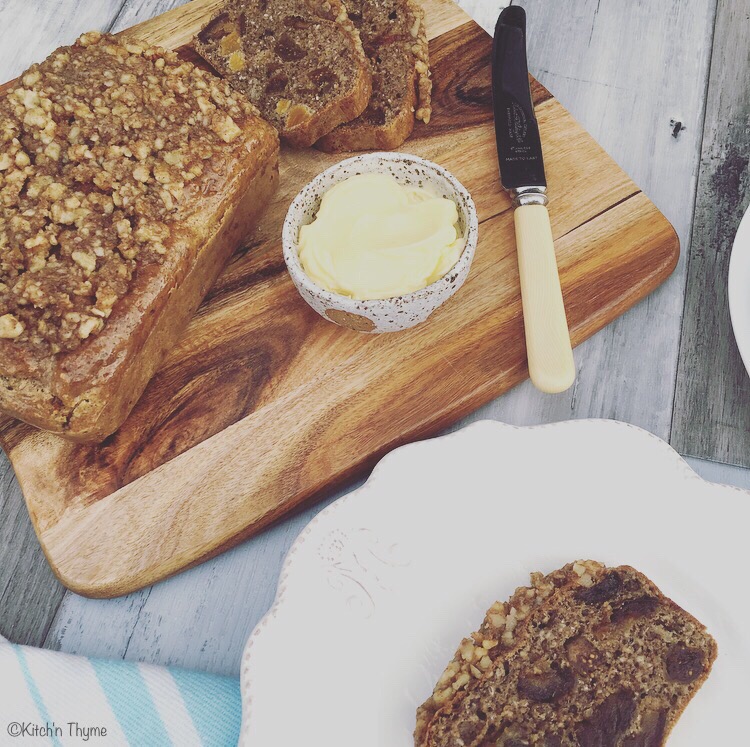
Chia & A Fruit Bread

Gluten free, paleo, vego, whatever diet you follow you are pretty sure to like this one!!

You can substitute some of the dried fruit for extra nuts in the bread. I actually love nuts in there and forgot to add them when I made this loaf, so that’s how the topping came along!

The topping is really delicious!! I really suggest making it! If you’re dairy free, just leave out the butter and sub with a tsp or 2 of coconut oil.

How gorgeous would the be as part of a Christmas breakfast or brunch or with a cheeseboard and berries! Yummo! xx

Chia & Almond Fruit Bread
This is a gorgeous take on a beautiful gluten free, grain free bread....and would be perfect for Christmas breakfast!
Write a review
Print
Prep Time
20 min
Cook Time
35 min
Total Time
55 min
Prep Time
20 min
Cook Time
35 min
Total Time
55 min
Ingredients
  1. 100g Almonds
  2. 80g Arrowroot
  3. 1 tsp Bicarb Soda
  4. 1 tsp Cinnamon
  5. 1/2 tsp Allspice
  6. pinch celtic salt
  7. 3 Organic Eggs
  8. 2 Tbsp Apple Cider Vinegar
  9. 2 Tbsp Chia soaked in 30ml Water
  10. 1/2 Lemon, zested
  11. 50g Dried Figs
  12. 50g Dried Apricots
  13. 50g Medjool Dates
  14. 50g Walnuts
  15. 20g Butter
  16. 20g Maple Syrup
  17. 1/8 tsp Cinnamon
Instructions
  1. Preheat the oven to 175°C. Grease and line a loaf tin with baking paper.
  2. Place the almonds into the Thermomix and mill 10 Sec/Speed 9.
  3. Add the arrowroot, spices, bicarb and salt and mix 10 Sec/Speed 5.
  4. Add the eggs, vinegar, chia & lemon zest and mix 10 Sec/Speed 5.
  5. Add the dried fruit and mix 5 Sec/Speed 3/Reverse.
  6. Pour into the prepared loaf tin and bake 30-35 Mins or until golden brown and cooked through.
  7. Place the walnuts, butter, maple syrup and cinnamon into the Thermomix and combine 5 Sec/Speed 2.5.
  8. Spread the mixture evenly onto the top of the bread and bake for a further 5 minutes.
  9. Cool completely on a wire rack before serving with butter!
Adapted from Tania Hubbards Chia & Almond Bread
Kitch'n Thyme https://kitchnthyme.com.au/

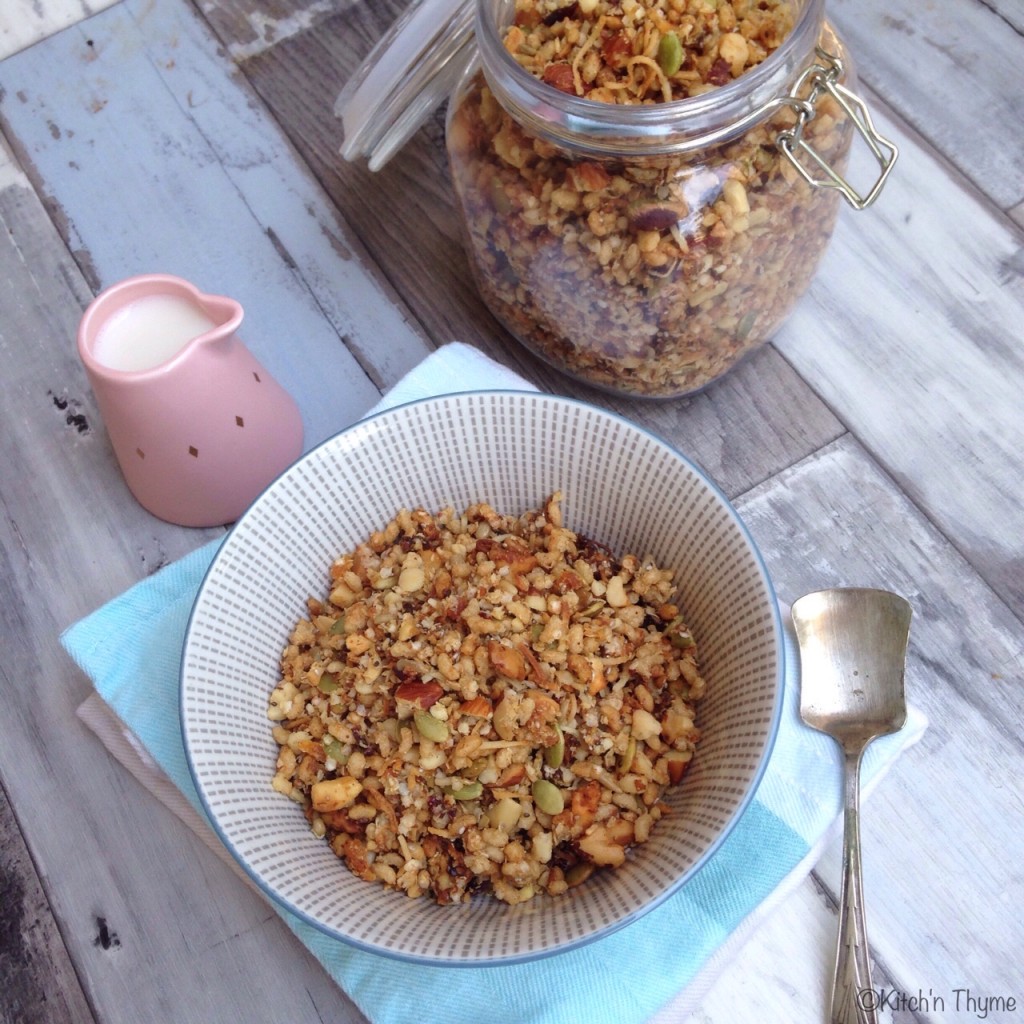
Gluten Free Granola

Gluten Free Granola

This yummy granola is so satisfying you will barely notice it’s any different to ‘normal’ granola!

Filled with nuts, dried fruit, coconut, quinoa & rice and mixed together with the lusciousness of butter and honey, its the perfect fast-food option for breakfast.

The quinoa flakes increase the protein content and create a really lovely flavour once baked.

Gluten Free Granola 2

You can leave some of the fruit out if you are watching the fructose sugars, but some in there is nice.

You can use coconut oil in place of the butter if you want it completely dairy free too.

I love having granola in the cupboard as a backup for when time is of the essence or eggs are getting a bit monotonous! It’s just delicious with my creamy homemade Almond Milk

Enjoy, Gabrielle xx.

Gluten Free Granola
Nutty, golden, crunchy goodness!
Write a review
Print
Prep Time
10 min
Cook Time
40 min
Total Time
40 min
Prep Time
10 min
Cook Time
40 min
Total Time
40 min
Ingredients
  1. 120g Almonds
  2. 120g Macadamias
  3. 150g Brazil Nuts
  4. 150g Quinoa Flakes
  5. 50g Sunflower Seeds
  6. 50g Pepitas
  7. 30g Chia Seeds
  8. 50g Shredded Coconut
  9. 100g Organic Puffed Brown Rice
  10. 1 tsp Cinnamon
  11. 1/2 tsp Allspice
  12. 50g Cranberries
  13. 50g Dried Dates
  14. 50g Apricots
  15. 150g Organic Butter
  16. 150g Honey
Instructions
  1. Preheat the oven to 180°C. Line 2 large baking trays with baking paper and set 1 aside.
  2. Spread the nuts out evenly over 1 tray and roast for 10-15 minutes.
  3. Place the quinoa, seeds, coconut, rice & spices in a large mixing bowl and stir well to combine.
  4. Place the roasted nuts into the Thermomix and chop 2 Sec/Speed 5. Add to the large mixing bowl.
  5. Place the dried fruit into the Thermomix and chop 3 Sec/Speed 7. Add to the large mixing bowl also.
  6. Place the butter and honey into the Thermomix and cook 2 Mins/50°/Speed 3.
  7. Pour over the dry ingredients and toss well to combine. Spread out evenly over the large baking trays and bake for 15 minutes. Stir well with a spoon and cook for a further 10-15 minutes or until golden brown.
  8. Cool on the trays completely before transferring to airtight containers or jars.
Notes
  1. Serve with your choice of milk, greek yoghurt, coconut yoghurt or atop fresh fruit salad for a nutty crunch!
Kitch'n Thyme https://kitchnthyme.com.au/

Roast Tomato Pasta Sauce

You won’t ever buy a jar of pasta sauce again!!! Delicious lick the spoon type scenario right here!
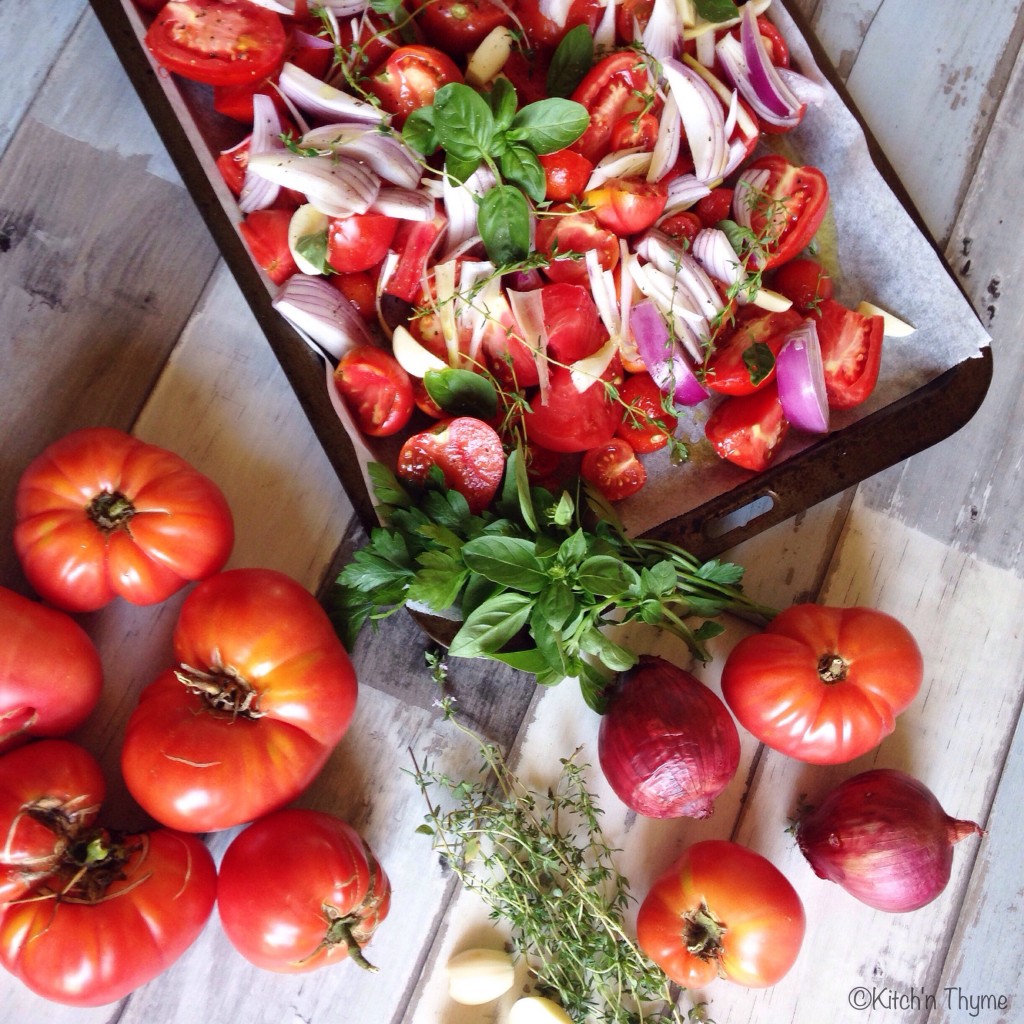
**January 2019 update!** This recipe was originally posted in November 2015. I really felt that the photos needed updating, so i’ve rephotographed the finished product. All the ingredients remain the same! The story below and one photo of before it’s cooked is as it was from 3 years ago (I coudn’t delete that pic as it has the heirloom tomatoes from my bumper garden crop that year🙈)!!**

Alrighty! For those of you who haven’t stopped buying jars of Dolmio or some Organic pasta sauce, then now’s the time to stop!!!

Look no further than THIS post! And make sure you continue scrolling to the bottom – save, pin, print the recipe….just make sure you have it ready for when you’re needing to make a batch of sauce!

I do this sauce partly in the oven and partly in the Thermomix. Roasting the tomatoes and aromatics first gives a much better end product. It gets the onions a little caramelised, sweeter, the tomatoes sweeter and the garlic roasts up and gets a beautiful depth of flavour to it!

Roast Tomato Pasta Sauce 2

If you don’t have a Thermomix, you can do the second step of cooking them down on the stove, and blending over so lightly at the end.

If you blend a tomato sauce on too high a speed it will turn the sauce orange. So to keep that beautiful rich red colour you mustn’t whiz it too much!

I add some Passata in this recipe. You will find that you will get a much better sauce if you use some Passata in addition to fresh tomatoes, rather than using more crushed or fresh cut tomatoes. Passata is made from tomatoes that have been picked at the best time of the year, when they are at their ripest and most full in flavour, it’s pureed and is then strained of skin and seeds and bottled to preserve for sauces throughout the year.

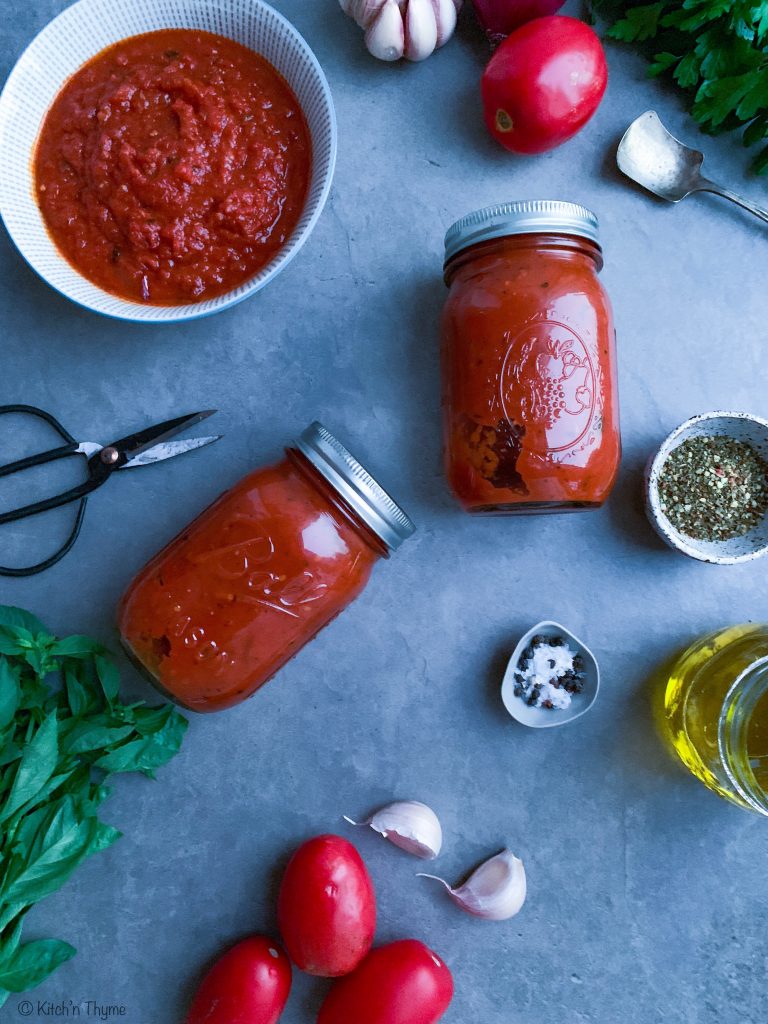
 This recipe makes 2 Litres. I make a batch and preserve it in 500ml portions in my Mason Ball jars and then store in the pantry like I would bought pasta sauce.

Print

Roast Tomato Pasta Sauce

Beautiful flavoursome pasta sauce to bottle up as pantry stock! Reader Kylie says: “Wow – such intense tomato flavour. This recipe will become a staple in our house. The roast tomatoes and veg make this amazing!”

  • Author: Kitch'n Thyme
  • Prep Time: 10
  • Cook Time: 120
  • Total Time: 130

Ingredients

  • 2kg Tomatoes
  • 2 Medium Red onions, sliced
  • 6 Cloves Garlic
  • 4 Sprigs each Thyme, Basil, & Italian Parsley
  • 4 Tbsp Olive Oil
  • Salt, pepper
  • 500ml Passata (You can add the whole 700ml bottle if it will fit in the Thermomix)
  • 100g Tomato Paste
  • 50g Honey
  • 20g Olive Oil
  • 2 tsp Celtic Salt
  • 2 tsp Lemon Juice
  • 2 tsp Italian Herbs
  • 1 tsp Garlic Powder
  • 1 tsp Onion Powder

Instructions

  1. Preheat the oven to 180°C and line 2 large baking trays with baking paper.
  2. Boil the kettle. Cut a small cross into the base of the tomatoes and place them into a large mixing bowl and cover with boiling water. Leave for 1-2 minutes to soak, before peeling the skins off and cutting into quarters.
  3. Place the tomatoes, onions, garlic, fresh herbs, olive oil, and a generous sprinkle of salt and pepper onto the prepared baking trays. Give a really good toss then spread out evenly on the baking trays and roast 60 minutes.
  4. Place the roasted mixture into the bowl of the Thermomix and add all the remaining ingredients. Cook for a further 60 Mins/100°/Speed 1.
  5. Then once cooked, blend 10 Sec/Speed 5. (Be careful not to go over with the speed or the sauce will go an orange colour.)
  6. Place into airtight jars (mason jars work fabulously as they seal really well) and cool. If you’ve preserved them by getting an adequate seal you can store them in the pantry for months, otherwise you can freeze the sauce in portions in the freezer.