Just LOOK at this colour!!!! It’s NATURAL!!!! Amazing right!!!?????
Using the gorgeous Unicorn Superfoods powders makes it SO easy to create these super fun colours with no nasties attached but rather adding health benefits!! Blue SPIRULINA helps to increase energy and metabolism, boosts immunity and may even improve digestion. Pink PATAYA or DRAGONFRUIT is high in fiber, rich in antioxidants and promotes a healthy gut whilst nourishing hair and skin! You can use Beetroot powder which I have done in the past, but I find the pink pataya gives a more vibrant colour! I love a treat that also has some nutritional benefit to it! Don’t you?!!

Using sustainably sourced gelatine, and honey over sugar, these marshmallows are a great option for a healthy treat, especially at Christmas! I used to use the Great Lakes Pure Protein Gelatin (from iHerb) but now I use a beautiful Australian Grass Fed Gelatin from Nutra Organics. It’s got a really mild aroma and works perfectly!
Gelatin is very beneficial for digestive issues, joint recovery, and helps to promote healthy skin, hair and nails.
Store bought varieties of marshmallows are full of preservatives, sugars, flavours and who knows what else! With these you can have peace of mind that you know exactly what has gone into them. Using honey is a much better option than sugar, however the benefits of raw honey are non existent once heated, and like any sweet treat, it still turns into sugar in the body. However, as part of a balanced diet, and for a special occasion, these are great! I feel good about my children eating something which is somewhat fortified with health benefiting ingredients at the same time as being a treat!

For treats like this, the Thermomix 5 is just brilliant for its accurate temperatures. How fantastic being able to heat it to exactly 120ºC without having to stand there over the stove with a candy thermometer! I get to walk away!

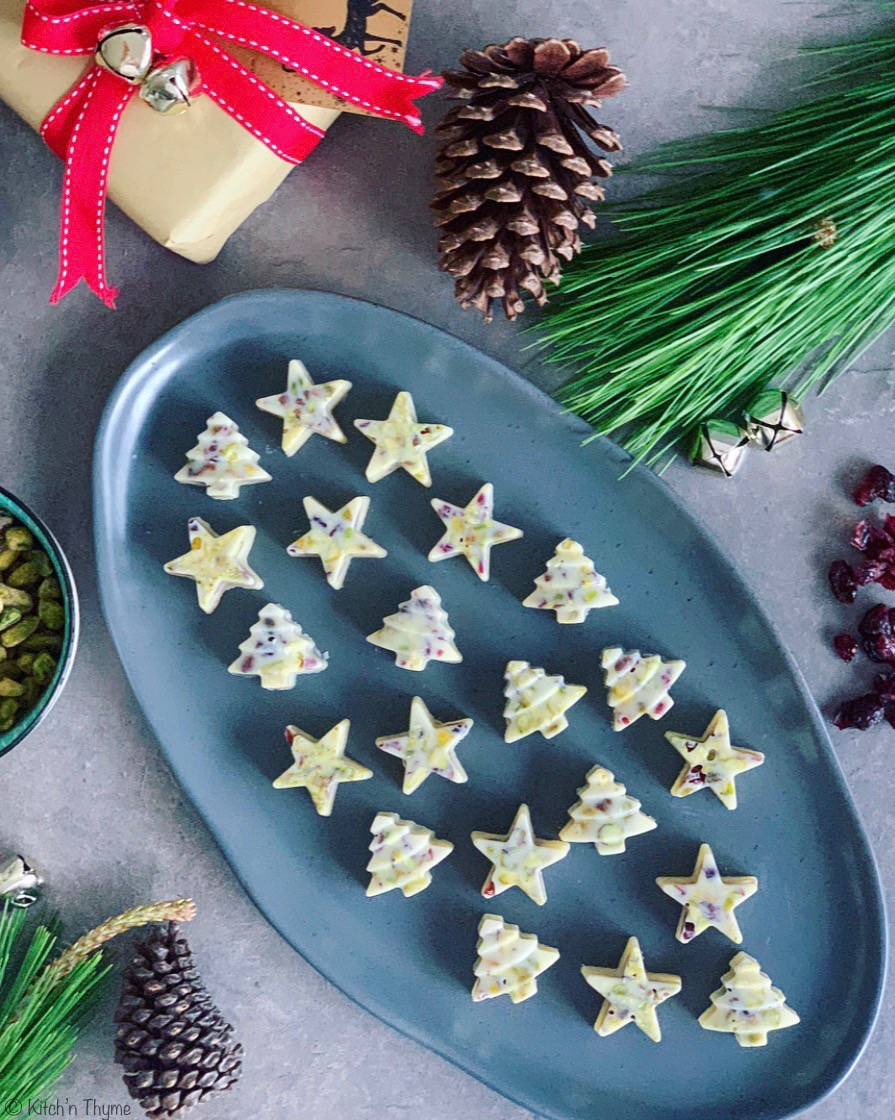
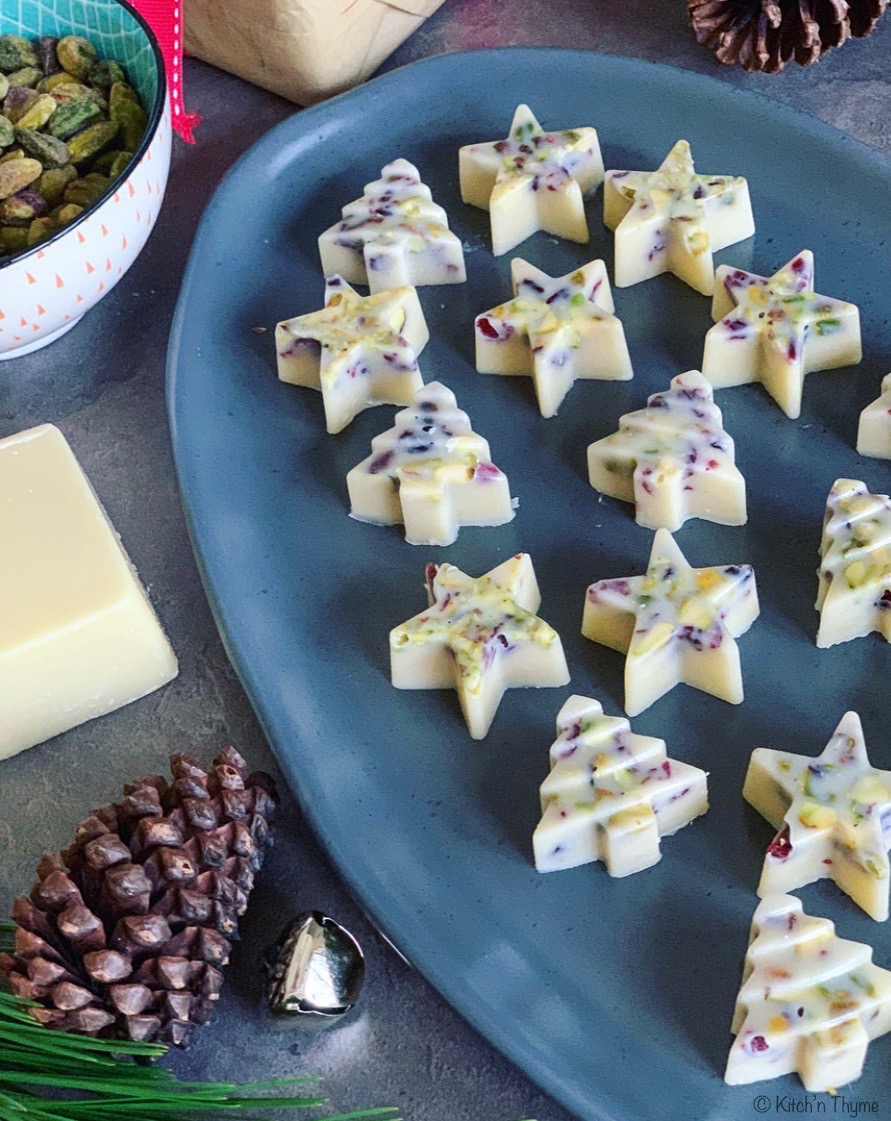
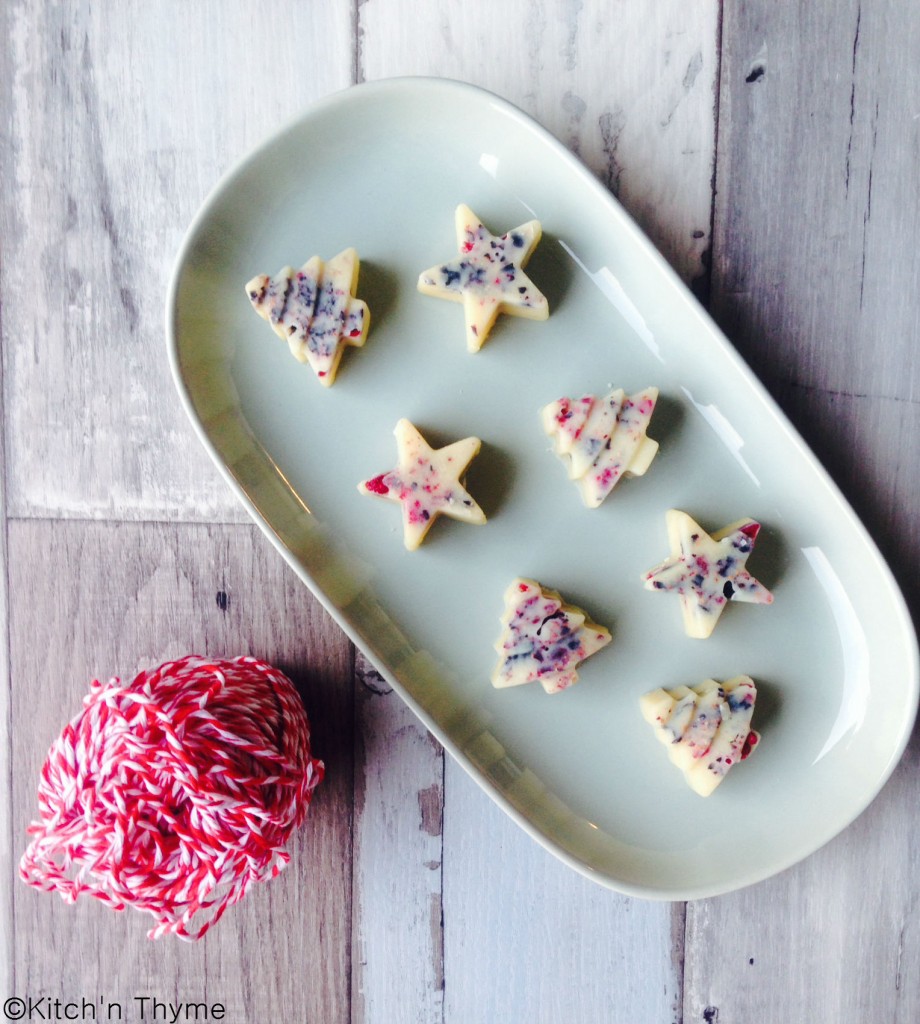
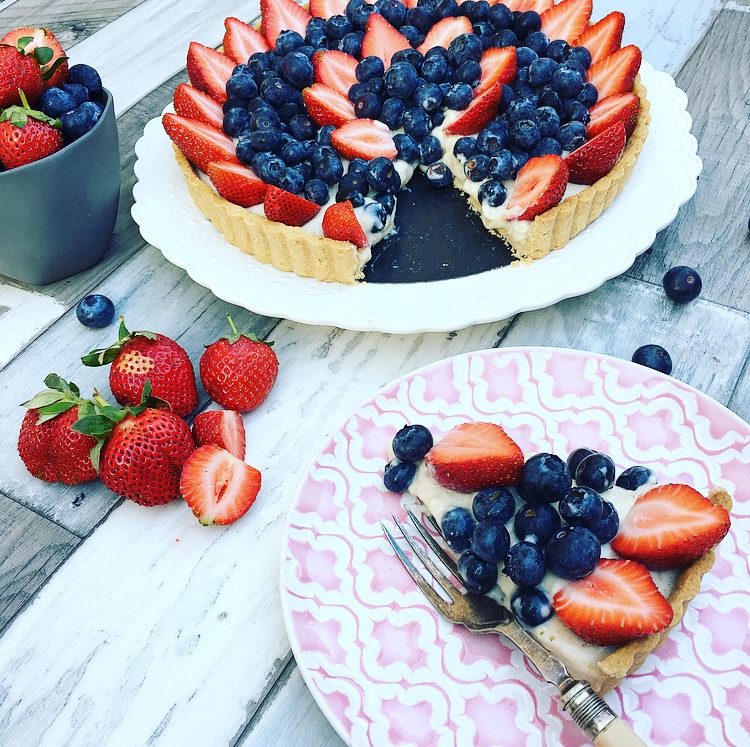
Play around with your own flavours and colours! How about these pretty Christmas colours! How gorgeous and festive would these look on the table for Christmas!…….And the exciting thing is that I have a delicious Healthy (Superfood enriched) Rocky Road recipe coming to you before Christmas!! Stay tuned!
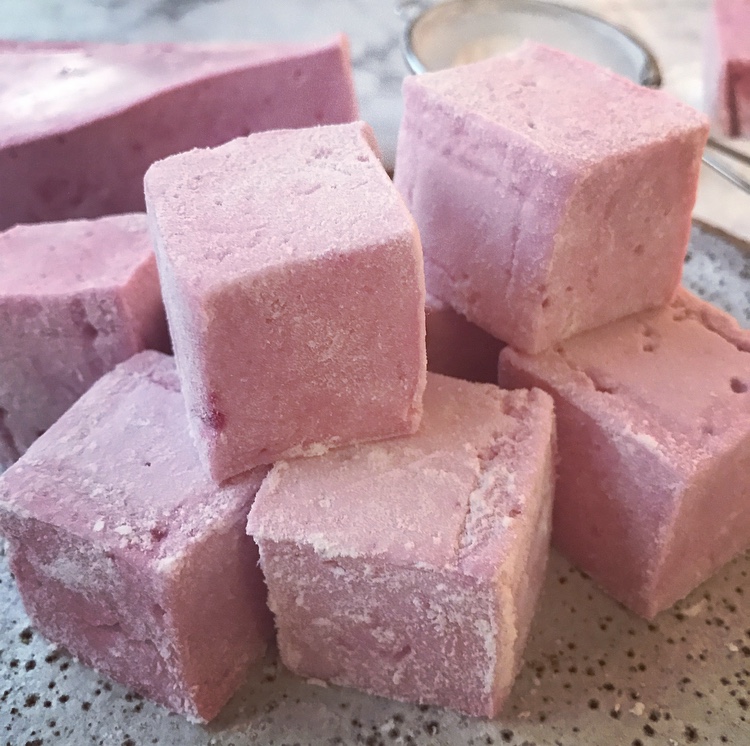
Healthy Marshmallows
2014-12-16 10:31:23
Yields 50
Naturally coloured, fluffy, naturally sweetened marshmallows!
- 185ml Warm Water
- 260g Honey
- 3 Tbsp Gelatin (grass-fed, unflavoured)
- 1 tsp Vanilla Essence
- Coconut oil for cutting
- 1 Tbsp Beetroot Juice or 1 tsp Beetroot Powder or 1 Tbsp Pink Dragonfruit Juice or 1 tsp Dragonfruit Powder
- 1 Tbsp Liquid Chlorophyll
- Place 60ml of the water along with the honey into the Thermomix and cook 8-10 Mins/120º/Speed 2, and you may like to place the simmering basket on top of the lid to replace the MC for this step.(If you have a TM31 cook at Varoma temperature).
- Whilst that is cooking, combine the other 125ml of warm water with the gelatin in a small bowl. (The easiest way to do this is to rain the gelatine into the water in a steady stream whilst whisking in simultaneously with the other hand. The quicker you get the gelatine incorporated the easier it is.)
- When the honey mixture is cooked, let it cool to 70º.
- Then add the gelatin mix and stir 1 Min/Speed 2.
- Insert the butterfly and whip 10 Mins/Speed 4.
- In the last 30 seconds add the vanilla.
- Separate 2/3 of the mixture into 2 separate bowls (for colouring) and pour the remaining 1/3 (white colour) into a baking paper lined container to set.
- Powder Method: Stir in the beetroot or dragonfruit powder until well combined and desired colour is achieved. Then pour into a baking paper lined container to set.
- Juice Method: Place 1/4 of a small beetroot or dragonfruit into the Thermomix and blend 3 Sec/Speed 7. Scrape down the sides of the bowl and add 2 tsp water. (No need to add water if using the dragonfruit.) Give a quick whiz to combine, then strain the juice into a bowl. Add 1 Tbsp of the juice to the marshmallows and fold through. Then pour into a baking paper lined container to set.
- Fold through the liquid chlorophyll and pour into a baking paper lined container to set.
- They will need at least 1-2 hours to set. (You can also pop them in the fridge if you need them to set quickly!)
- Once set, remove from containers and cut neatly into squares or cut into marshmallow rounds (using a well oiled small round pastry cutter).
- Toss in tapioca starch or cornflour for a traditional look. Don't be tempted to roll them in icing sugar. They sweat and become far too wet!
- Store in an airtight container for 3-5 days.
By Kitch'n Thyme
Kitch'n Thyme https://kitchnthyme.com.au/

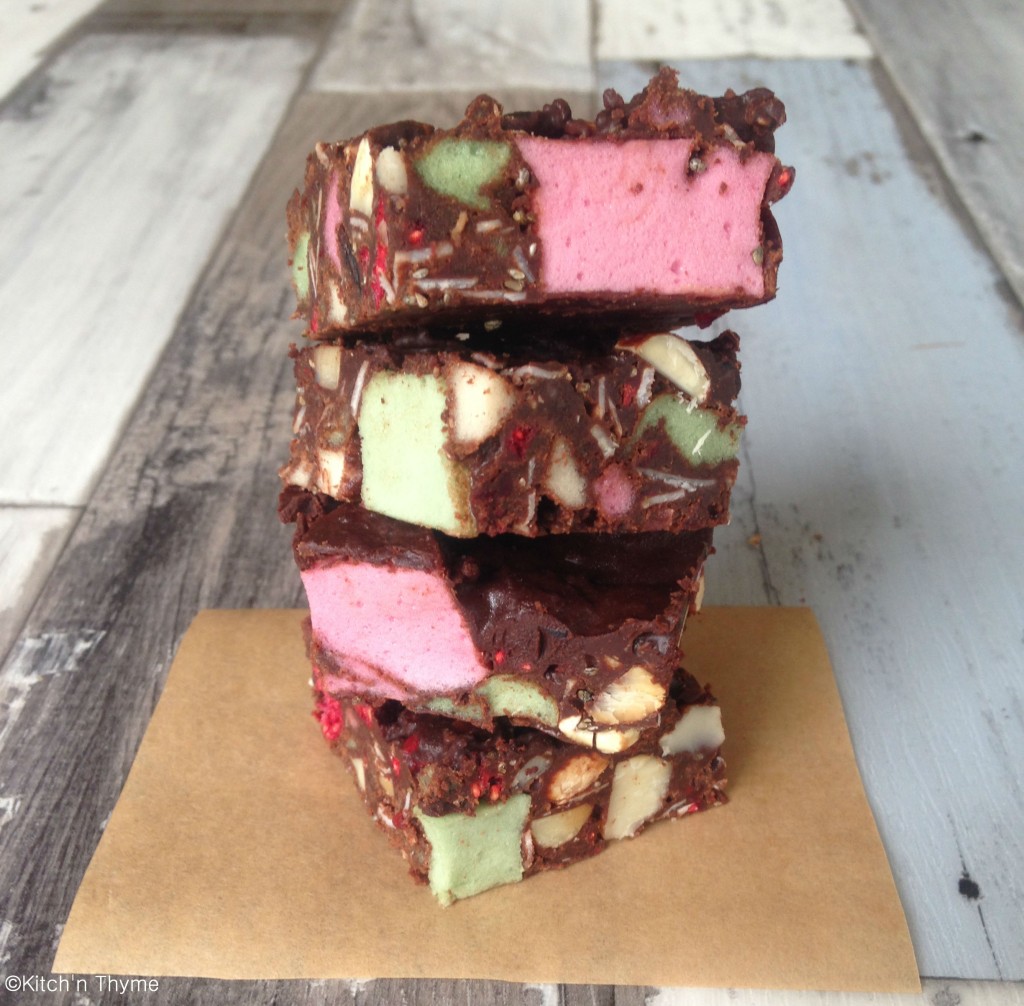
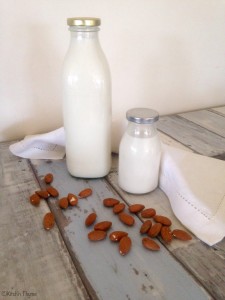
 Super delicious, fluffy, nutty, chocolatey mess thats so traditional at Christmas time!
 Perhaps you could enjoy this delicious treat with a glass of your favourite milk!