Yoghurt – Thick Greek Style


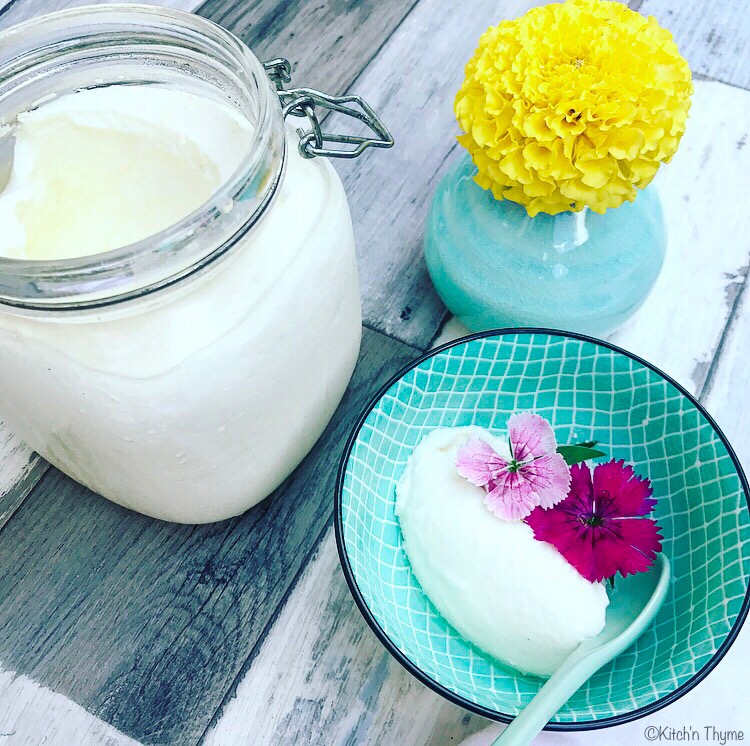
I really love super thick Greek Style yoghurt! I much prefer really thick tangy yoghurt that doesn’t have any sweeteners added to it! I’ve been making yoghurt since I was a little kid with my mum (however lots of soy yoghurt back then) and I love it!
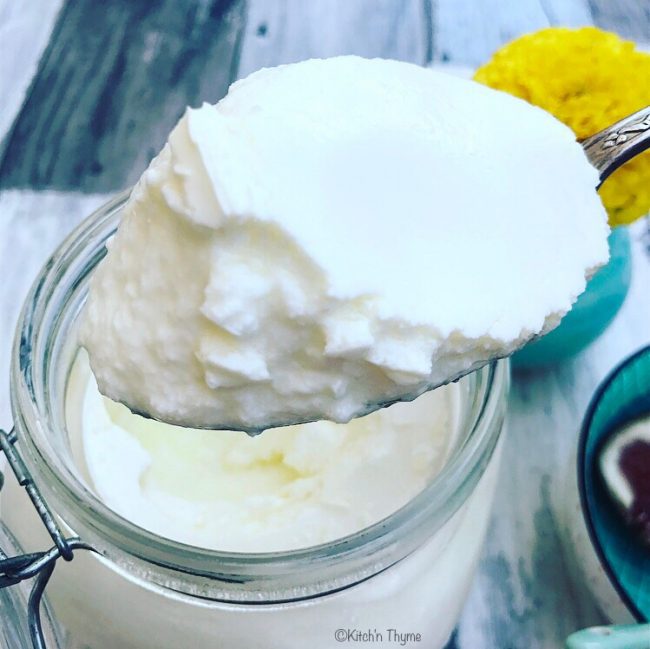
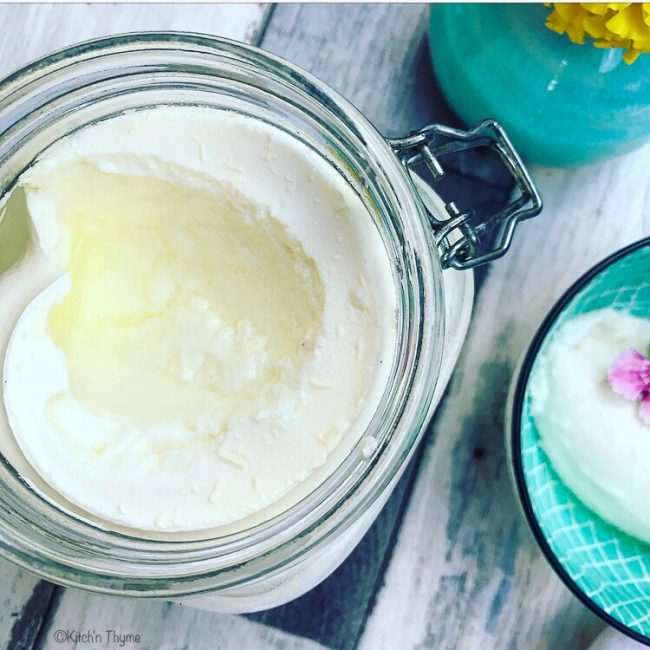

But last year I figured out how to get that super luscious thick yoghurt (almost Greek yoghurt type thickness but without straining off the whey) at home using a very simple method! My sister in law saw gourmet farmer using an esky for his yoghurt, and how well it worked! This is loosely based on his method, however tailored to using the Thermomix which gives the ability to get really accurate temperatures easily!

In the recipe when you’re heating up the milk I say to keep the milk at 90ºC for a longer time. The reason being, if you hold the milk at a stable temperature for longer it will make the yoghurt thicker by driving out the oxygen and helping in the fermentation process along with helping the proteins to hydrate well and bind as much water as possible. As this isn’t a strained Greek Yoghurt, there will still be some whey that gathers with the yoghurt remaining in the jar when you scoop your spoon of yoghurt into a bowl. You can either leave it in, (it will make the yoghurt a bit more watery) or you can just spoon it out to use in another recipe or dispose of it.
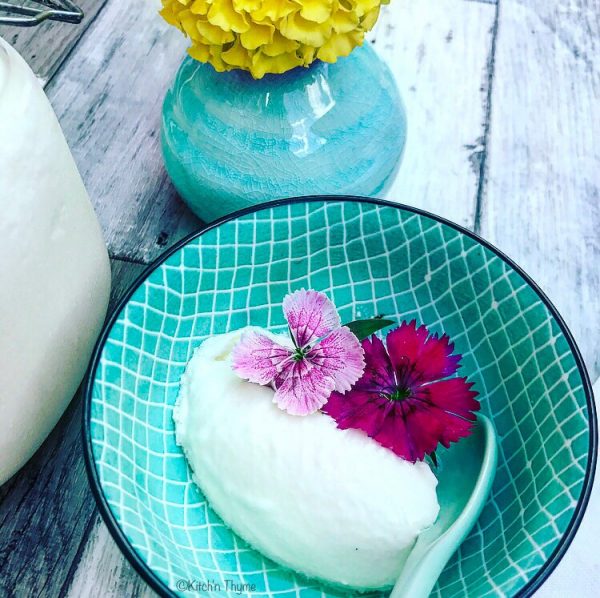

Once you have heated the milk it is important to cool the milk quickly. This helps to produce a thicker curd also. You can cool the milk quicker by filling a bowl with cold water, adding some ice cubes and setting the bowl of heated milk on top.

I’ve learnt that sometimes a less is more approach works best when it comes to the culture, which is why I only use 1-2 Tbsp of yoghurt as a starter. I like to use Jalna Greek Yoghurt for my starter, it always produces a really beautiful yoghurt.
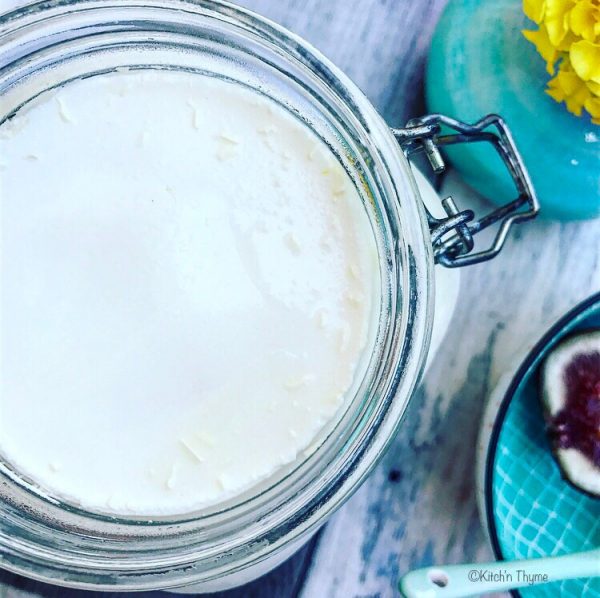
If your family uses a lot of yoghurt, you can double this recipe very easily. Just increase the time of heating the milk and make sure once the 2L of milk reaches 90ºC to hold it at that temperature for at lease another 10 minutes. (Should take around 30-40 mins) and use 2 x 1L glass jars. They should fit side by side in your 10L esky quite easily.

For different flavoured yoghurts you can add vanilla beans or bean paste or for fruit flavours rather than adding fresh fruit that will water down the yoghurt, add fruit compotes or homemade refined sugar free jams. 

It’s really quite easy to make beautiful yoghurt at home! I hope you enjoy!

Greek Style Yoghurt
Beautiful thick, almost Greek Style yoghurt without the need to strain! Sugar and milk powder free!
Write a review
Print
Prep Time
5 min
Cook Time
40 min
Total Time
24 hr
Prep Time
5 min
Cook Time
40 min
Total Time
24 hr
Ingredients
  1. 1 Litre Non-homogenised Organic Milk
  2. 1-2 Tbsp Greek Style Yoghurt (with live cultures - I like Jalna)
Equipment
  1. 1 Thermomix or a Pot & Thermometer
  2. 2 Medium Stainless Steel Bowls
  3. 1 Thermometer
  4. 1L Glass Jar
Instructions
  1. Take the starter culture out of the fridge to bring to room temperature.
  2. Place the milk into the Thermomix and heat 20 Mins/90º/Speed 3. You will notice that the milk will reach 90º at around the 10 minute mark, but hold it at that temperature for the full 20 minutes. (Read why in the notes above the recipe)
  3. Fill a medium bowl with water and some ice cubes and place another bowl on top to make an ice bath. Pour the warmed milk into the bowl on top and let sit to cool to 38º - 40ºC. Check the temperature with a thermometer. Be careful that it doesn't drop below 35º. This should take about 20 minutes. It's important to reduce the heat quickly to produce a nice thick curd. (Alternatively, you can keep pouring the milk back into the Thermomix to check the temperature, but I find it easier to just use a Thermometer.)
  4. While the milk is cooling, place 2 Litres of water into the Thermomix and heat 3 Mins/45º/Speed 3. Pour the warmed water into a small 10L esky. Repeat this process. Depending on the height of the jars you use to set your yoghurt, you will need 3-4L of water.
  5. Remove a cup of the cooled milk into a cup or bowl, and stir or whisk in the starter so its smooth and there are no lumps.
  6. Pour this mixture back into the bowl of cooled milk and stir to combine briefly before pouring into a 1L glass jar. Secure the lid and place the jar into your esky filled with water. The water should be surrounding the jar but not covering the lid.
  7. Leave the jar in the water for 12-24 hours to incubate and ferment. Depending on how tart you like your yoghurt will determine how you long you leave the yoghurt to ferment. Around the 12-14 hours mark you will have a really lovely mildly tart yoghurt. Around this time is when I like to take mine out and place straight into the fridge to set firm.
  8. Once completely cooled, your yoghurt is ready to eat!
  9. And don't forget to save a couple of Tbsp for your next batch of yoghurt!
Notes
  1. Try not to disturb the yoghurt in the first 6 hours when the yoghurt is incubating as this can interfere with the yoghurt setting properly.
Kitch'n Thyme https://kitchnthyme.com.au/

Lemon & Blueberry Pancakes


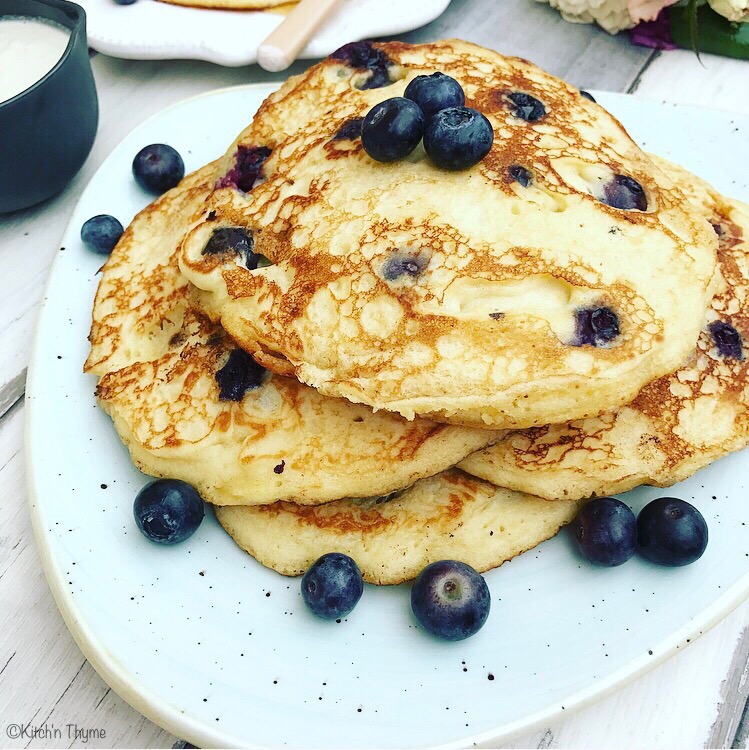
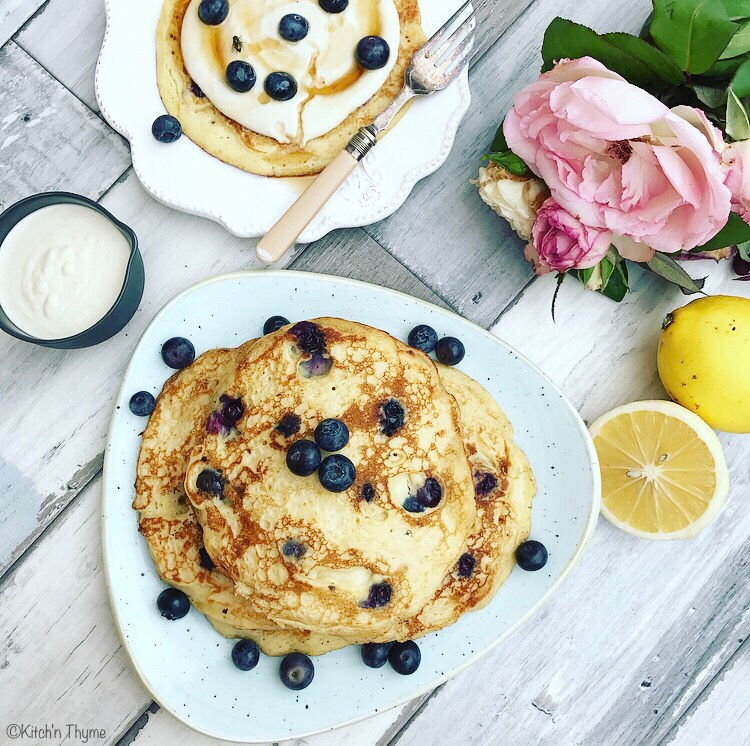
These Lemon & Blueberry Pancakes are SOOOOOOOOOOOOOO good!! 

Seriously they are SOOOO easy and SO delicious!!! I’ve been wanting to share this delicious recipe with you for quite sometime! Upon developing this recipe, I was absolutely stoked with how light and fluffy they are! I doubt you will be disappointed!

You can substitute the couple of Tbsp of raw sugar with honey or coconut sugar, it may just change the batter to be slightly off white in colour, but the taste it still just as delicious! 

Spelt flour can also be substituted for plain flour. As I’ve said in previous posts I use spelt flour in my kitchen as a straight swap for plain all purpose flour as it’s a more ancient form of wheat which has been less hybridised and is easier on the digestive system. In some cases those with wheat intolerances can tolerate spelt with it’s lower gluten content. It has a slightly nutty flavour and is a little more wholesome tasting!

You can basically use any berries like blueberries, raspberries, blackberries, strawberries etc.

Topped with my delicious Cashew Macadamia Cream and a drizzle of maple syrup there’s not much not to love! 

We make these probably once a fortnight and they are a real hit in our home! I hope you enjoy them too! 

Lemon & Blueberry Pancakes
Yields 6
Delectable fluffy, moist berry popping pancakes! Perfect for your weekend breakfast!
Write a review
Print
Prep Time
5 min
Cook Time
15 min
Total Time
20 min
Prep Time
5 min
Cook Time
15 min
Total Time
20 min
Ingredients
  1. 60g Organic Butter
  2. 200ml Almond Milk
  3. 1/2 tsp Vanilla Paste or Extract
  4. 1 Organic Egg
  5. 1/2 Lemon, zested
  6. 150g White Spelt Flour
  7. 40g Raw Sugar
  8. 2 tsp Baking Powder (Aluminimum Free)
  9. 125g Fresh or Frozen Blueberries
  10. 60g extra butter
Cashew Macadamia Cream
  1. 75g Cashews
  2. 75g Macadamias
  3. 1 tsp Vanilla Bean Paste or Extract
  4. 50g Maple Syrup
  5. 150g Almond Milk
Instructions
  1. Place the butter into the Thermomix and melt 2 Mins/50º/Speed 1.5.
  2. Add the almond milk, vanilla, egg & lemon and mix 10 Sec/Speed 3.
  3. Add the flour, sugar & baking powder and mix 5-10 Sec/Speed 5.
  4. Melt 10g butter in a non stick frying pan over low-medium heat. Pour slightly less than 1/2 cup batter in pan, and if necessary, using the back of a spoon, spread to a 12cm round.
  5. Cook for 2 minutes or until bubbles appear on surface. Scatter over approx 10 blueberries. Using a spatula or egg flip, flip and cook for a further 30 seconds or until golden underneath. Transfer to an oven tray and keep warm in the oven. Wipe pan clean. Repeat with remaining butter, batter and blueberries.
  6. Serve the pancakes with a dollop of cashew macadamia cream and a drizzle of maple syrup. Alternatively, top with your favourite fruits and yoghurt, figs in vanilla syrup or a simple squeeze of lemon juice and maple! Yum!
Cashew Macadamia Cream
  1. Place all the ingredients into the Thermomix and blend 1 Min/Speed 9. Can be served at room temperature or chilled.
Kitch'n Thyme https://kitchnthyme.com.au/

Gluten Free Crepes


These crepes are SOOOOOOOO easy!! You will love this recipe! I used to make these when I worked at the health retreat and I used them for lots of different applications! I’ve tweaked the recipe over time and I think they are perfect now!

You can make the batter the night before and quickly whip up fresh crepes in the morning and use whichever filling you desire! Of course there are so many sweet options but think about mushrooms, spinach and feta, or chicken mushroom and spinach for breakfast! An ideal way to send the family off for the day wiht a nutritious breakfast!

For a gluten free crepe, these are really good! You wouldn’t know they were gluten free. The flour blend I use does a good job of making a smooth, slightly elastic crepe (for want of a better word! Don’t worry though you won’t think you’re chewing on a rubber band!😆)

Just try them and enjoy!

Gluten Free Crepes
Yields 16
Perfect rendition of a traditional french crepe that will please the harshest gluten free critic!
Write a review
Print
Prep Time
5 min
Cook Time
20 min
Total Time
25 min
Prep Time
5 min
Cook Time
20 min
Total Time
25 min
Ingredients
  1. 40g Organic Butter
  2. 4 Organic Eggs
  3. 80g Tapioca Flour
  4. 50g Potato Starch
  5. 50g White Sorghum Flour
  6. 1 Tbsp Honey
  7. 450ml Almond Milk
  8. Extra butter for brushing
Instructions
  1. Place the butter into the Thermomix and melt 1-2 Mins/50º/Speed 3.
  2. Add all the remaining ingredients and mix 30 Sec/Speed 6.
  3. Pour the batter into a jug or bowl and leave to rest for 30 mins- overnight. (The resting time helps the gluten free flours to swell and the batter to become a little easier to work with, but if time doesn't permit you can rest for just 10 minutes and still get a great result.)
  4. Heat a shallow non stick pan or crepe pan over a medium heat. Brush the pan out with a small amount of melted butter or coconut oil just to coat the pan.
  5. Pour in enough batter to lightly cover the base of pan and swirl to cover thinly. (Using a cup measure helps you pour a similar amount into the pan each time...you'll be amazed how little batter you need!)
  6. Cook the crepe for about 1 minute each side or until lightly golden.
  7. Transfer to a plate, cover and keep warm.
  8. Continue cooking the crepes until the batter is finished, brushing with a little melted butter or coconut oil as needed.
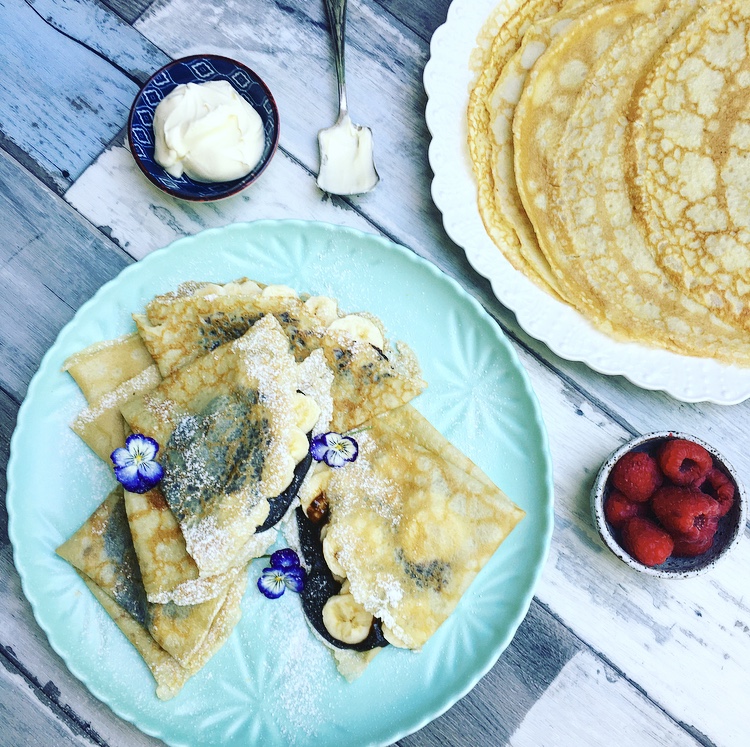
  9. Serve the crepes, with any topping you desire. In the picture I filled them with my homemade nutella and sliced banana, creme fraiche and raspberries!
Notes
  1. These can be used for savoury dishes too!! As an example you can make perfect breakfast savoury crepes or crepe stacks with these and they work brilliantly!
Kitch'n Thyme https://kitchnthyme.com.au/

Bone Broth v Stock – A Chef’s Perspective

Bone Broth

Perhaps some of you have been wondering the difference between a Stock or a Bone Broth! Hopefully this will provide a better understanding.

Stocks have been made for centuries long in the back of almost every good kitchen! They are the key to a plethora of amazing sauces and reductions. Sauces add flavour, moisture & harmony to a dish, and no great restaurant would be without them!

On the home front, I think many will remember their mum or grandma serving hearty nourishing brothy chicken or beef soups when unwell. It’s definitely not news to many that there are amazing healing properties in that pot of liquid gold! Over recent years, those with a keen knowledge of health have come to use and understand the incredible benefits of the amazing elixir that it is and it’s now even fashionable to sip on a cup of tasty broth! Who knew!

As a Chef, here are the main differences that I see between Stock versus Broth.
There are 3 different types of Stock or Broth. 
– Broth or Bouillon which is typically made from a whole meat like a whole chicken. It’s usually cooked for a short period of time and is usually fairly clear because of the high protein content. It has a strong flavour with underlying strength from the gelatinous meat. The tender meat can then be eaten also.
– Stock is usually made from the carcasses or bones of an animal with a small amount of meat (eg, necks, meaty ribs, shanks or wings), simmered for a short time and used in the production of soups and sauces.
– Bone Broth is also usually made from the carcasses and bones of an animal with a small amount of meat (eg. necks, meaty ribs, shanks or wings) and simmered for a long period of time for its health benefits and used as a nourishing drink or can be used in recipes where stock is required.
I won’t talk much more of Bouillon so I’m going to refer to Basic Stock as ‘Stock’ and Bone Broth as ‘Broth’ for the rest of the article, so you’re not confused!! 😉

When we talk stock we also differentiate between 2 very distinct types of stock. (These differences can be put into place when making a Bone Broth too.) Those 2 types are White Stocks and Brown Stocks.
White Stocks form the basis of many White Sauces (eg. Veloute) and soups. The unroasted bones and mirepoix (French term for carrots, celery and onion) are added to a stockpot with cold filtered water. This produces a nice white/clear colour. A Bouillon is made with unroasted meat and vegetables also.
Brown Stocks form the basis of brown soups, braises, casseroles and reductions and brown sauces. As the term suggests they are brown from the bones and mirepoix being roasted first. I tend to make brown stocks the most, as the caramelisation from roasting brings such full well rounded flavour.

Then we look at the simmering times for Stocks versus Bone Broths.

– Fish Stock would normally be simmered for about 30 minutes

– Chicken Stock for about 2-4 hours

– Beef or Lamb Stock about 6-8 hours.
Bone Broths on the other hand, are simmered for about 20-24 hours! You can get great flavour in a stock over just a few hours, but some much larger health benefits over a longer simmer.

Along with gelatine which heals the gut and collagen which cushion the joints and helps to heal cartilage, bone broths contain minerals (can’t have enough of them right!), and two important amino acids – Glycine and Proline.
Glycine has a whole range of health benefits, including:
– Reducing inflammation in the body
– Aiding with digestion
– Boosting immunity
– Protecting collagen in joints and
– Helping build lean muscle mass.
Proline also has a range of health benefits:
– Aids the body in breaking down proteins for use in healthy cells
– Helps in the formation of collagen and
– Essential to the maintenance of healthy skin and connective tissues.

Some suggest that the longer a stock simmers the higher in histamines it can become. A White Stock would tend to be lower in histamines. So if you are on a low-histamine type regime, you may wish to make a white stock and simmer for a shorter length of time, meaning more of a ‘stock’ or ‘bouillon’ as opposed to ‘broth’. For the GAPS introduction diet, it may also be more suitable to keep to a whiter/lower histamine type stock or bouillon, where we’re avoiding too much gelatin.

With a broth, it’s important to add the apple cider vinegar as it helps to release more minerals from the bones of the stock! Definitely don’t miss that step!

Traditionally when making stocks, you would’t salt a stock during the cooking process. You would normally season the dish you add the stock to to avoid an overly salty finished product. However, when I make bone broth, the amount of salt that I add is ok, and I will tend to add even more salt to the final dish. If you are making broth just to drink adding the salt is especially important during or after cooking as it will make it much more enjoyable to drink.

I hope this clears some of the confusion for some of you and I hope it inspires you to make some of your own bone broths!
Bone Broth 2

Brown Chicken Bone Broth
Yields 6
Beautiful flavoursome bone broth to add to all manner of different dishes or drink for healing and nourishment.
Write a review
Print
Prep Time
10 min
Cook Time
25 hr
Total Time
25 hr 10 min
Prep Time
10 min
Cook Time
25 hr
Total Time
25 hr 10 min
Ingredients
  1. 2kg Organic Chicken Bones or Frames (Approx 6 Carcasses)
  2. 1kg Organic Chicken Meat rich in collagen (eg. Necks or Wings)
  3. 1kg Mirepoix - 6 Celery Stalks, 4 Large Carrots, 2-3 Large Brown Onions
  4. 8 Cloves Garlic, peeled
  5. 2 Tbsp Olive Oil
  6. 8 Litres Cold Filtered Water
  7. 2 Tbsp Celtic Sea Salt (optional)
  8. 2 Tbsp Apple Cider Vinegar
  9. 1 Bouquet Garni - 2 Fresh or Dried Bay Leaves, Few Sprigs Parsley & Thyme
  10. 1/2 tsp Black Peppercorns
Instructions
  1. Preheat the oven to 180°C and line 3 large baking trays with baking paper.
  2. Place the chicken onto the trays and spray with olive oil fairly liberally.
  3. Cut the mirepoix into 3-4cm pieces, lightly drizzle with olive oil (optional) and place on a large baking tray lined with baking paper. Place the trays of chicken and mirepoix into the preheated oven and roast for 1 hour, turning the chicken bones a number of times during the hour to brown evenly.
  4. Once roasted, place into a large 11L stockpot.
  5. Add the filtered water, salt, vinegar, and bouquet garni (herbs) & peppercorns and let sit for 1 hour before bringing to the boil.
  6. Once boiling, reduce to a simmer and cook for a minimum of 12 hours and up to 24. The longer the stock cooks the more nutrient dense the broth will be.
  7. Once cooked, take off the heat and strain through a large strainer. Strain again through cheesecloth to remove any unwanted sediments.
  8. Pour into glass jars and seal. Store in the fridge for 3-4 days or freeze. It will freeze well for up to 3 months.
Notes
  1. You can use this recipe as a basis to make Beef or Lamb stock too. Just replace the chicken bones with beef or lamb and proceed.
  2. With a broth, it's important to add the apple cider vinegar as it helps to release more minerals from the bones of the stock! Definitely don't miss that step!
  3. Traditionally when making stocks, you would't salt a stock during the cooking process. You would normally season the dish you add the stock to to avoid an overly salty finished product. However, when I make bone broth, the amount of salt that I add is ok, and I will tend to add even more salt to the final dish. If you are making broth just to drink adding the salt is especially important during or after cooking as it will make it much more enjoyable to drink.
  4. I freeze my stock in Mason Ball jars. To do this without the glass shattering, pour the stock in leaving a good gap at the top for expansion, and let it cool slightly. Place the jar into the freezer without the lid to freeze first before placing the lid on afterwards.
Kitch'n Thyme https://kitchnthyme.com.au/

Choc Hazelnut Spread

Luciously creamy indulgent chocolate hazelnut spread! 

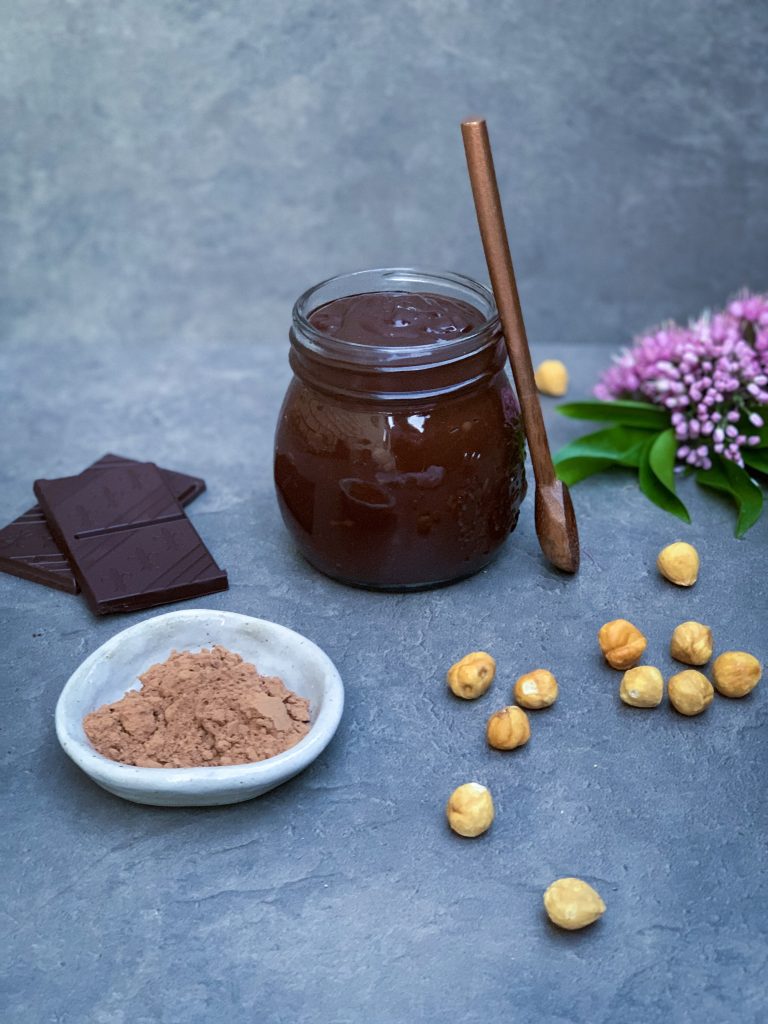
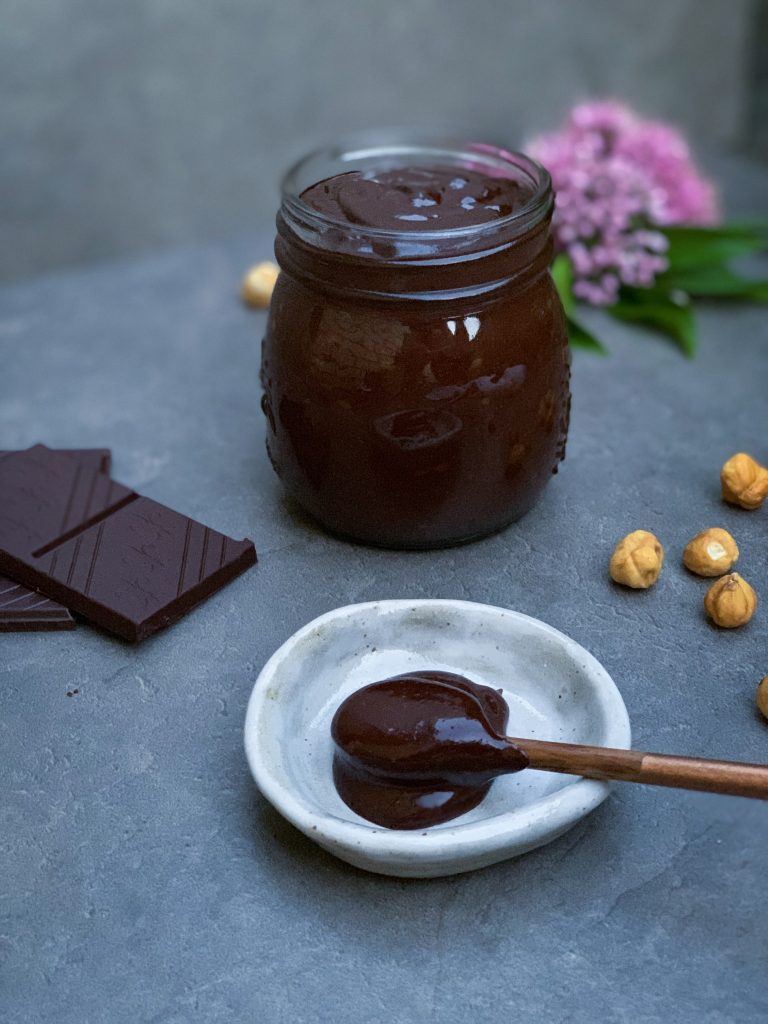
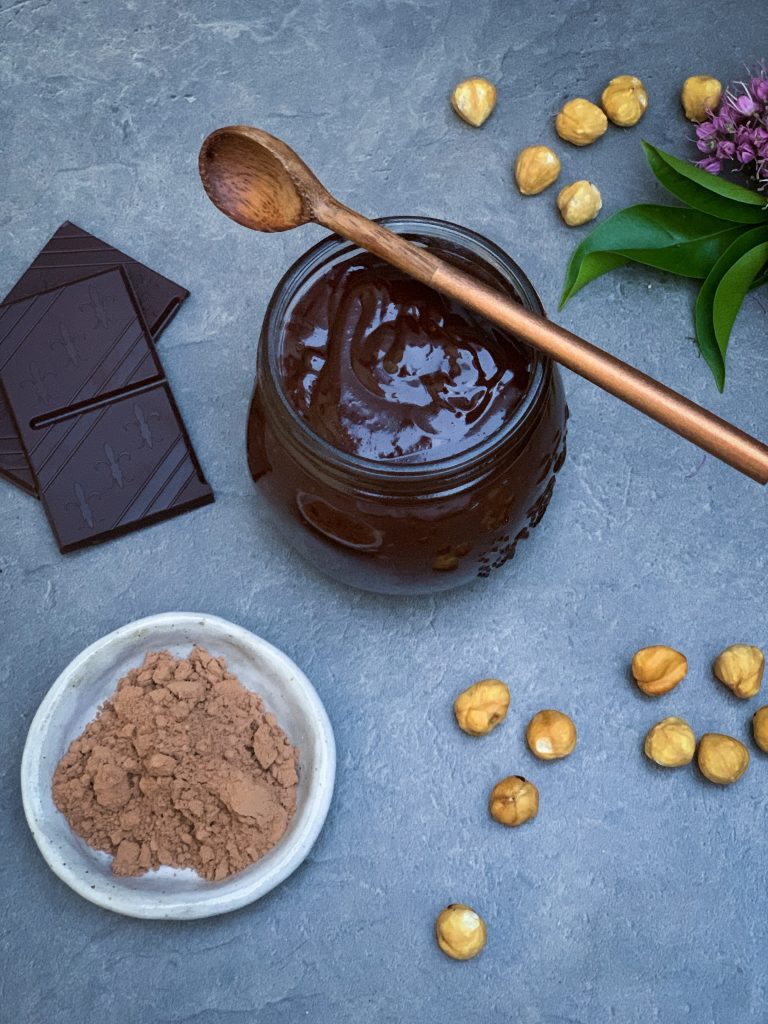
🍫🌰Choc Hazelnut Spread🌰🍫 Think drizzled on pancakes, as a crepe filling, drizzled over a cake, over fruit skewers, sandwiched between cookies (yup that recipes coming!!), stuffed into medjool dates, or simply spread on some crusty sourdough bread! Yum!! 😍

(You can see in the image above how molten and lusciously creamy it is straight after being made!)

It is SO easy to make your own Choc Hazelnut Spread or ‘Nutella’ in the Thermomix! .

Using natural healthier ingredients and making it from scratch there is a lot to love about a spoonful of this decadent creamy goodness! .

Have you ever read the ingredients list on a bought Nutella or choc hazel spread? Next time you go to the shops, make sure you do so! 🙃

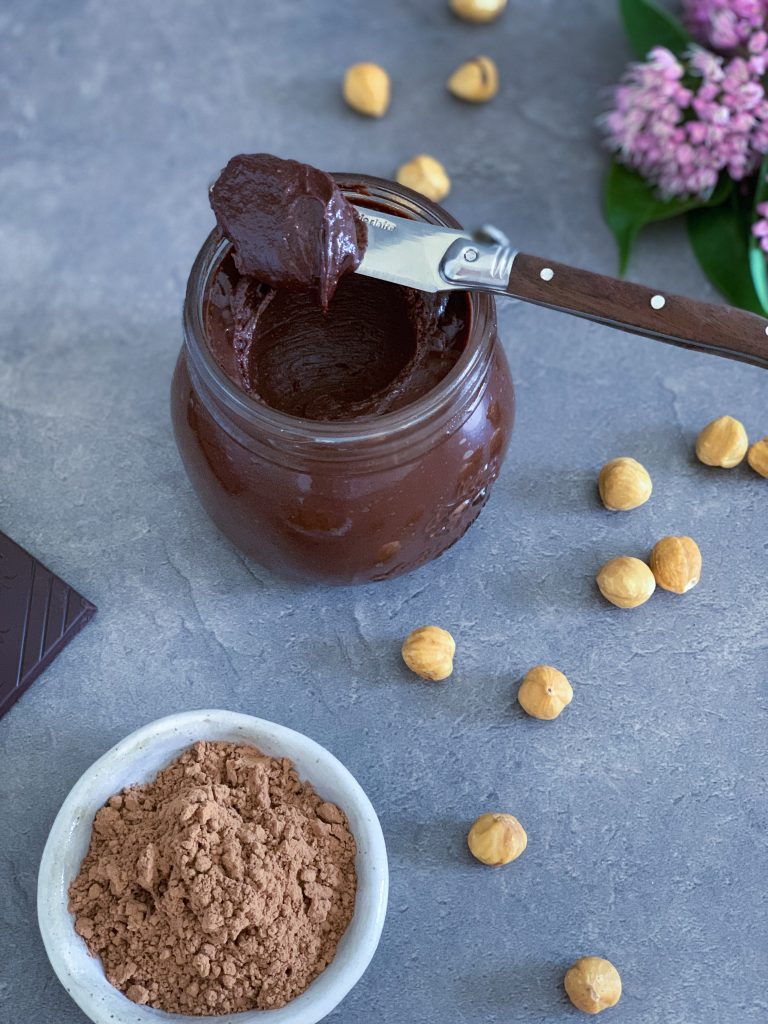
Now look at the image below of how the ‘Nutella’ sets after being in the fridge overnight! It sets up so nicely and is the perfect spreadable consistency after sitting out of the fridge for just 5 minutes!

I made this ‘Nutella’ a few years ago and now use it on my sister in laws Paleo Nutella Cake on my website, so give it a go if you haven’t already! 

Gabrielle xx

Print

Choc Hazelnut Spread

Luciously creamy indulgent chocolate hazelnut spread! 

  • Author: Gabrielle
  • Prep Time: 2 Minutes
  • Cook Time: 6 Minutes
  • Total Time: 8 minutes

Ingredients

60g Roasted Hazelnuts

75g Coconut Palm Sugar

100g Organic 70% Dark Chocolate (Use Dairy Free for complete Paleo)

100g Almond Milk

70g Butter or Coconut Oil

30g Raw Cacao Powder

1 tsp Vanilla Essence

Instructions

  1. Place the sugar into the mixing bowl and mill 10 Sec/Speed 9.
  2. Add the hazelnuts and mill 8 Sec/Speed 9.
  3. Add the dark chocolate and mill 10 Sec/speed 9.
  4. Add all the remaining ingredients and cook 6 Mins/60°/Speed 3.
  5. Place into jars and store in the fridge or set aside in a large bowl for use in the cake.

Notes

Make sure you make the delicious Paleo Nutella Cake with this delicious spread! 

Basil Mayo

Basil Mayo
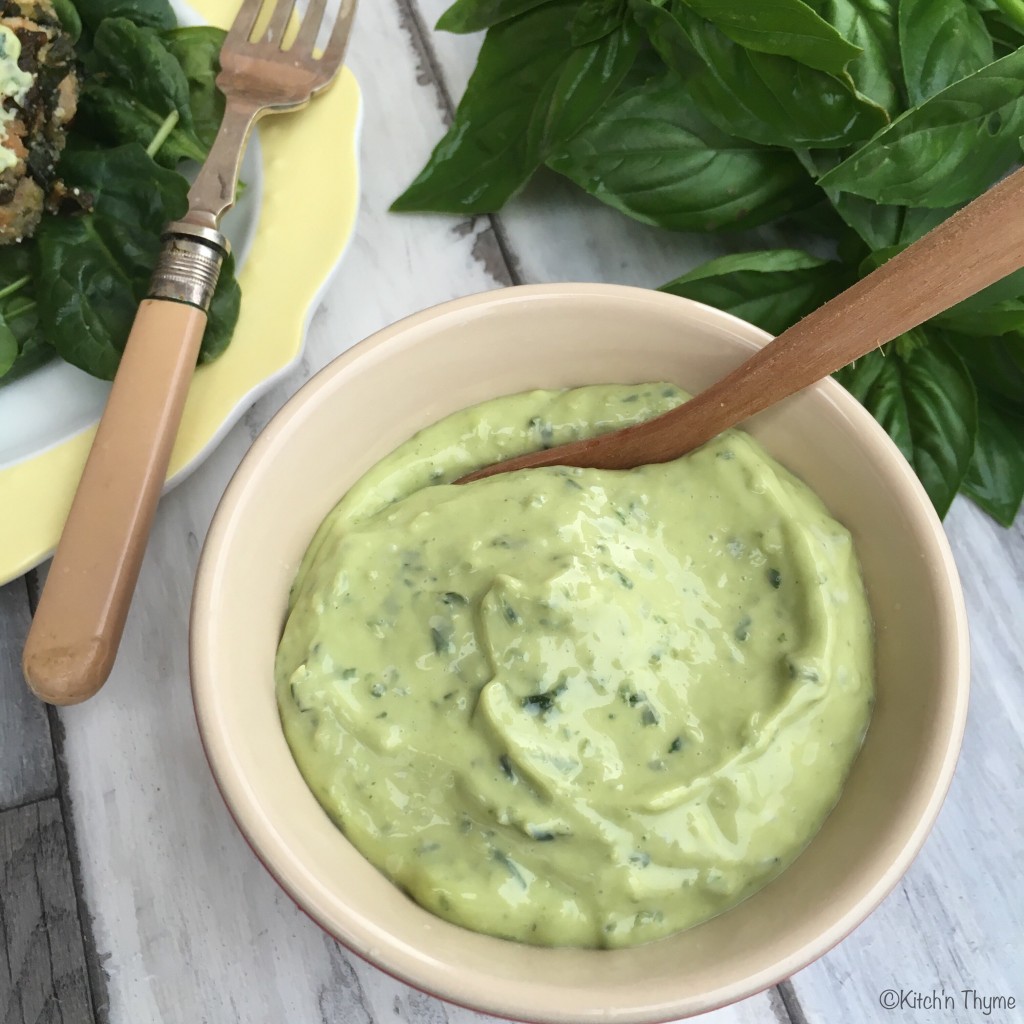
This basil mayo is such a simple but a goodie!

It goes with just about everything, from a burger to a green potato salad!

Have it ready to go in the fridge and serve with rissoles, as a dip, with crumbed chicken or fish, croquettes etc etc etc!

With loads of basil in season it’s the perfect thing to make!

It’s really so simple. Just blitz up fresh basil leaves and then continue like you ordinarily would to make fresh mayonnaise!

Enjoy!!


Basil Mayonnaise
Delicious fragrant basil mayo!
Write a review
Print
Prep Time
5 min
Total Time
5 min
Prep Time
5 min
Total Time
5 min
Ingredients
  1. 1 Garlic Clove
  2. 1/2 Bunch Basil, leaves only
  3. 2 Egg Yolks
  4. 2 tsp Dijon Mustard
  5. 2 tsp Lemon Juice
  6. 1/2 tsp Celtic Sea Salt
  7. 250g Avocado, Macadamia or Rice Bran Oil
Instructions
  1. Place garlic and basil into Thermomix mixing bowl and chop 3 Sec/Speed 7. Scrape down sides of bowl and repeat again if necessary.
  2. Place a jug on top of the Thermomix lid and weigh 250g oil and set aside.
  3. Insert Butterfly. Add the egg yolks, mustard, lemon, salt and pepper and mix 20 Sec/Speed 4.
  4. With the butterfly rotating on Speed 4 and MC in place, pour the oil onto the mixing bowl lid somewhat gradually. Add oil slowly to start with and then faster as the mayonnaise starts to emulsify.
  5. Place into a jar and keep in the refrigerator for up to 3 weeks.
Kitch'n Thyme https://kitchnthyme.com.au/

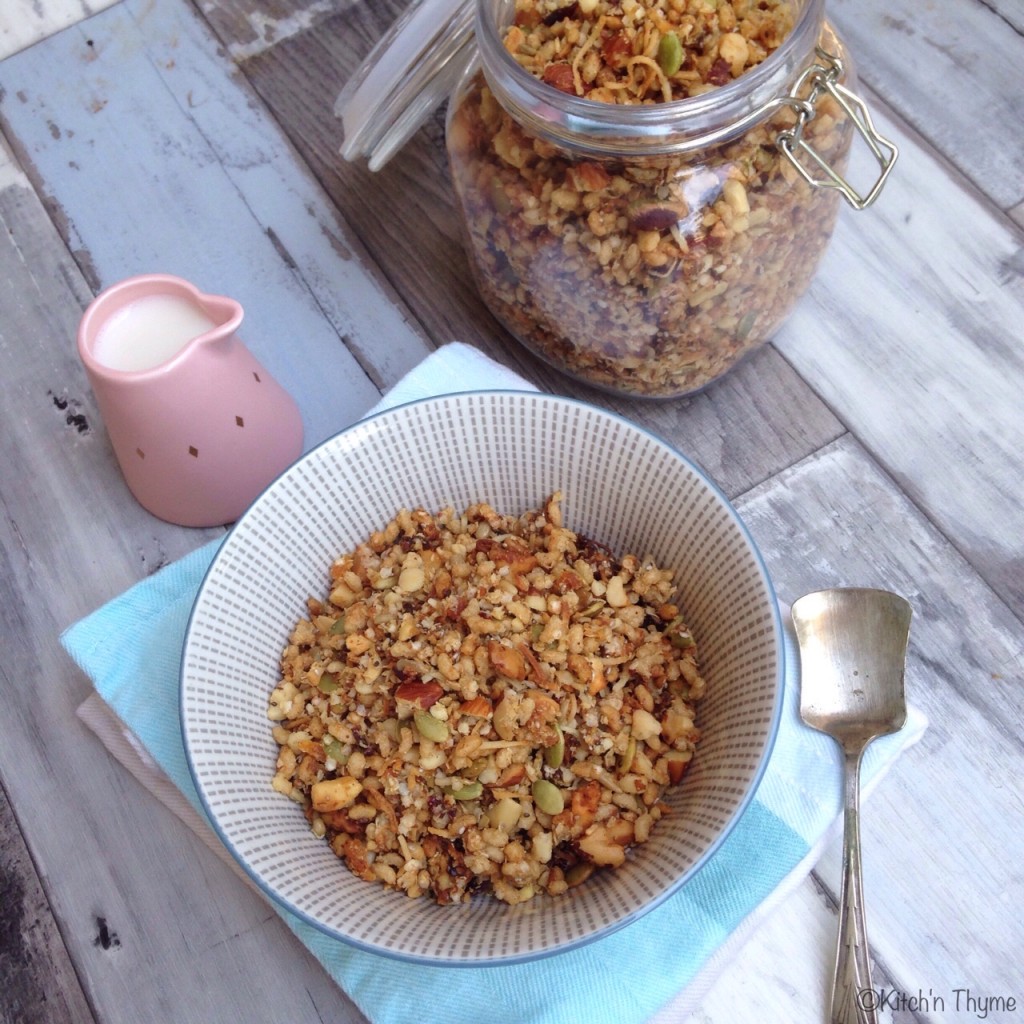
Gluten Free Granola

Gluten Free Granola

This yummy granola is so satisfying you will barely notice it’s any different to ‘normal’ granola!

Filled with nuts, dried fruit, coconut, quinoa & rice and mixed together with the lusciousness of butter and honey, its the perfect fast-food option for breakfast.

The quinoa flakes increase the protein content and create a really lovely flavour once baked.

Gluten Free Granola 2

You can leave some of the fruit out if you are watching the fructose sugars, but some in there is nice.

You can use coconut oil in place of the butter if you want it completely dairy free too.

I love having granola in the cupboard as a backup for when time is of the essence or eggs are getting a bit monotonous! It’s just delicious with my creamy homemade Almond Milk

Enjoy, Gabrielle xx.

Gluten Free Granola
Nutty, golden, crunchy goodness!
Write a review
Print
Prep Time
10 min
Cook Time
40 min
Total Time
40 min
Prep Time
10 min
Cook Time
40 min
Total Time
40 min
Ingredients
  1. 120g Almonds
  2. 120g Macadamias
  3. 150g Brazil Nuts
  4. 150g Quinoa Flakes
  5. 50g Sunflower Seeds
  6. 50g Pepitas
  7. 30g Chia Seeds
  8. 50g Shredded Coconut
  9. 100g Organic Puffed Brown Rice
  10. 1 tsp Cinnamon
  11. 1/2 tsp Allspice
  12. 50g Cranberries
  13. 50g Dried Dates
  14. 50g Apricots
  15. 150g Organic Butter
  16. 150g Honey
Instructions
  1. Preheat the oven to 180°C. Line 2 large baking trays with baking paper and set 1 aside.
  2. Spread the nuts out evenly over 1 tray and roast for 10-15 minutes.
  3. Place the quinoa, seeds, coconut, rice & spices in a large mixing bowl and stir well to combine.
  4. Place the roasted nuts into the Thermomix and chop 2 Sec/Speed 5. Add to the large mixing bowl.
  5. Place the dried fruit into the Thermomix and chop 3 Sec/Speed 7. Add to the large mixing bowl also.
  6. Place the butter and honey into the Thermomix and cook 2 Mins/50°/Speed 3.
  7. Pour over the dry ingredients and toss well to combine. Spread out evenly over the large baking trays and bake for 15 minutes. Stir well with a spoon and cook for a further 10-15 minutes or until golden brown.
  8. Cool on the trays completely before transferring to airtight containers or jars.
Notes
  1. Serve with your choice of milk, greek yoghurt, coconut yoghurt or atop fresh fruit salad for a nutty crunch!
Kitch'n Thyme https://kitchnthyme.com.au/

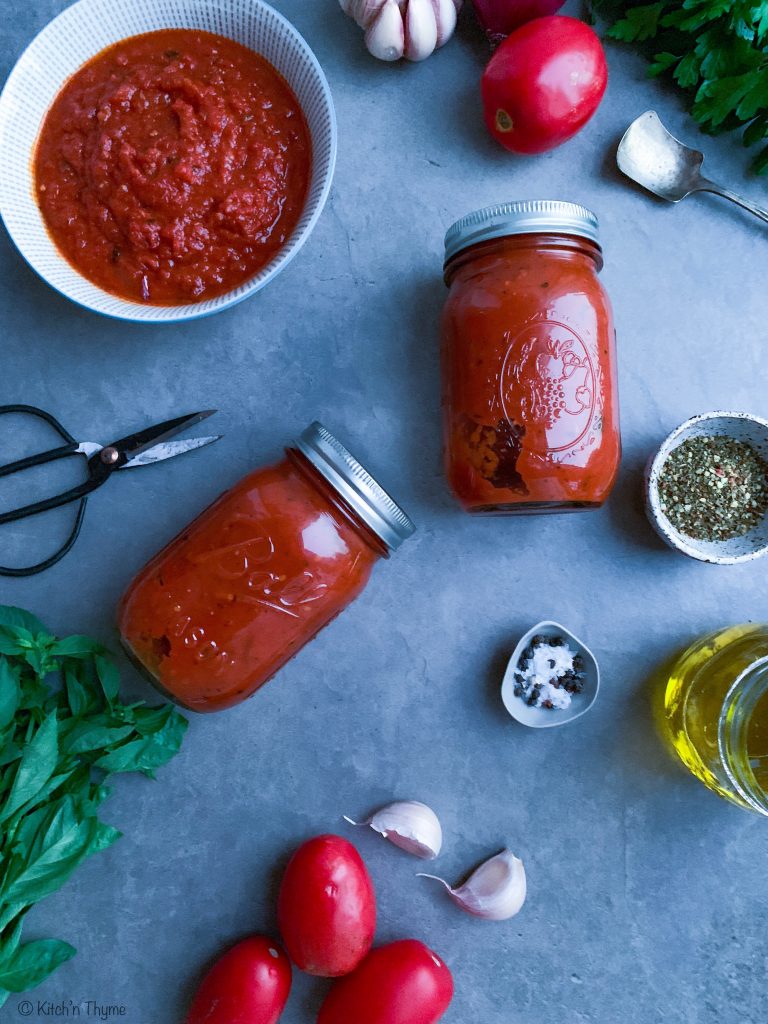
Roast Tomato Pasta Sauce

You won’t ever buy a jar of pasta sauce again!!! Delicious lick the spoon type scenario right here!
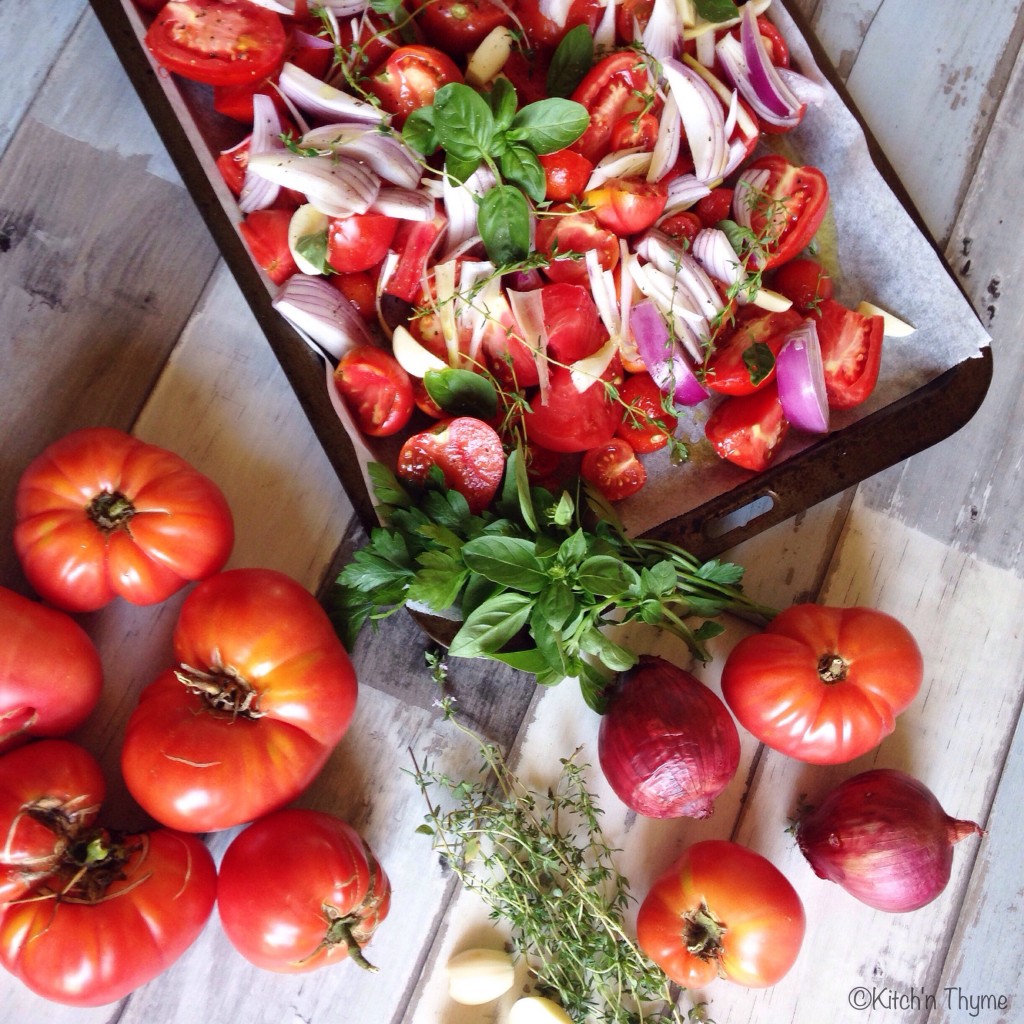
**January 2019 update!** This recipe was originally posted in November 2015. I really felt that the photos needed updating, so i’ve rephotographed the finished product. All the ingredients remain the same! The story below and one photo of before it’s cooked is as it was from 3 years ago (I coudn’t delete that pic as it has the heirloom tomatoes from my bumper garden crop that year🙈)!!**

Alrighty! For those of you who haven’t stopped buying jars of Dolmio or some Organic pasta sauce, then now’s the time to stop!!!

Look no further than THIS post! And make sure you continue scrolling to the bottom – save, pin, print the recipe….just make sure you have it ready for when you’re needing to make a batch of sauce!

I do this sauce partly in the oven and partly in the Thermomix. Roasting the tomatoes and aromatics first gives a much better end product. It gets the onions a little caramelised, sweeter, the tomatoes sweeter and the garlic roasts up and gets a beautiful depth of flavour to it!

Roast Tomato Pasta Sauce 2

If you don’t have a Thermomix, you can do the second step of cooking them down on the stove, and blending over so lightly at the end.

If you blend a tomato sauce on too high a speed it will turn the sauce orange. So to keep that beautiful rich red colour you mustn’t whiz it too much!

I add some Passata in this recipe. You will find that you will get a much better sauce if you use some Passata in addition to fresh tomatoes, rather than using more crushed or fresh cut tomatoes. Passata is made from tomatoes that have been picked at the best time of the year, when they are at their ripest and most full in flavour, it’s pureed and is then strained of skin and seeds and bottled to preserve for sauces throughout the year.

 This recipe makes 2 Litres. I make a batch and preserve it in 500ml portions in my Mason Ball jars and then store in the pantry like I would bought pasta sauce.

Print

Roast Tomato Pasta Sauce

Beautiful flavoursome pasta sauce to bottle up as pantry stock! Reader Kylie says: “Wow – such intense tomato flavour. This recipe will become a staple in our house. The roast tomatoes and veg make this amazing!”

  • Author: Kitch'n Thyme
  • Prep Time: 10
  • Cook Time: 120
  • Total Time: 130

Ingredients

  • 2kg Tomatoes
  • 2 Medium Red onions, sliced
  • 6 Cloves Garlic
  • 4 Sprigs each Thyme, Basil, & Italian Parsley
  • 4 Tbsp Olive Oil
  • Salt, pepper
  • 500ml Passata (You can add the whole 700ml bottle if it will fit in the Thermomix)
  • 100g Tomato Paste
  • 50g Honey
  • 20g Olive Oil
  • 2 tsp Celtic Salt
  • 2 tsp Lemon Juice
  • 2 tsp Italian Herbs
  • 1 tsp Garlic Powder
  • 1 tsp Onion Powder

Instructions

  1. Preheat the oven to 180°C and line 2 large baking trays with baking paper.
  2. Boil the kettle. Cut a small cross into the base of the tomatoes and place them into a large mixing bowl and cover with boiling water. Leave for 1-2 minutes to soak, before peeling the skins off and cutting into quarters.
  3. Place the tomatoes, onions, garlic, fresh herbs, olive oil, and a generous sprinkle of salt and pepper onto the prepared baking trays. Give a really good toss then spread out evenly on the baking trays and roast 60 minutes.
  4. Place the roasted mixture into the bowl of the Thermomix and add all the remaining ingredients. Cook for a further 60 Mins/100°/Speed 1.
  5. Then once cooked, blend 10 Sec/Speed 5. (Be careful not to go over with the speed or the sauce will go an orange colour.)
  6. Place into airtight jars (mason jars work fabulously as they seal really well) and cool. If you’ve preserved them by getting an adequate seal you can store them in the pantry for months, otherwise you can freeze the sauce in portions in the freezer.

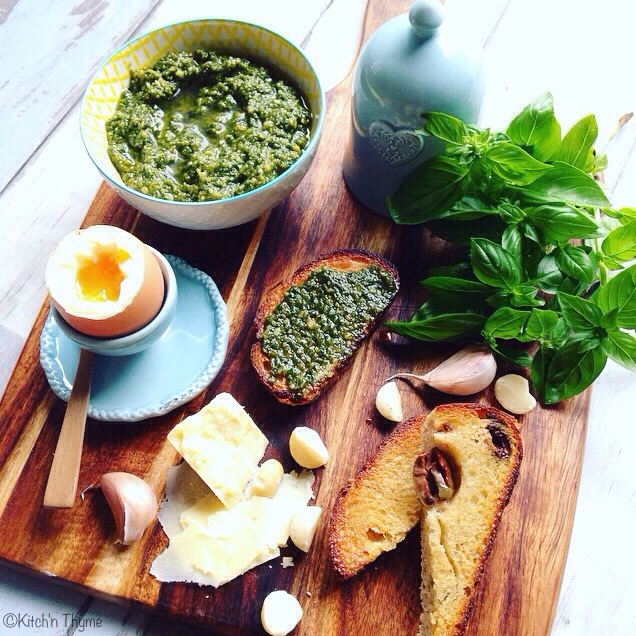
Basil Pesto

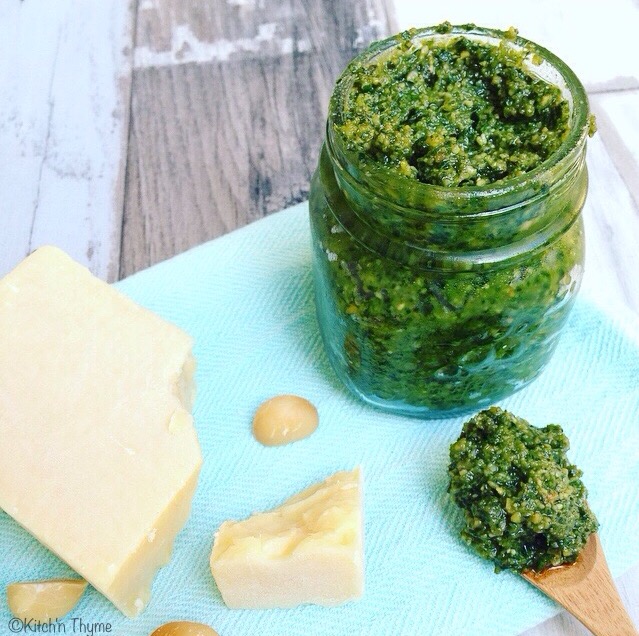
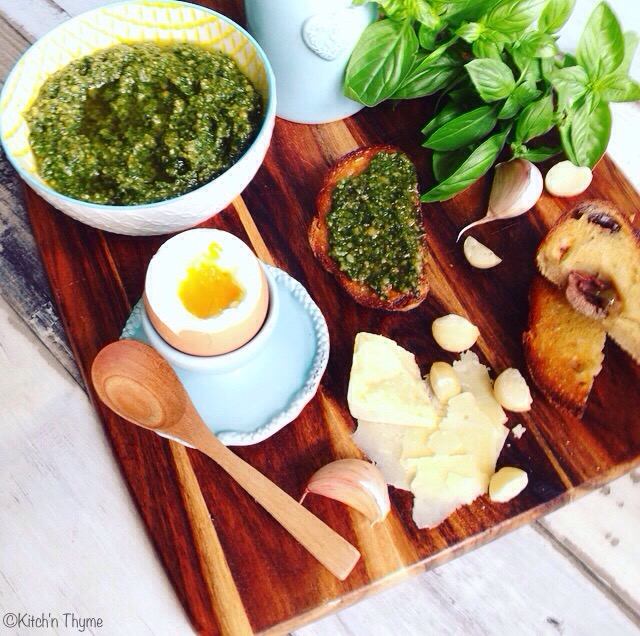
Basil PestoThis Basil Pesto is delicious!!!!! I developed this one back when I was studying as a chef.

I’ve always added Italian Parsley to my pesto as it oxides quite a lot slower than basil and keeps for a really brilliant vibrant green pesto. And plus I really love the flavour dimension that the parsley adds.

Basil Pesto 3

Basil & Parsley are really high in Vitamin K along with many other vitamins. Through their unique anti-oxidants, essential-oils, vitamins, phyto-sterols and other nutrient substances, they help equip our body to fight against germs, toxins and help to boost immunity level.

So what better way than to pack them into a super dense nutrient spread/sauce!

I choose macadamias and pine nuts! They mix gives a really delicious flavour. You could use brazil or cashew nuts too.

bAsil Pesto 2

To make it dairy free and completely paleo just omit the parmesan. You will still have a beautiful pesto.

Basil Pesto
Yields 500
Delicious moreish pesto that has endless uses in my kitchen!
Write a review
Print
Prep Time
5 min
Total Time
7 min
Prep Time
5 min
Total Time
7 min
Ingredients
  1. 60g Parmesan Cheese
  2. 1 Clove Garlic
  3. 2 Large Bunches (100g) Basil
  4. 1 Bunch (20g) Italian Parsley
  5. 150g Pine Nuts
  6. 50g Macadamias
  7. 1 1/2 tsp Celtic Salt
  8. 100g Olive Oil
Instructions
  1. Preheat the oven to 180°C. Line a large baking tray with baking paper and roast the pine nuts and macadamias for approximately 10 minutes or until golden brown. Set aside to cool slightly.
  2. Place the parmesan into the Thermomix and mill 5 Sec/Speed 7.
  3. Add all the remaining ingredients and blend 8 Sec/Speed 7.
  4. Serve.
Notes
  1. This pesto will keep nicely in the fridge for up to a week. Just make sure you cover the top with extra olive oil.
  2. You can freeze this pesto too. I often make a batch and freeze the leftover into ice cube trays ready to pull out for different meals.
Kitch'n Thyme https://kitchnthyme.com.au/