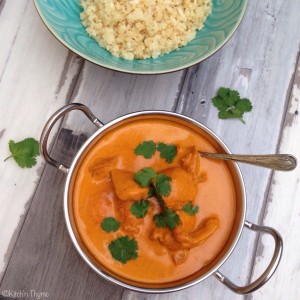
BUTTER CHICKEN!!!!!!! A nut free version.
Yes it’s finally here!!! My Butter Chicken recipe has made it up onto the blog! I’ve been wanting to share this one with you for a loooooonnnng time! But do you think I could get around to it!!! Let’s just say that I’ve been taking my time perfecting the recipe to which I now think is pretty pretty amazing!!
I don’t use cashews in my butter chicken. Some recipes and restaurants do and many don’t. Rumour has it that nuts started being introduced to Butter Chicken in the 1970’s in New Delhi for one reason or another, but it wasn’t like the traditional curry. I prefer not to because I think it changes the sauce in a number of ways. It makes the sauce thicker, and changes the flavour. It gives it a very thick mouth feel. I myself prefer a more authentic smooth tomato cream sauce….albeit with absolutely no change to the flavour!! I like to leave the nuts for a beautiful Korma curry!
It’s important in a butter chicken and in any curry for that matter, to cook off the aromatics well. So that’s the onion and garlic etc. If not cooked off enough, they will leave a bitter aftertaste and also won’t release all their intended sweetness.
The spices also need to be thoroughly cooked off too! If not, you can end up with quite a powdery mouth feel, not nice! So whether you’re making a curry in a Thermomix or in a saucepan, make sure you cook off the onions and spices well…please! I try to keep the spices fairly straight forward in this recipe without compromising flavour…so that you don’t have to buy a trillion different packets! You can add more cayenne if you like your curry a little hotter.
I also cook the tomatoes off for a few minutes too. This will help the tomatoes to release their sweetness and cook of any tart element.
You won’t get a butter chicken quite the colour of the one you eat at the Indian restaurant unless you use tandoori food colouring. They also marinate the chicken in the colour before grilling in the Tandor (you can grill the chicken first if you like before adding in to the sauce to finish cooking). I prefer not to use colours in my cooking, so we just have it a little more orange in colour!
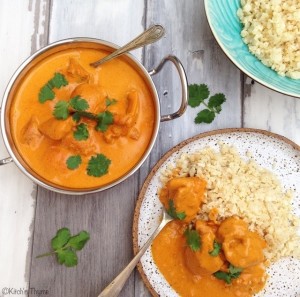
I choose to use chicken thigh. I prefer it for its superior flavour and tenderness. You can use breast if you would prefer, just reduce the final cooking stage to about 10-12 minutes.
You can very easily make it completely dairy free by replacing the butter with coconut oil and the cream with coconut cream.
You can serve the curry with my Cauliflower Rice (which I keep plain with no coriander and capsicum etc for this recipe) or Basmati Rice and of course a good dollop of Cucumber Raita. (I’ll definitely put up my recipe for that soon too!)
This recipe feeds 6-8, so more than what my young family needs for 1 meal, so we eat half and freeze the other half for a rainy day or for a friend in need! I love having meals in the freezer for when you get in the door late or have a crazy day at home etc, it makes such a difference in helping the home to run smoothly!
I really hope you love my family favourite curry as much as we do!
Butter Chicken
2015-09-10 11:23:29
Serves 6
Beautiful tender chicken cooked in a spicy tomato cream sauce.
- 800g-1kg Organic Chicken Thigh, diced into 4-5cm pieces
- 1 tsp Cumin
- 1 tsp Coriander
- 1 tsp Smoked Paprika
- 15g Olive Oil
- 20g Lemon Juice
- 1 Medium Brown Onion, halved
- 3 Cloves Garlic, peeled
- 15g (3cm knob) Ginger
- 100g Organic Butter
- 30g Olive Oil
- 2 tsp Garam Masala
- 1 tsp Cumin
- 1 tsp Smoked Paprika
- 1 tsp Turmeric
- 1 tsp Fennel Seeds
- 1/2 tsp Coriander
- 1/8-1/4 tsp Cinnamon
- 5 Cardamon Pods
- pinch chilli powder or cayenne pepper
- 200g Crushed Tomatoes
- 30g Tomato Paste
- 300g Organic Cream
- 2 tsp Celtic Salt
- 1 tsp Honey
- Place the chicken, spices, olive oil & lemon into a medium bowl and mix well to combine. Place in the fridge to marinate for 3 hours or overnight.
- Place the onion, garlic & ginger into the Thermomix bowl and chop 3 Sec/Speed 7.
- Add the butter & olive oil and cook 7 Mins/120°/Speed 1/MC Off.
- Add the spices* and cook a further 3 Mins/100°/Speed 1/MC Off.
- Add the crushed tomatoes and tomato paste and cook 5 Mins/100°/Speed 1, then blend 1 Min/Speed 8.
- Scrape down the sides of the bowl and the lid. Add the pre-marinated chicken, cream, salt & honey and cook 17 Mins/100°/Speed 1/Reverse.
- Pour into a Thermoserver and garnish with fresh Coriander. Serve with steamed basmati rice or cauliflower rice and cucumber raita.
- *Once you've cooked the spices off and cooked the tomatoes, you can choose to take out the cardamom pods before blending, or leave them in for an extra punchy spice flavour.
- If you're using canned tomatoes, you can use the whole 400g tin, but it will just encourage a little more of a tomato flavour. I choose to freeze the other half for another meal of butter chicken.
- This recipe feeds 6-8, so more than what my young family needs for 1 meal, so we eat half and freeze the other half for a rainy day or for a friend in need! I love having meals in the freezer for when you get in the door late or have a crazy day at home etc, it makes such a difference in helping the home to run smoothly!
By Kitch'n Thyme
Kitch'n Thyme https://kitchnthyme.com.au/

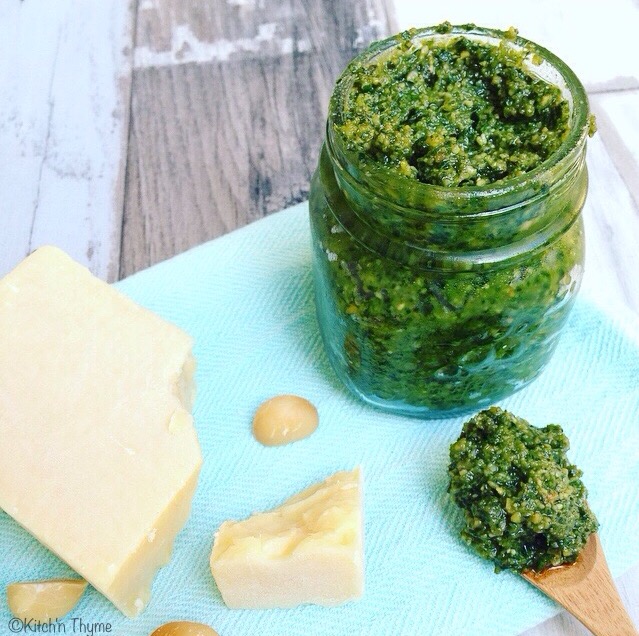
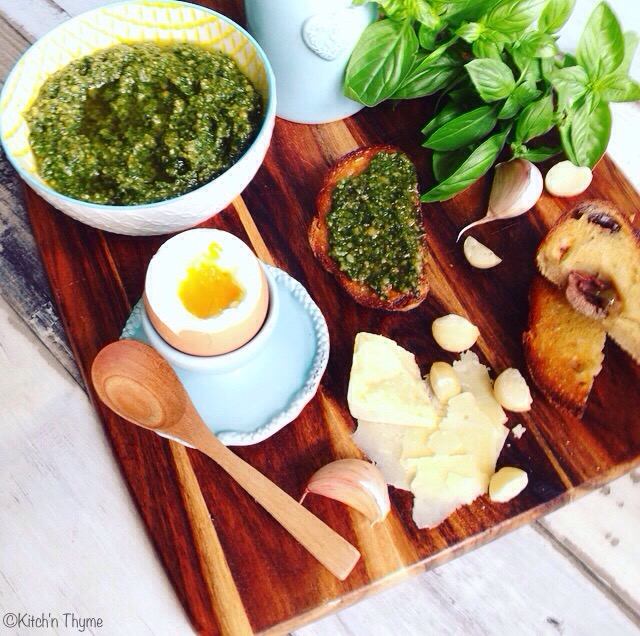
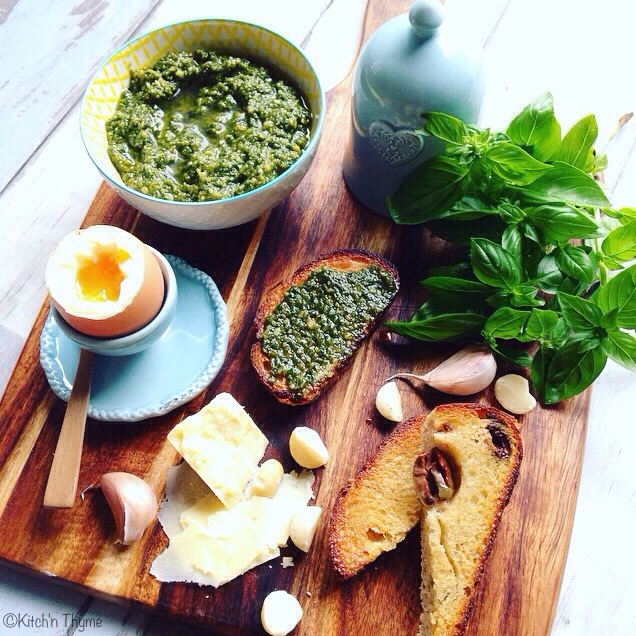 This Basil Pesto is delicious!!!!! I developed this one back when I was studying as a chef.