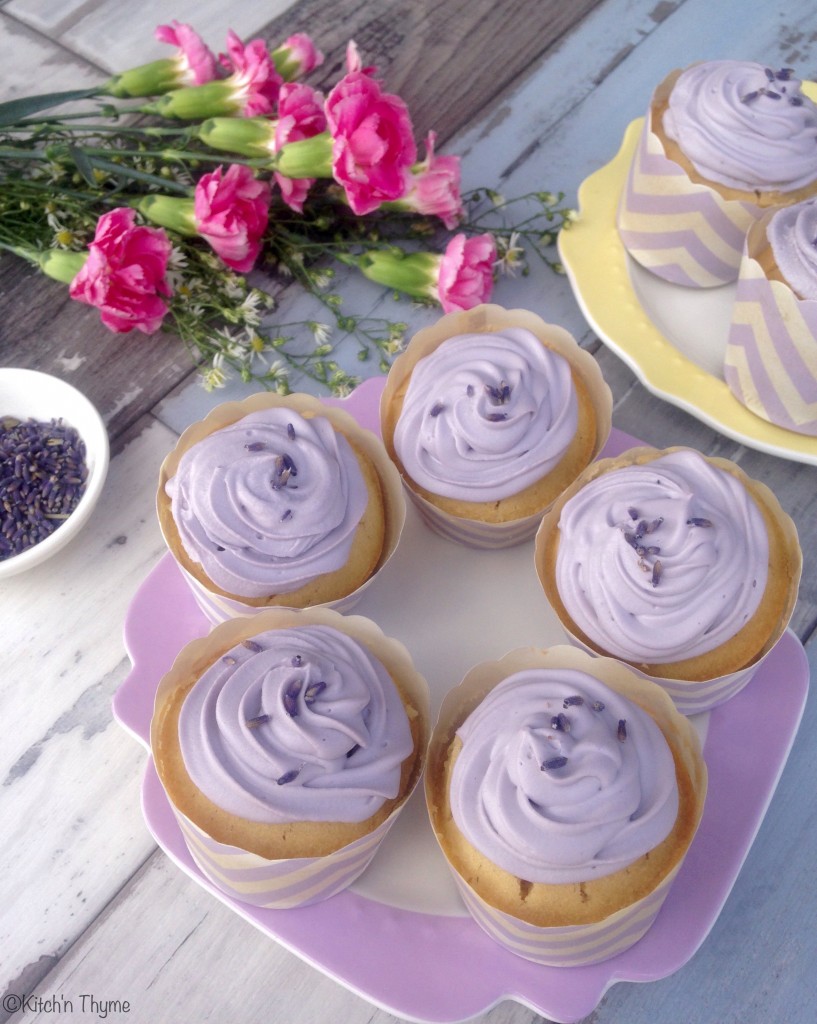
Some of you may remember last year I showed you a wedding cake I’d done for our close friends! Well the top layer for the bride and groom was this gorgeous Gluten Free Lemon & Lavender! Well I’m going to share them with you just in time for Mothers Day! These beautiful cakes are an absolute hit!! Gluten Free….but not gluten free with that horrible connotation of dry, and gritty and a very distinctive taste! This is Gluten Free with deliciousness and perhaps what someone wouldn’t even realise was gluten free unless told! It’s an absolute winner for the Gluten Free’s out there and just those that are cutting back on gluten and would like an alternative!
I mean you’ve got to try it!!! I’ve done this batter over the last few years as larger cakes for weddings with a gorgeous White Chocolate & Lavender Ganache in the layers (like that of my friends)! Oh yum!! I’ve done it like this in little cupcakes for smaller gatherings like baby showers and a Bridal Shower and it never ceases to delight!
Lavender is so amazing in food! I absolutely love it! You’ll see me use it a fair bit! I’ve got a few recipes to put up that use it, like my Lavender Icecream ( I developed it when I studied as a Chef) etc! Stay tuned!
I always use Guar Gum in my Gluten Free baking. It comes from the Guar Bean. Xantham gum is typically used, however it can come from a variety of sources including corn, wheat, dairy or soy, so I find guar a more reliable source for gluten free.
I’m going to give you two different versions. My classic version is made with buttermilk and butter, and finished with a buttercream icing however I’ve tweaked it so that they can be made to suit those that are Lactose & Casein intolerant by replacing the buttermilk with coconut cream and the butter with ghee. The ghee is still a ‘dairy’ product, however if made correctly the lactose and casein which often are the allergenic properties of dairy products, have been removed, making it suitable for some. If you are truly dairy intollerent, then use a dairy free alternative to ghee. The Lactose & Casein free version is really yummy, but the crumb is a touch firmer than the original. I’ve also used a whipped Coconut Cream Frosting on the top. It is yummy and creamy, different in texture to my buttercream, however is sure to delight those that can’t have butter!
Buttermilk has an amazing effect on baked goods. When combined with baking soda, it helps to add more moisture, giving a more tender final product, making it perfect to use in gluten free baking where we really need that extra moisture and tenderness!
I absolutely love butter! We go through so much butter in my house! The classic version also uses butter. There are so many amazing health benefits to butter, which I’ll talk all about more in another post! You will notice that I use regular salted butter in the frosting. I always have done this as that touch of salt adds extra flavour.
These cupcakes still have some organic raw sugar in them, so they are what we term a treat in our house! You can successfully replace this in either version with coconut palm sugar and it is very yummy, but you lose the creamy colour and end up with a more brown crumb and a little less intense lavender flavour.
Lemon & Lavender Gluten Free Cupcakes
2015-04-30 08:15:36
Yields 12
Exquisite gluten free Lemon & Lavender cupcakes that are sure to delight any mum on Mothers Day!
- 125g Buttermilk or Coconut Cream
- 1 1/2 Tbsp Dried Culinary Lavender
- 125g Organic Butter or Ghee
- 130g Brown Rice
- 60g Potato Starch
- 30g Tapioca Starch
- 1/2 tsp Guar Gum
- 1 1/2 tsp Baking Powder (Aluminium Free)
- 150g Organic Raw Sugar or Coconut Sugar
- 2 Large Organic Eggs
- 1/2 Lemon, zested
- 1/2 tsp Vanilla Essence
- 200g Organic Raw Sugar
- 75g Organic Butter
- 4 Drops Food Grade Lavender Essential Oil (I use Young Living)
- 5-10 drops Hoppers Natural Purple Food Colouring
- 1 Can Coconut Cream
- 1 Tbsp Honey or Maple Syrup
- 4 Drops Food Grade Lavender Essential Oil (I use Young Living)
- 15-20 drops Hoppers Natural Purple Food Colouring
- Preheat the oven to 180°C.
- Place the buttermilk (or coconut cream) and lavender into the mixing bowl of the Thermomix and heat 5 Mins/50°/Speed 2.
- Strain the buttermilk through a fine sieve, pushing the lavender into the sieve with the back of a spoon to extract as much of the flavour and oils out of the lavender into the milk. Discard the strained lavender seeds. Set aside & rinse the mixing bowl.
- Place the butter (or ghee) into the mixing bowl and melt 1-2 Min/50°/Speed 2. Scrape down the sides of the bowl and add the butter to the lavender buttermilk. Rinse and thoroughly dry the mixing bowl.
- Place the rice into the mixing bowl and mill 2 Mins/Speed 9. Scrape down the sides of the bowl. Add the potato starch, tapioca, guar gum and baking powder and mix together 10 Sec/Speed 6. Set aside.
- Place the raw sugar or coconut sugar into the mixing bowl and mill 10 Sec/Speed 9.
- Add the eggs, lemon rind and vanilla and cream together 20 Sec/Speed 4.
- Add the flour mixture and buttermilk/butter (or coconut milk/ghee) mixture, in three additions, beginning and ending with flour, gently combining approx. 3-5 Sec/Speed 3-4 after each addition or until just combined. Be careful not to over mix the batter.
- Fill 12 x 1/3 cup sized paper cupcake cups 2/3 full with batter and place onto a baking tray.
- Bake for 20 minutes or until a skewer inserted comes out clean. If the skewer is just about clean, you can pull them out, as the residual heat will cook them through. You don't want to overcook them! Leave to cool completely on a wire rack before icing.
- Place the sugar into the mixing bowl and mill 20 Sec/Speed 9.
- Add the remaining ingredients and whip 30 Sec/Speed 4.
- Place into a piping bag fitted with desired nozzle and pipe onto cooled cakes and lightly sprinkle with extra dried lavender.
- Place the unopened can of coconut cream upside down in the fridge and leave to chill overnight. Turn back over and pop the top of the coconut cream can and scoop out the firm thick cream into the mixing bowl. (About half way down you will reach a more watery coconut liquid. Save that liquid for smoothies etc in a sealed jar in the fridge.)
- Add the remaining ingredients and whip 20-30 Sec/Speed 4.
- Place into a piping bag fitted with desired nozzle and pipe onto cooled cakes and lightly sprinkle with extra dried lavender.
By Kitch'n Thyme
Kitch'n Thyme https://kitchnthyme.com.au/

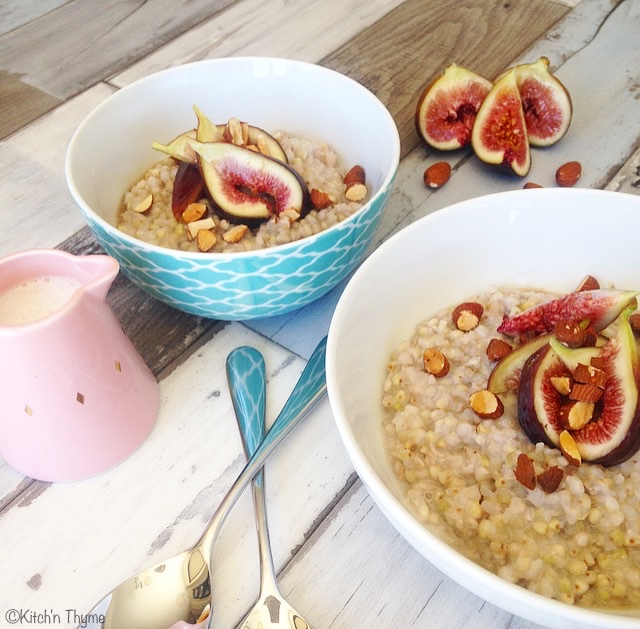
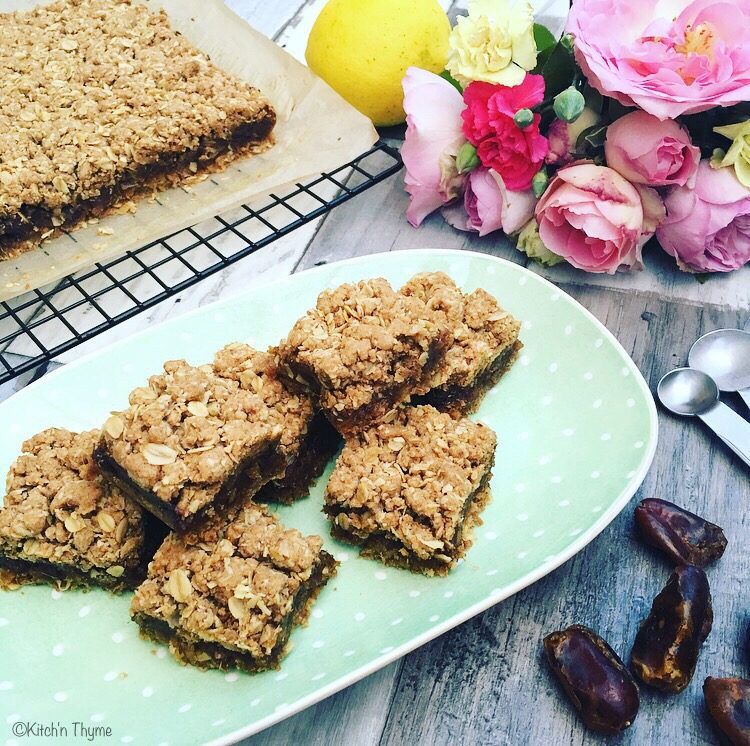
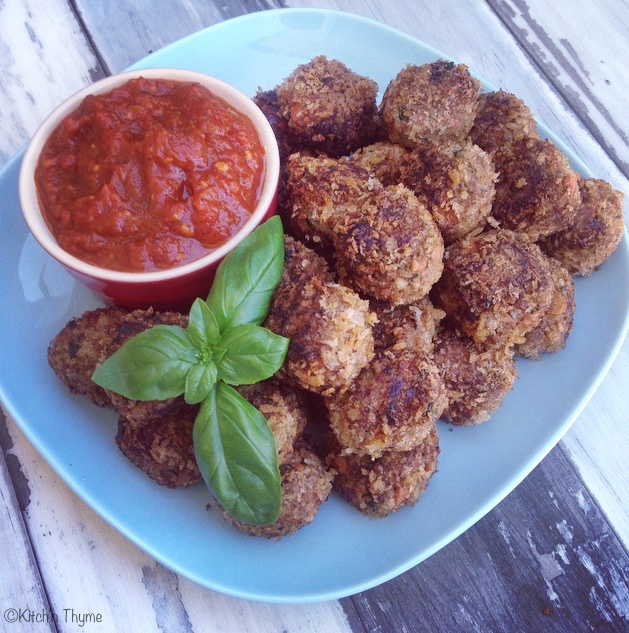
 These ones are a recent creation! And they are good!
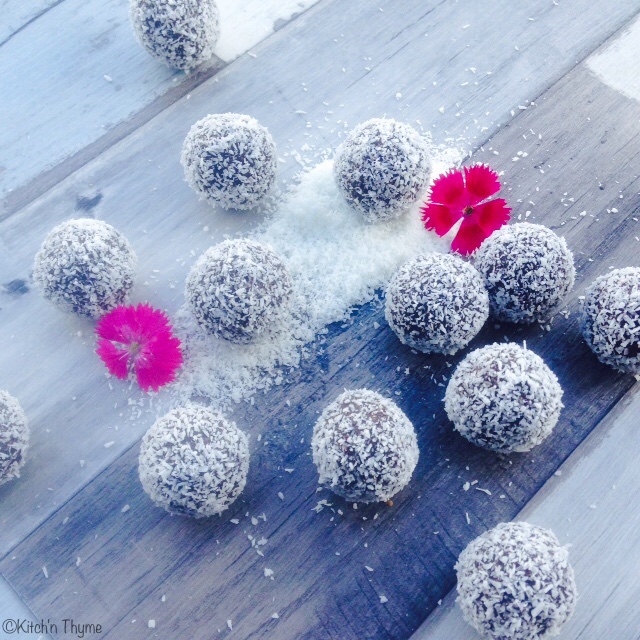
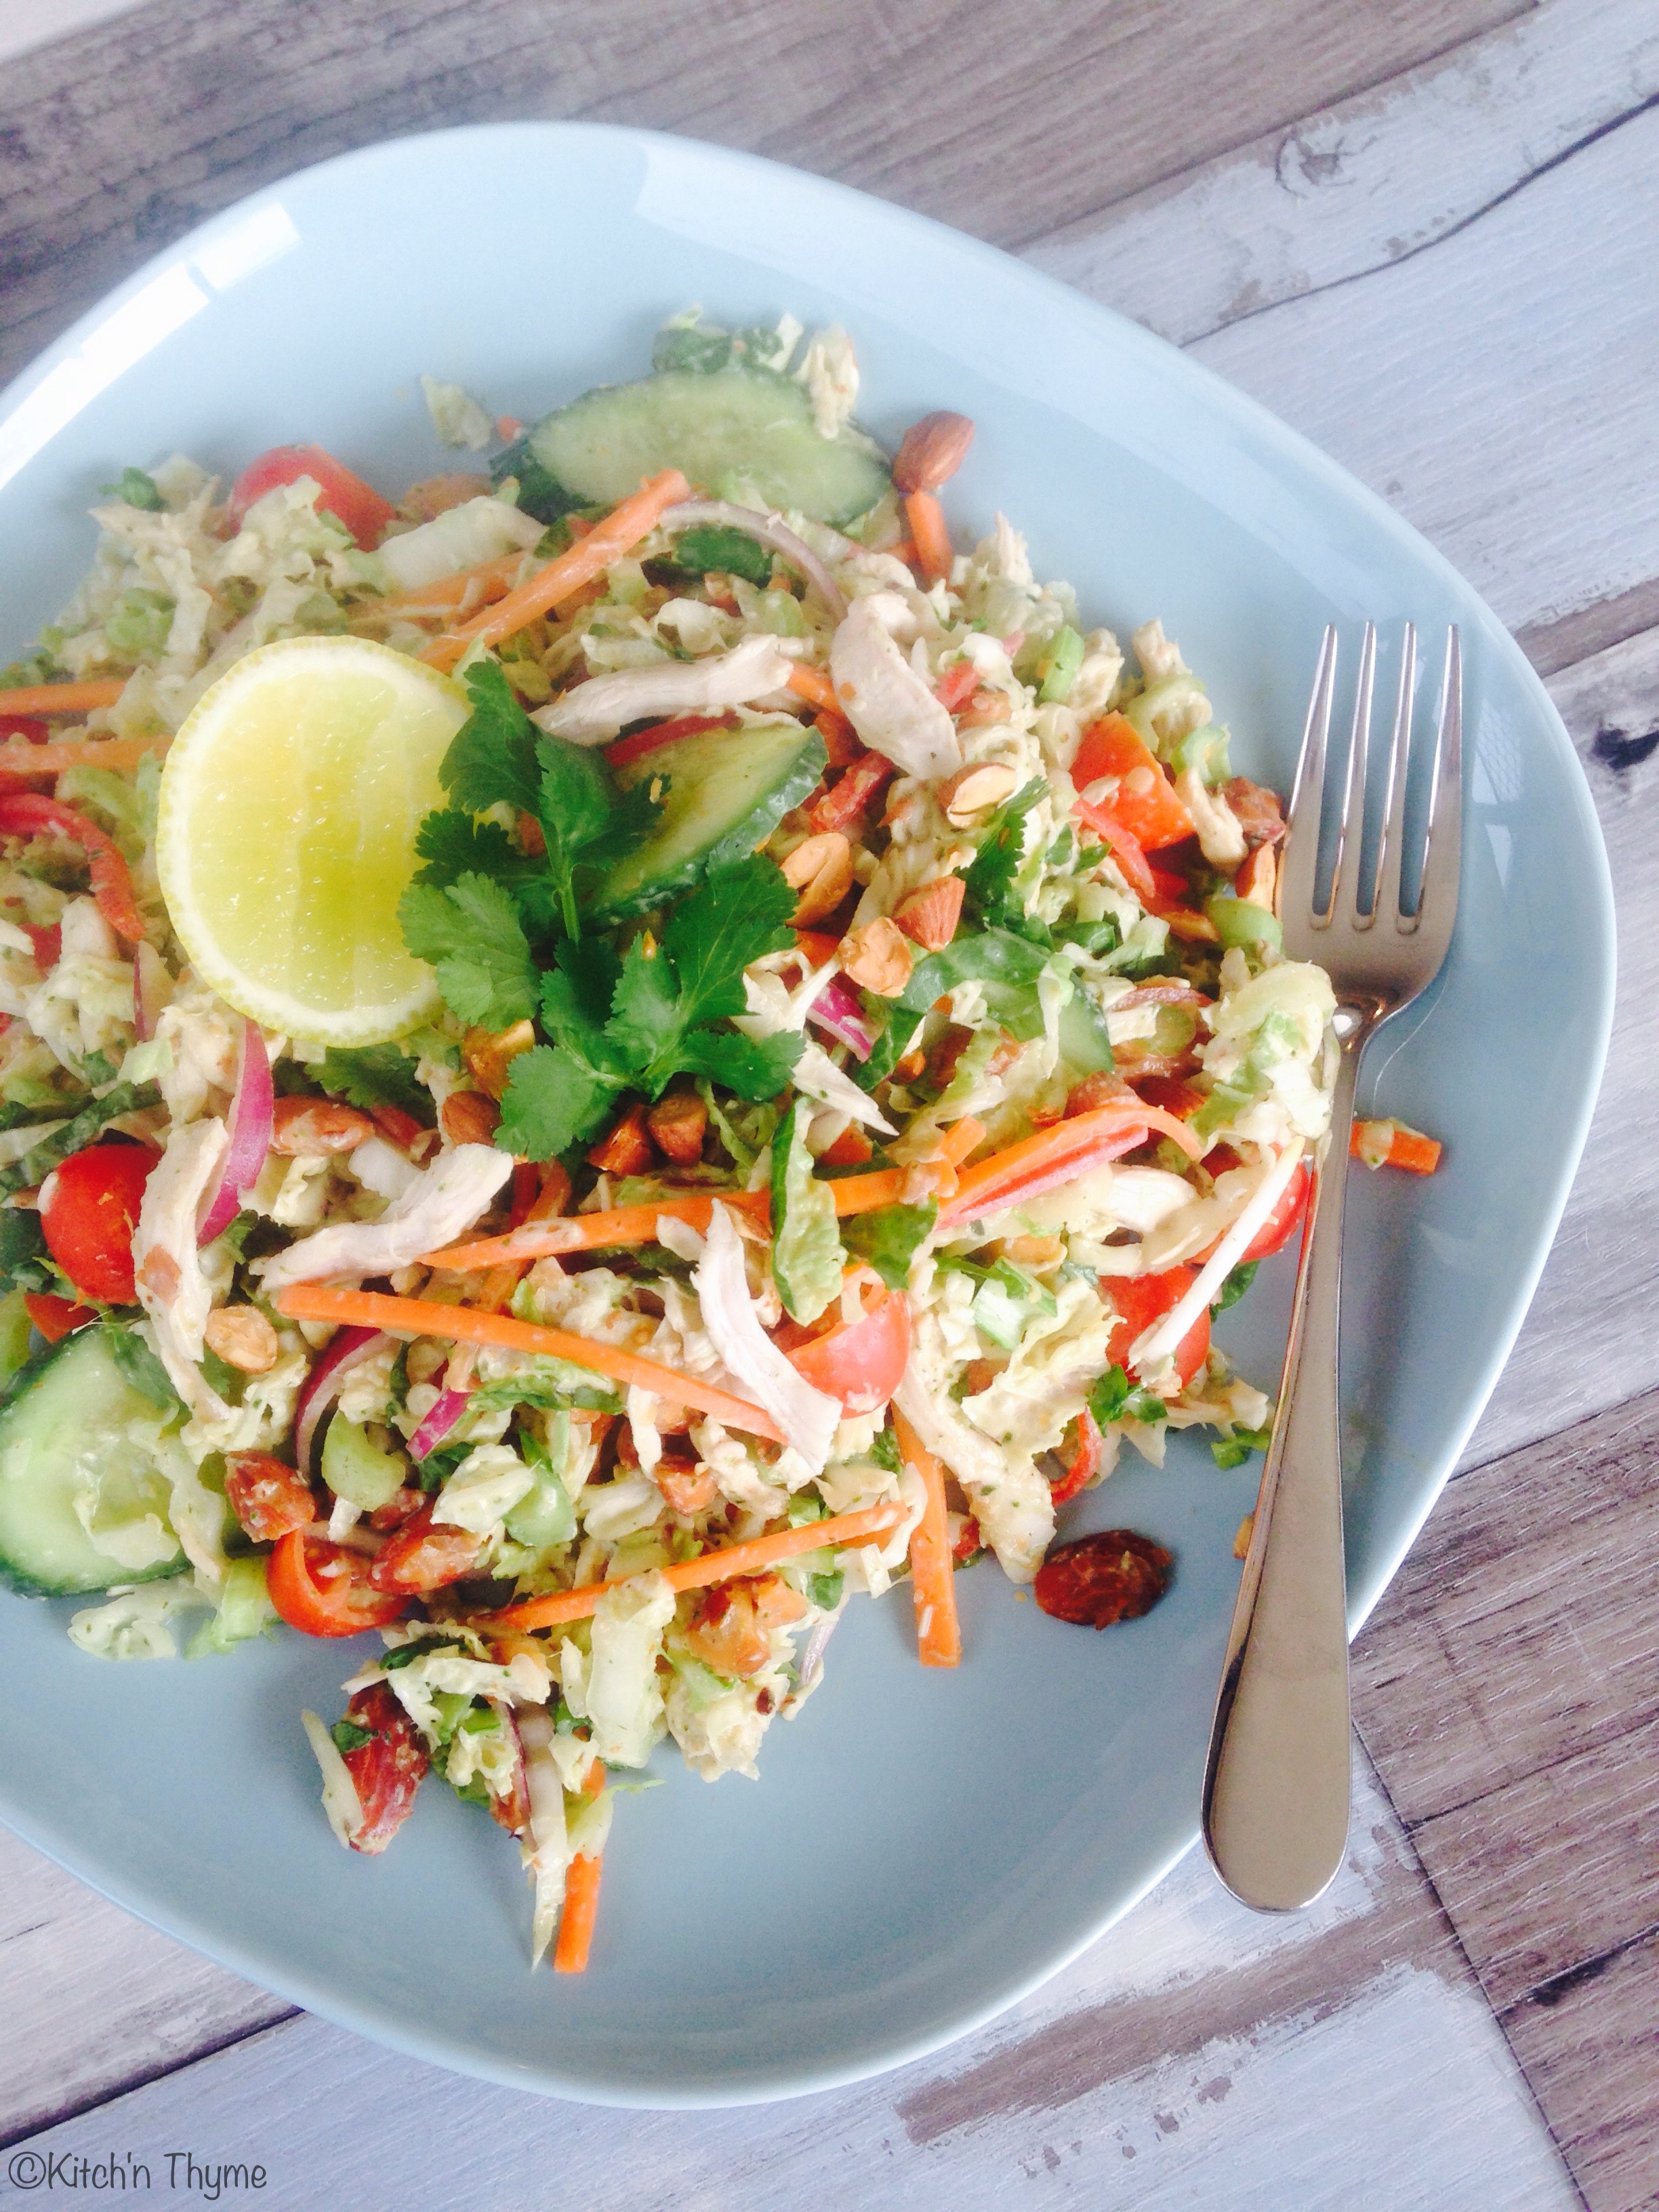


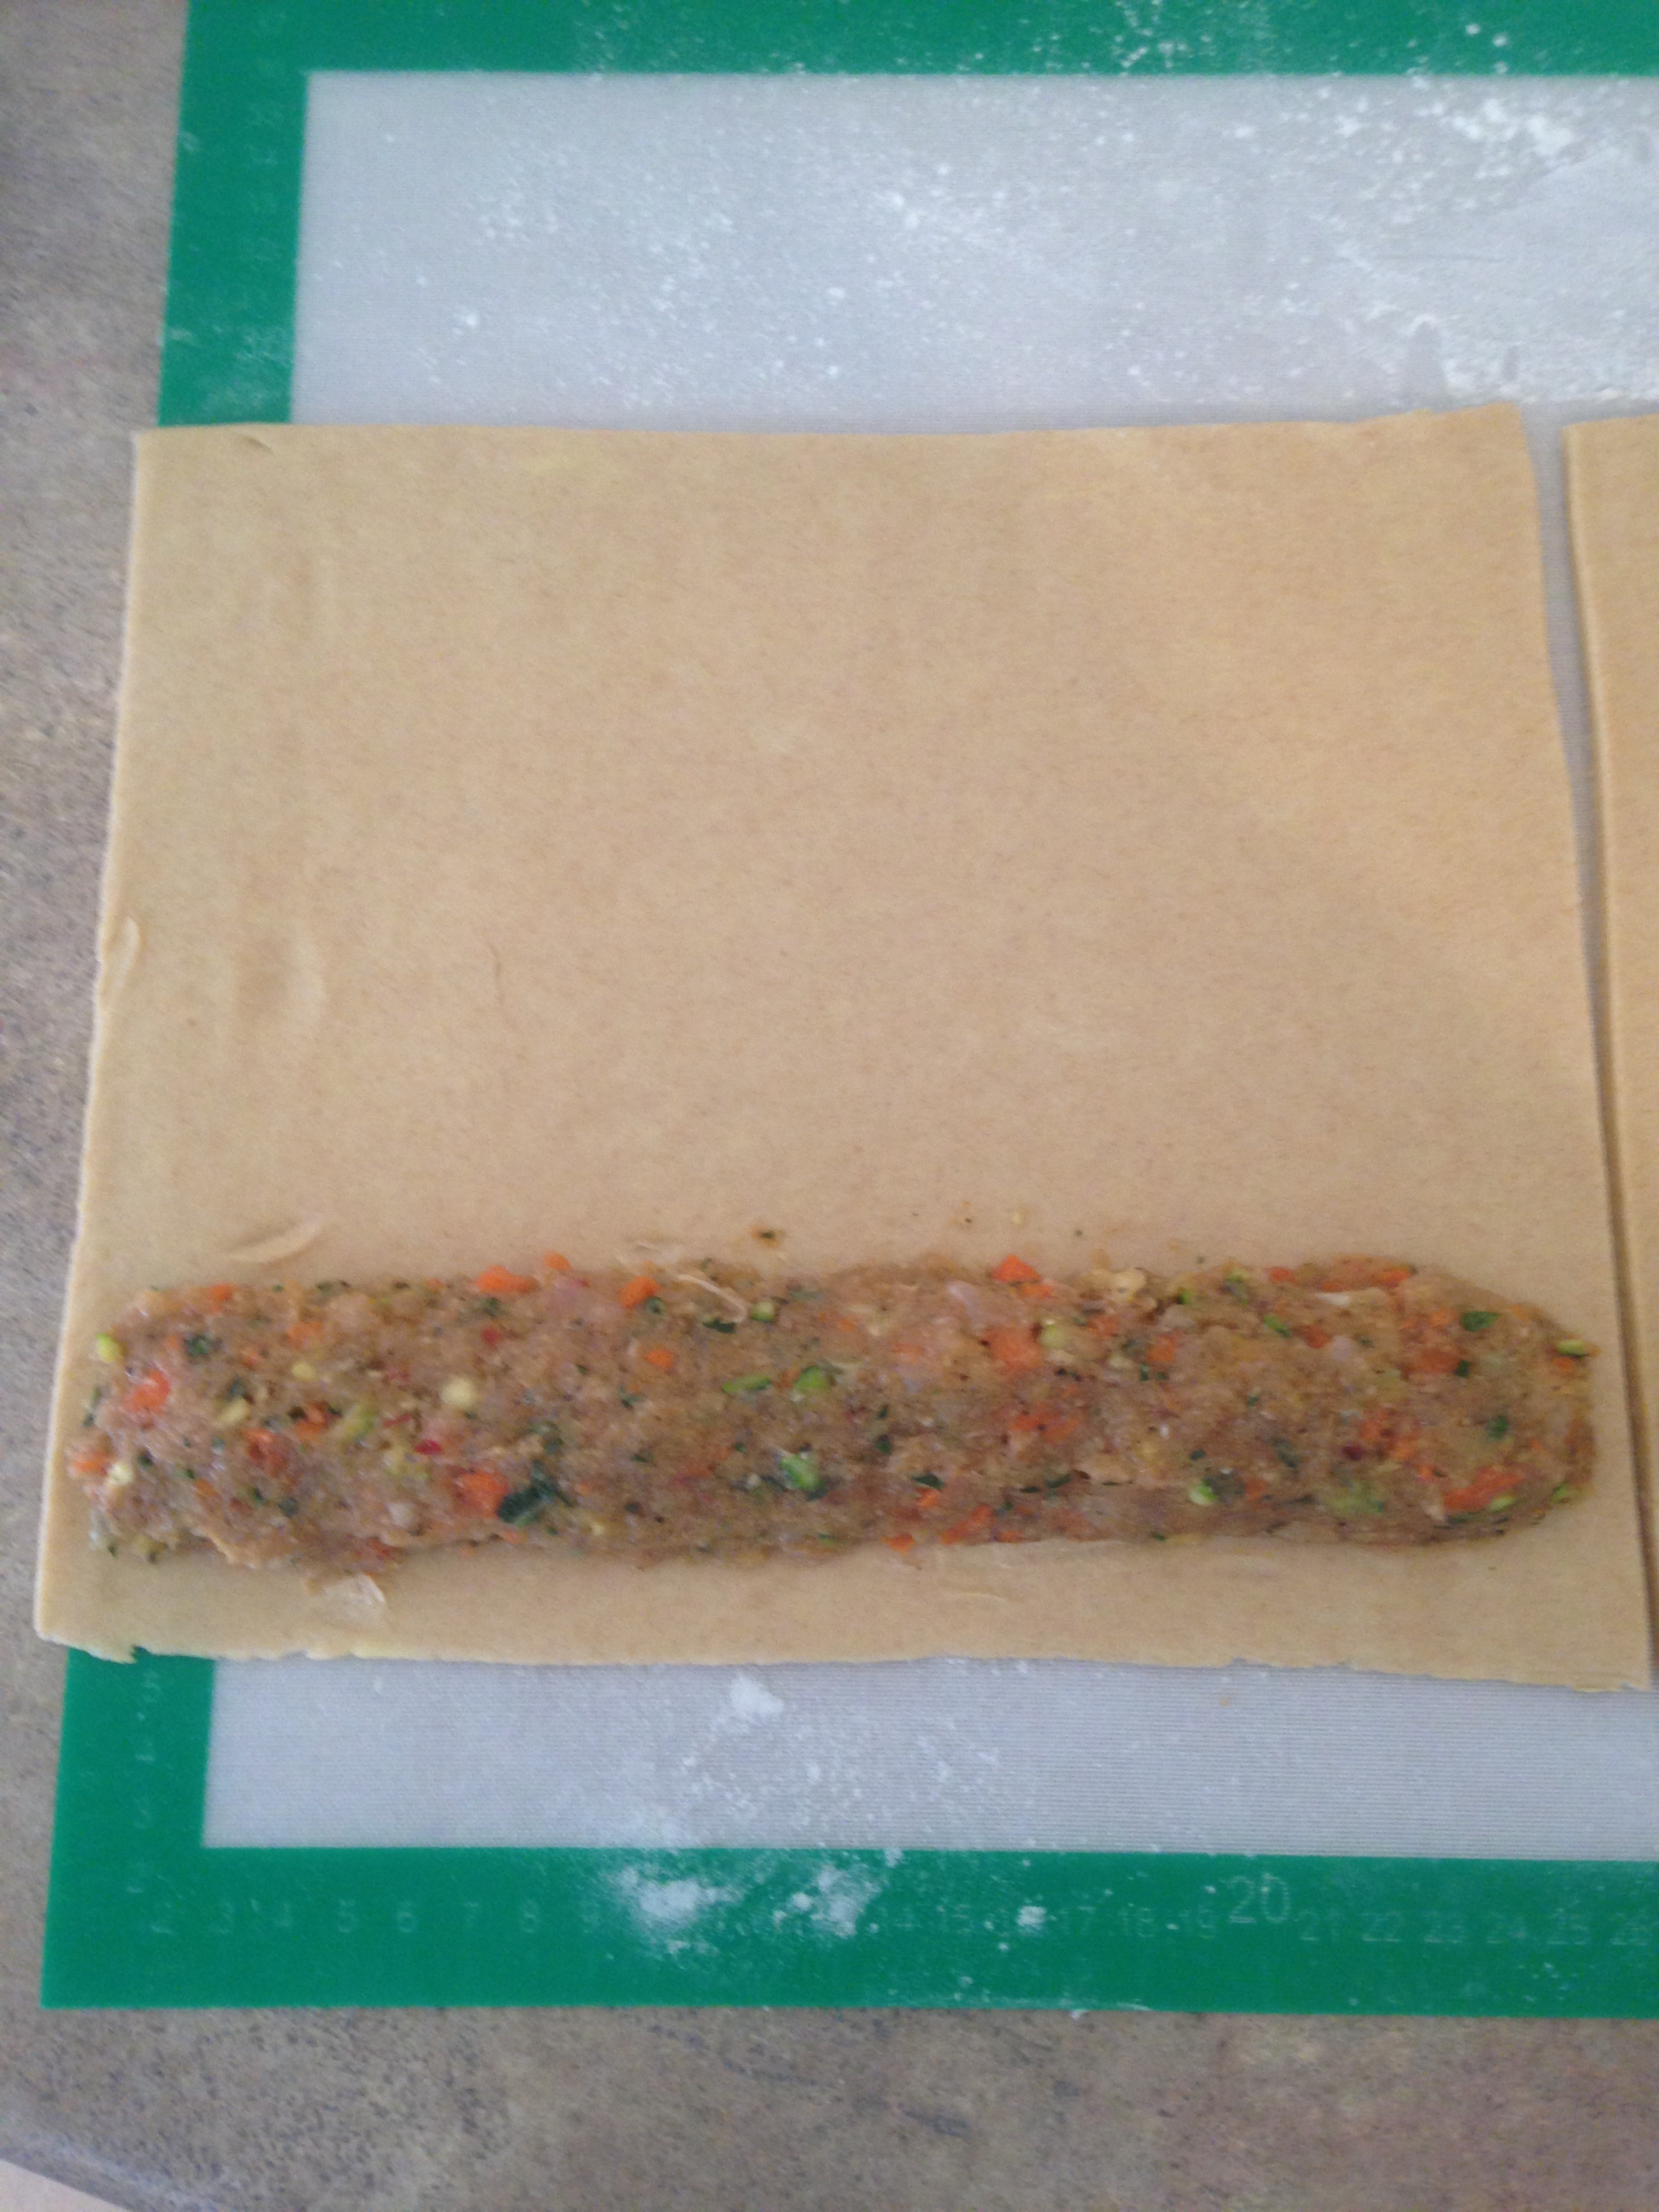
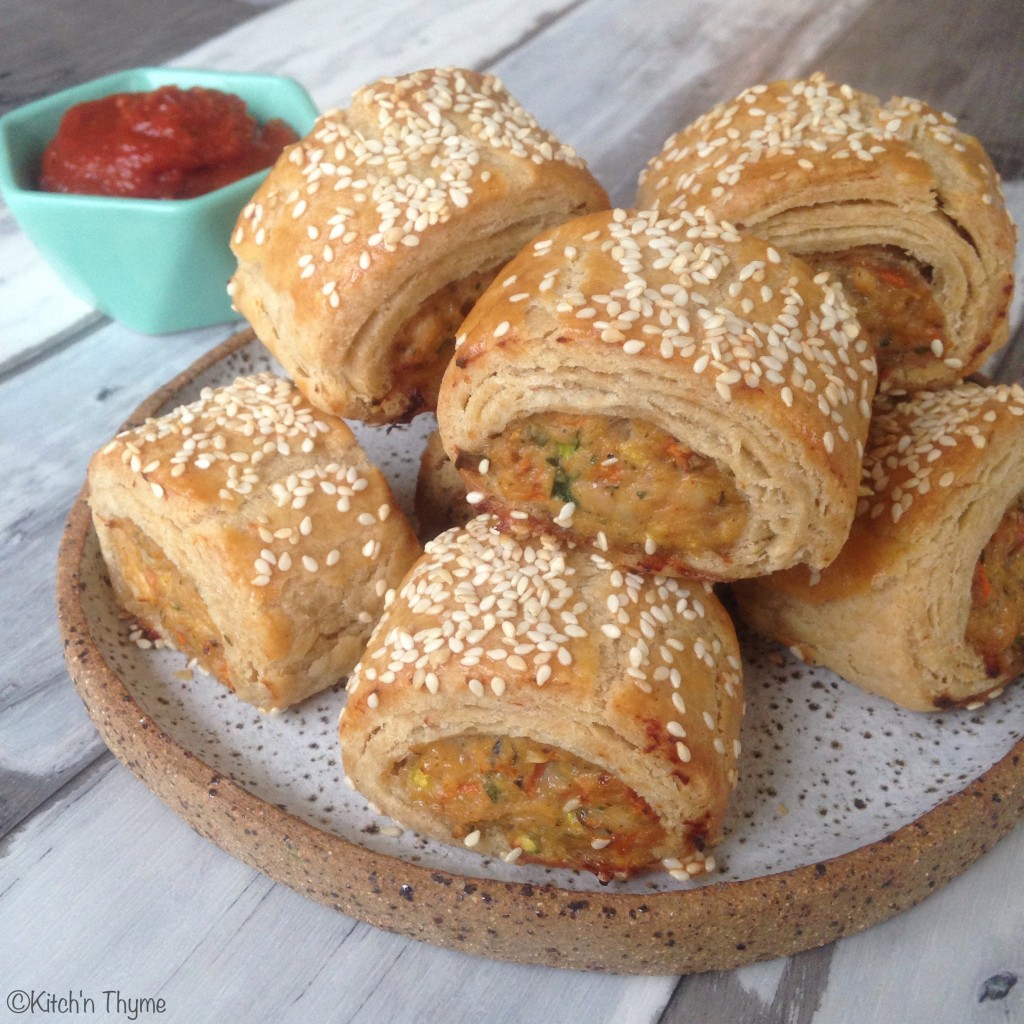


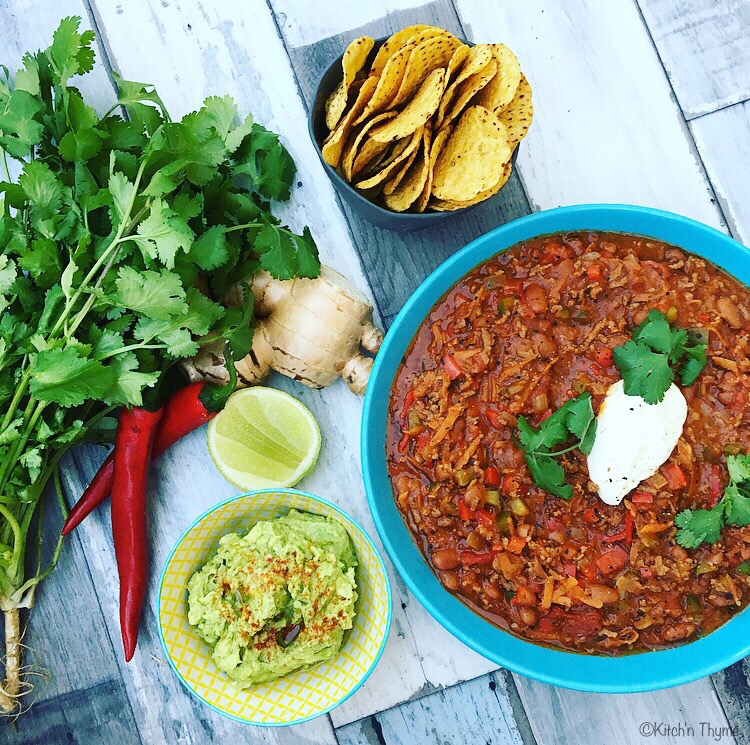 This dish brings back many memoires for me! Growing up, my mum used to make a delicious vegetarian version. It was such a staple in our house and one that I remember fondly!