Basil Pesto

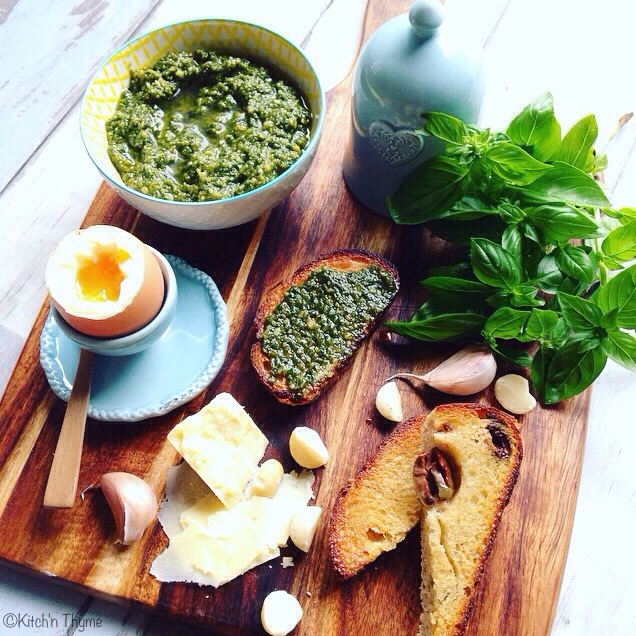
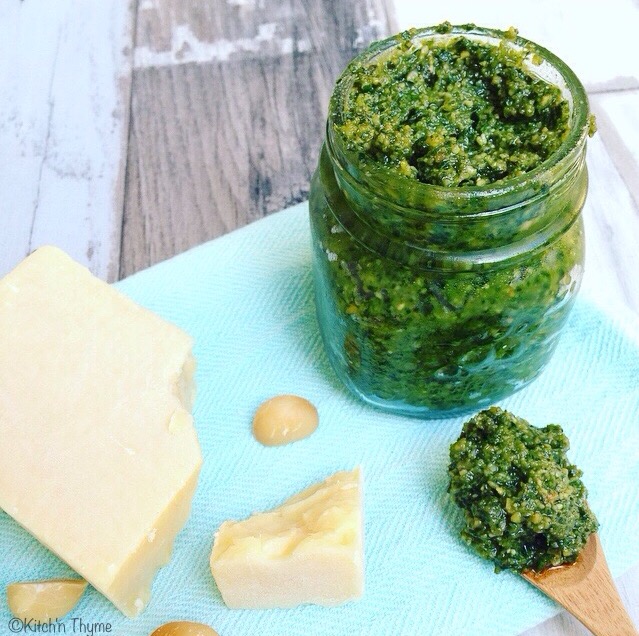
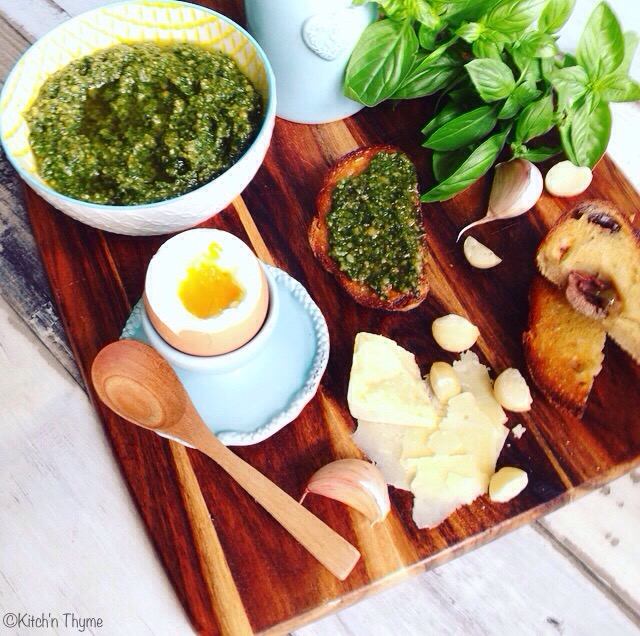
Basil PestoThis Basil Pesto is delicious!!!!! I developed this one back when I was studying as a chef.

I’ve always added Italian Parsley to my pesto as it oxides quite a lot slower than basil and keeps for a really brilliant vibrant green pesto. And plus I really love the flavour dimension that the parsley adds.

Basil Pesto 3

Basil & Parsley are really high in Vitamin K along with many other vitamins. Through their unique anti-oxidants, essential-oils, vitamins, phyto-sterols and other nutrient substances, they help equip our body to fight against germs, toxins and help to boost immunity level.

So what better way than to pack them into a super dense nutrient spread/sauce!

I choose macadamias and pine nuts! They mix gives a really delicious flavour. You could use brazil or cashew nuts too.

bAsil Pesto 2

To make it dairy free and completely paleo just omit the parmesan. You will still have a beautiful pesto.

Basil Pesto
Yields 500
Delicious moreish pesto that has endless uses in my kitchen!
Write a review
Print
Prep Time
5 min
Total Time
7 min
Prep Time
5 min
Total Time
7 min
Ingredients
  1. 60g Parmesan Cheese
  2. 1 Clove Garlic
  3. 2 Large Bunches (100g) Basil
  4. 1 Bunch (20g) Italian Parsley
  5. 150g Pine Nuts
  6. 50g Macadamias
  7. 1 1/2 tsp Celtic Salt
  8. 100g Olive Oil
Instructions
  1. Preheat the oven to 180°C. Line a large baking tray with baking paper and roast the pine nuts and macadamias for approximately 10 minutes or until golden brown. Set aside to cool slightly.
  2. Place the parmesan into the Thermomix and mill 5 Sec/Speed 7.
  3. Add all the remaining ingredients and blend 8 Sec/Speed 7.
  4. Serve.
Notes
  1. This pesto will keep nicely in the fridge for up to a week. Just make sure you cover the top with extra olive oil.
  2. You can freeze this pesto too. I often make a batch and freeze the leftover into ice cube trays ready to pull out for different meals.
Kitch'n Thyme https://kitchnthyme.com.au/

Strawberry Tart

Strawberry Tart 3

This gorgeous tart came about recently as I had a lonely tub of creme fraiche in the fridge along with oodles of strawberries! I pretty quickly came up with this delicious tart of goodness! It’s really really easy to make. The most complicated part would be the pastry, but the filling is literally a 15 sec whiz together!

Crème fraiche is quite similar to sour cream, however it has a higher fat content than sour cream and doesn’t split like sour cream when boiled. It has a lovely nutty type flavour and is also good for whipping.

Together the creme fraiche with a block of cream cheese really does make the perfect filling!

I make my spelt shortcrust for this tart, and it really is delightful.
Strawberry Tart

I just love the look of the candied lemon zest on the top! It really looks so yummy! And it takes 5 minutes! Terrific! Just one of the reasons why I love my Thermomix! You could opt for lime zest on the top too!

Strawberry Tart 4

You could use strawberries interchangeably with raspberries and or blueberries! Yum!

To make it dairy free you could even use coconut yoghurt or whipped coconut cream perhaps too.

Strawberry Tart
Serves 8
This delicious tart is the perfect recipe for lapping up the strawberry season!
Write a review
Print
SHORTCRUST PASTRY
  1. 50g Raw or Rapadura Sugar
  2. 1/4 Lemon rind
  3. 100g Wholemeal Spelt Flour
  4. 100g White Spelt Flour
  5. 100g Organic Butter, cubed & chilled
  6. 1 Egg
  7. 1/2 tsp Vanilla Essence
FILLING
  1. 250g Cream Cheese
  2. 200g Crème Fraiche
  3. 60ml Maple Syrup or Honey
  4. 1 tsp Vanilla Essence
  5. 1/2 Lemon, zested
  6. 500g Fresh Strawberries, hulled
CANDIED LEMON ZEST
  1. 1/2 Lemon
  2. 2 Tbsp Honey
  3. 1 Tbsp Water
SHORTCRUST PASTRY
  1. Place the sugar and the lemon rind into the Thermomix bowl. Mill 10 sec/Speed 9. Add the flour and butter and process for 10 sec/speed 6 or until the mixture resembles breadcrumbs. Add the egg and vanilla and knead 10-20 seconds or until the dough just comes together.
  2. Using the Thermomat or a lightly floured surface bring the dough together to form a ball. Flatten & wrap the dough in cling film and place in the fridge for 30 mins to rest. Preheat the oven to 180°C.
  3. Roll pastry, using a rolling pin, on a lightly floured surface, to be 3mm thick and use to line the base and sides of a large rectangular tart shell.
  4. Prick the base with a fork then place back into the fridge for 30 minutes to chill.
  5. Line the tart case with a rectangular shaped piece of baking paper and fill the case with pie weights. Blind bake for 15 minutes. Remove the pie weights and bake for another 5-10 minutes until pale golden.
  6. Allow to cool before taking the pie weights out of the case. Set aside until ready to use.
FILLING
  1. Place all the ingredients into the Thermomix and mix 15 Sec/Speed 4. Scrape down the sides of the bowl and mix a further 10 Sec/Speed 4 or until the mixture is smooth and well combined.
  2. Pour into the prepared tart case and top with the whole strawberries.
CANDIED LEMON ZEST
  1. Remove zest from lemons with a vegetable peeler, keeping pieces long. Remove any white pith using a paring knife then cut into a fine julienne using a very sharp knife.
  2. Place the honey, water and lemon peel into the Thermomix and cook 5 Mins/100°/Speed 2.
  3. Take the candied lemon zest out of the syrup and set aside.
  4. Using a pastry brush, brush the strawberries on the top of the tart with the syrup to glaze them nicely, then top with the candied lemon zest.
  5. Cut into pieces and serve!
Kitch'n Thyme https://kitchnthyme.com.au/

Berry & Coconut Panna Cotta Verrines w Hazelnut Crumb

Panna Cottas
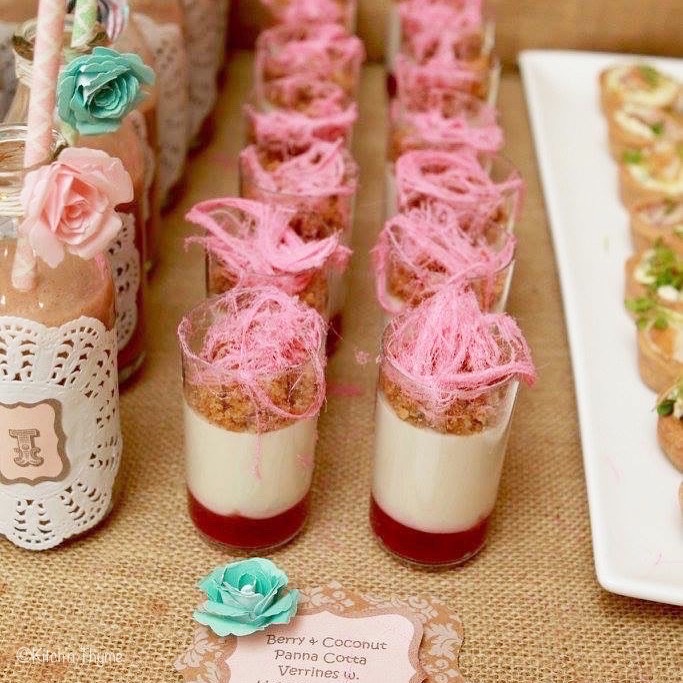
These little delights went so well on the table for my daughters Vintage Rose 1st Birthday! They looked so pretty and elegant! I think anything with layers, always looks so attractive and inviting!

Here they are on the table! Don’t they just look so pretty as part of the setup! 1 - Table stuff

I love to party plan and come up with cute ideas for decorations and of course food! If you are being careful of sugar on the table, then leave the fairy floss off and top the crumb with pretty little violets or other edible flowers.

The easiest way to get the layers even, especially the panna cotta, in all the cups is to pop a tray securely on top of your TM lid with your verrines or cups on that. Bring up your scales and using a jug that pours easily, pour the filling straight in to the cups for precise measurements.

Berry & Coconut Panna Cotta w Hazelnut Crumb
Yields 25
Dairy Free smooth and creamy Panna Cottas with Berry Compote and Hazelnut Crumb! Yummo!
Write a review
Print
Berry Compote
  1. 250g Strawberries, fresh or frozen
  2. 250g Raspberries, fresh or frozen
  3. 2 Tbsp Maple Syrup
  4. 1 Tbsp Lemon Juice
  5. 1 tsp Vanilla Essence
Panna Cotta
  1. 1 Litre Organic Coconut Milk
  2. 1 Tbsp Gelatin (grass fed, unflavoured)
  3. 120g Honey or Maple Syrup
  4. 2 tsp Vanilla Essence
Hazelnut Crumb
  1. 40g Roasted Hazelnuts, roughly chopped
  2. 100g Wholemeal Spelt Flour
  3. 50g Rapadura Sugar
  4. 1/2 tsp Baking Powder (Aluminium Free)
  5. 100g Organic Butter, cubed & chilled
  6. 40g Desiccated Coconut
  7. 1 tsp ground Cinnamon
  8. 50g Pink Persian Fairy Floss
  9. 24 x 75ml Verrines/glasses/containers
Instructions
  1. Place all the compote ingredients into the Thermomix with the simmering basket on top of lid in place of MC and cook 20-25 Mins/100°/Speed 1/Reverse, or until becoming thickened and somewhat jammy. Pour about 2 tsp into each verrine and place in the fridge for 30 minutes to set.
  2. Place a small bowl on top of the TM lid and weigh 125g of the coconut milk into it. Sprinkle the gelatin on top and set aside to soften. (There is no need to stir, just leave it to bloom and absorb the liquid.)
  3. Place the remaining coconut milk, honey and vanilla into the Thermomix bowl and cook 10 Mins/80°/Speed 3.
  4. Add the softened gelatin and stir 3 Mins/80°/Speed 3 to dissolve.
  5. Pour approximately 2 Tbsp (40ml) into each verrine and place back into the fridge to set for 2-3 hours.
  6. To make the crumb, preheat the oven to 180°C and line a large baking tray with baking paper.
  7. Place the hazelnuts into the Thermomix and chop 15 Sec/Speed 4. Set aside.
  8. Place the flour, sugar, baking powder and butter into the Thermomix and process 10 sec/speed 6 or until the mixture just resembles breadcrumbs. Add the coconut and cinnamon and the chopped nuts and process 10 sec/speed 4/Reverse or until it just comes together.
  9. Roughly crumble over the prepared baking tray and bake for 25-30 mins or until golden brown.
  10. Remove from the oven and cool before placing into the Thermomix and crumbling 5-10 Sec/Speed 4. ( Don't over crumble it, some nice crunchy bits will add dimension of texture.)
  11. Top the set verrines with 1 Tbsp crumbs and just before serving place fluffy handfuls of Persian fairy floss on top!
Notes
  1. I used 75ml Verrines here, however you could use cups or glasses.
  2. Be careful you don't put the fairy floss on too far out from serving as the moisture in the air will cause it to deflate and go sticky.
Kitch'n Thyme https://kitchnthyme.com.au/

Spice Roasted Mixed Nuts

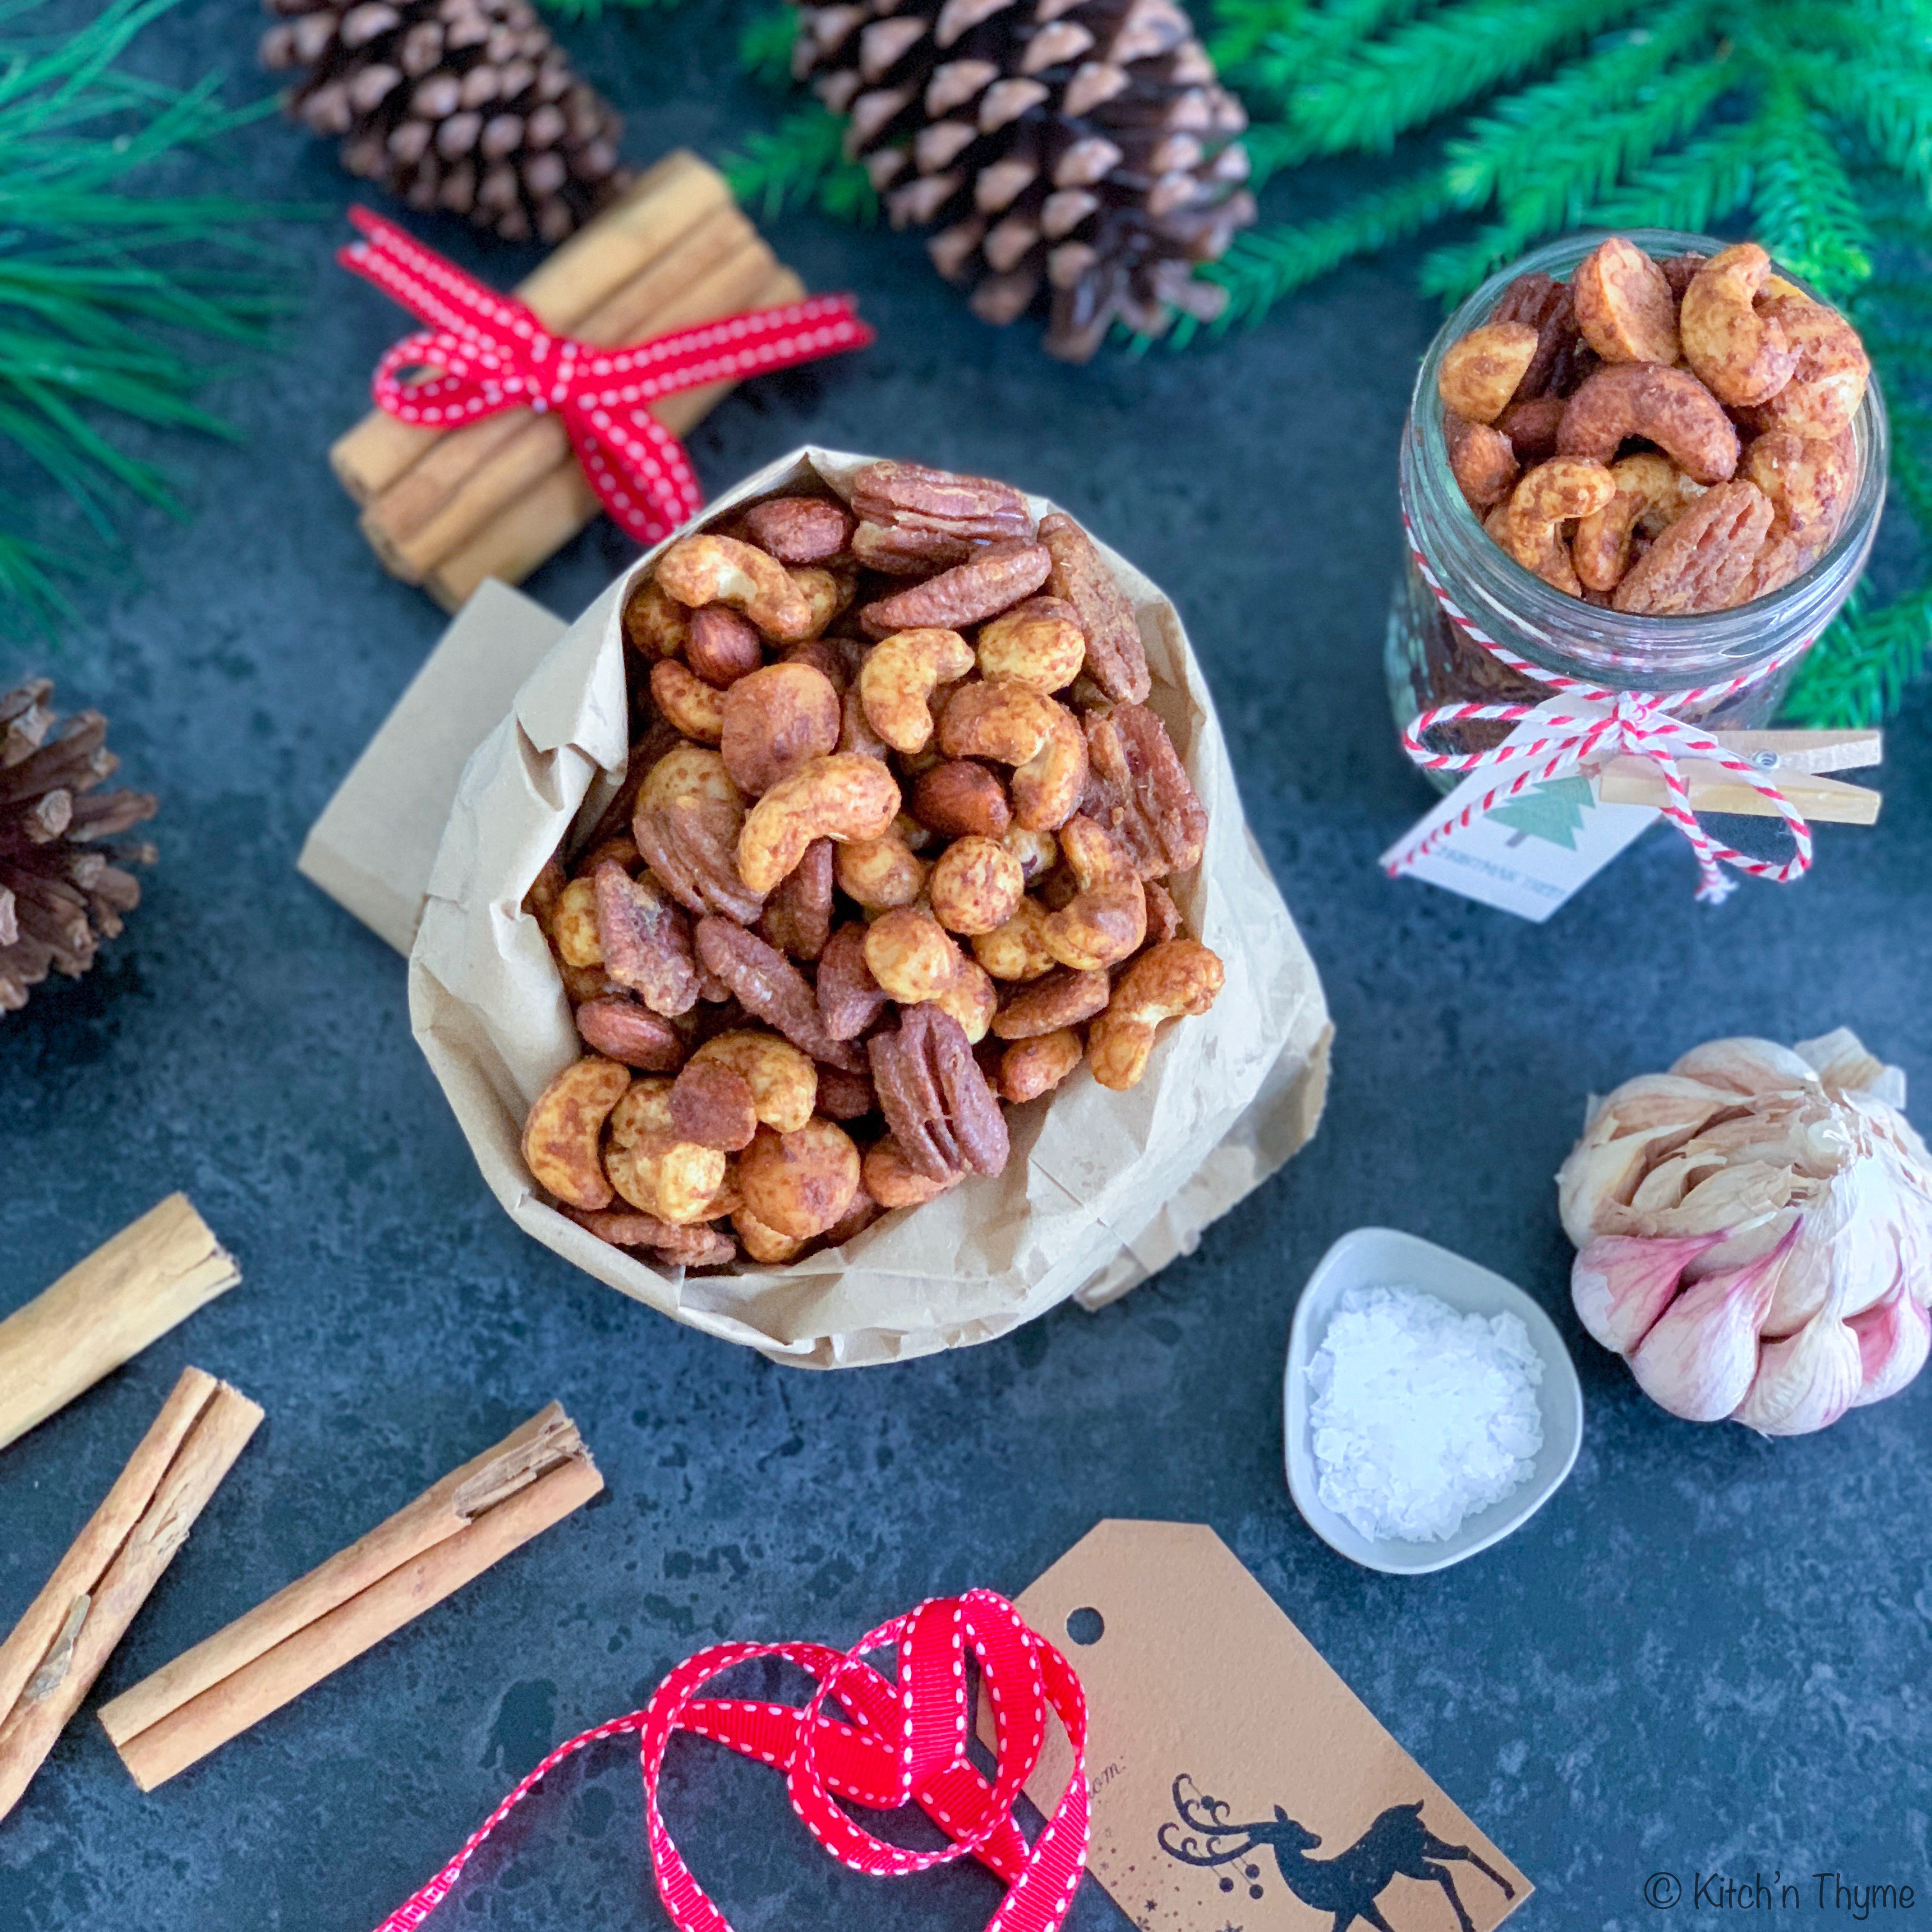
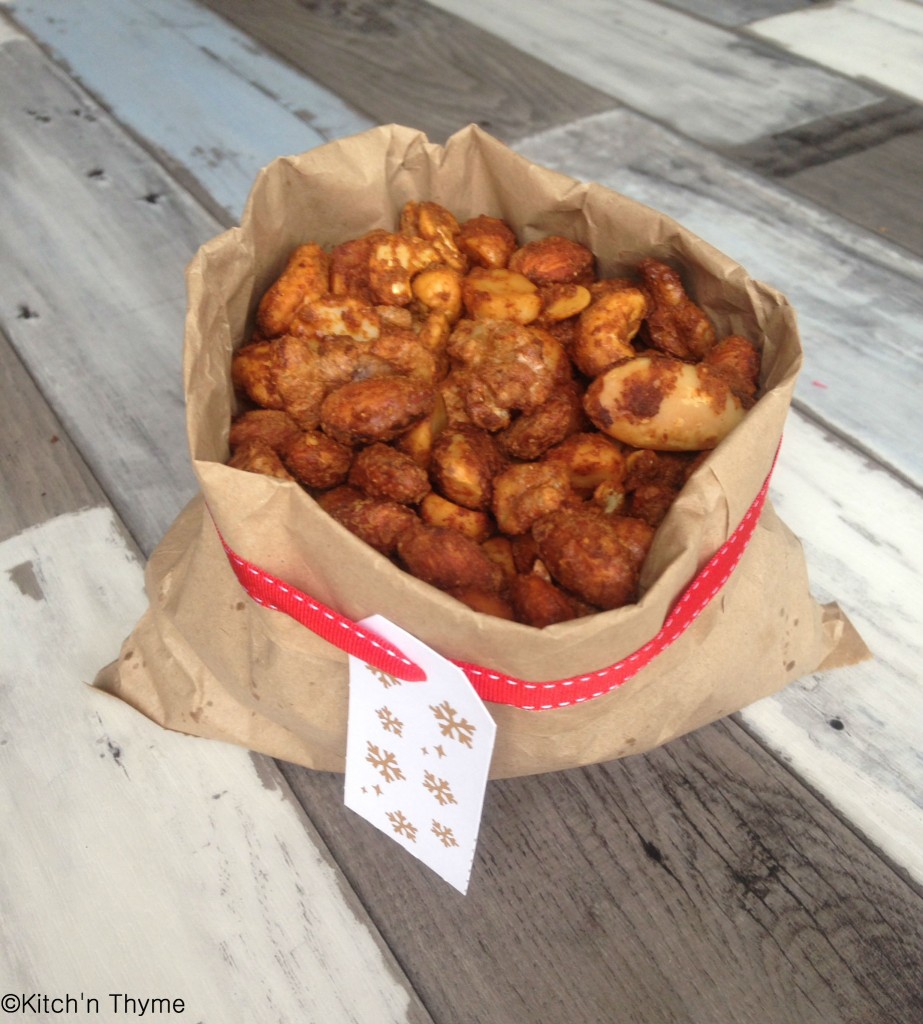
I’ve been making these little gems for years now! These gorgeous nuts are just so more-ish!! Once you eat a couple you can’t help but go back for a whole handful! You won’t ever need to buy those flavoured nuts in the supermarket again!

They make gorgeous little gifts in little glass jars with ribbons wrapped around, or just served as an hors de oeuvre at any big gathering or celebration! Or perhaps the perfect side to when you have people over for celebratory drinks! You’

I use a range of different nuts! Whatever you have in the cupboard will work, but I do find some of the nicest are macadamias, cashew, almonds, walnuts, pecans etc. I will say that I don’t usually buy the packets of ‘mixed nuts’ though as the walnuts, pecans and hazelnuts all seem to go rancid quicker than cashews and macadamias do, so they tend to stale the whole packet! Instead, I buy my nuts in bulk and keep them in the fridge or freezer to extend their shelf life. 

You’ll notice I use egg white and you might be wondering why! Well it’s because the egg white helps all the spices stick nicely to the nuts and not fall off! Genius really!!

I do use some coconut or rapadura sugar. This isn’t necessary but it does add a nice sweetness and balance of flavour. If you are avoiding sugars just leave it out. 

Spicy Roasted Mixed Nuts
Delicious golden crunchy spicy bites!
Write a review
Print
Prep Time
5 min
Cook Time
15 min
Total Time
20 min
Prep Time
5 min
Cook Time
15 min
Total Time
20 min
Ingredients
  1. 1 Eggwhite
  2. 20g Rapadura or Coconut Sugar
  3. 2 tsp Cumin
  4. 1 tsp Coriander
  5. 2 tsp Garlic Powder
  6. 2 tsp Onion Powder
  7. 1 tsp Paprika
  8. Sprinkle of Cinnamon
  9. 1/2 tsp Celtic Sea Salt
  10. 2 tsp Tamari (optional)
  11. 1-2 Tbsp Olive Oil
  12. 125g Macadamias
  13. 125g Cashews
  14. 125g Almonds
  15. 125g Walnuts
  16. 125g Pecans
  17. 125g Hazelnuts
Instructions
  1. Line a large baking tray with baking paper and pre-heat the oven to 180º.
  2. Place the egg white in the Thermomix. Add the butterfly and whip 40 Sec/Speed 4 or just until soft peaks form.
  3. Add sugar, spices, salt, tamari, and oil and mix with the butterfly still in 3 Sec/Speed 3.
  4. Leave the butterfly in and add the nuts and mix 10 Sec/Speed 1.5/Reverse.
  5. Place evenly on the baking trays and roast for 15 minutes at 180º, stirring occasionally throughout the cooking process.
  6. Once cooled store in an airtight container.
Kitch'n Thyme https://kitchnthyme.com.au/

Healthy Honey Marshmallows

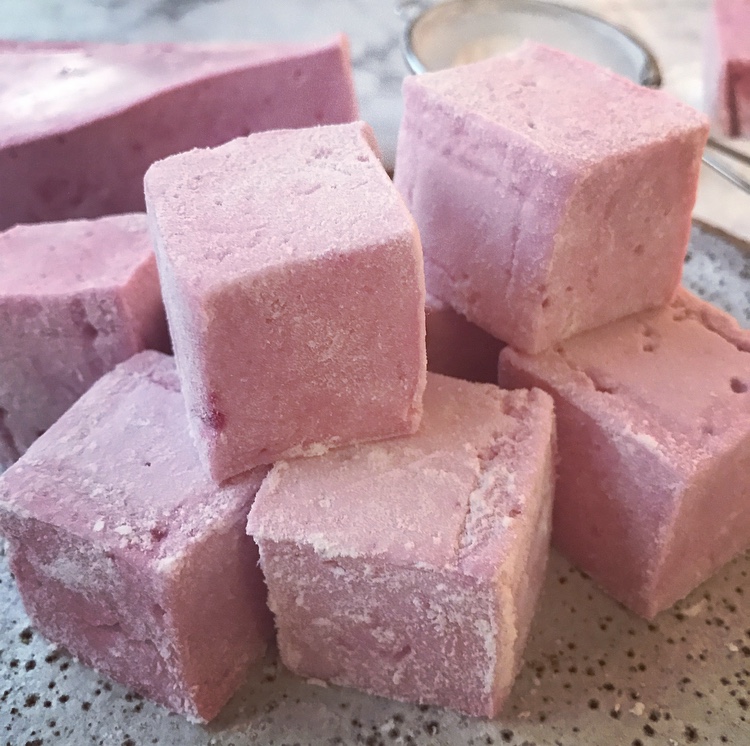
Just LOOK at this colour!!!! It’s NATURAL!!!! Amazing right!!!?????

Using the gorgeous Unicorn Superfoods powders makes it SO easy to create these super fun colours with no nasties attached but rather adding health benefits!! Blue SPIRULINA helps to increase energy and metabolism, boosts immunity and may even improve digestion. Pink PATAYA or DRAGONFRUIT is high in fiber, rich in antioxidants and promotes a healthy gut whilst nourishing hair and skin! You can use Beetroot powder which I have done in the past, but I find the pink pataya gives a more vibrant colour! I love a treat that also has some nutritional benefit to it! Don’t you?!!

Using sustainably sourced gelatine, and honey over sugar, these marshmallows are a great option for a healthy treat, especially at Christmas! I used to use the Great Lakes Pure Protein Gelatin (from iHerb) but now I use a beautiful Australian Grass Fed Gelatin from Nutra Organics. It’s got a really mild aroma and works perfectly!
Gelatin is very beneficial for digestive issues, joint recovery, and helps to promote healthy skin, hair and nails.

Store bought varieties of marshmallows are full of preservatives, sugars, flavours and who knows what else! With these you can have peace of mind that you know exactly what has gone into them. Using honey is a much better option than sugar, however the benefits of raw honey are non existent once heated, and like any sweet treat, it still turns into sugar in the body. However, as part of a balanced diet, and for a special occasion, these are great! I feel good about my children eating something which is somewhat fortified with health benefiting ingredients at the same time as being a treat!


For treats like this, the Thermomix 5 is just brilliant for its accurate temperatures. How fantastic being able to heat it to exactly 120ºC without having to stand there over the stove with a candy thermometer! I get to walk away!

©Marshmallow 2

Play around with your own flavours and colours! How about these pretty Christmas colours! How gorgeous and festive would these look on the table for Christmas!…….And the exciting thing is that I have a delicious Healthy (Superfood enriched) Rocky Road recipe coming to you before Christmas!! Stay tuned!   
Healthy Marshmallows
Yields 50
Naturally coloured, fluffy, naturally sweetened marshmallows!
Write a review
Print
Prep Time
5 min
Cook Time
15 min
Total Time
20 min
Prep Time
5 min
Cook Time
15 min
Total Time
20 min
Ingredients
  1. 185ml Warm Water
  2. 260g Honey
  3. 3 Tbsp Gelatin (grass-fed, unflavoured)
  4. 1 tsp Vanilla Essence
  5. Coconut oil for cutting
Pink Colour
  1. 1 Tbsp Beetroot Juice or 1 tsp Beetroot Powder or 1 Tbsp Pink Dragonfruit Juice or 1 tsp Dragonfruit Powder
Green Colour
  1. 1 Tbsp Liquid Chlorophyll
Instructions
  1. Place 60ml of the water along with the honey into the Thermomix and cook 8-10 Mins/120º/Speed 2, and you may like to place the simmering basket on top of the lid to replace the MC for this step.(If you have a TM31 cook at Varoma temperature).
  2. Whilst that is cooking, combine the other 125ml of warm water with the gelatin in a small bowl. (The easiest way to do this is to rain the gelatine into the water in a steady stream whilst whisking in simultaneously with the other hand. The quicker you get the gelatine incorporated the easier it is.)
  3. When the honey mixture is cooked, let it cool to 70º.
  4. Then add the gelatin mix and stir 1 Min/Speed 2.
  5. Insert the butterfly and whip 10 Mins/Speed 4.
  6. In the last 30 seconds add the vanilla.
  7. Separate 2/3 of the mixture into 2 separate bowls (for colouring) and pour the remaining 1/3 (white colour) into a baking paper lined container to set.
Pink Marshmallows
  1. Powder Method: Stir in the beetroot or dragonfruit powder until well combined and desired colour is achieved. Then pour into a baking paper lined container to set.
  2. Juice Method: Place 1/4 of a small beetroot or dragonfruit into the Thermomix and blend 3 Sec/Speed 7. Scrape down the sides of the bowl and add 2 tsp water. (No need to add water if using the dragonfruit.) Give a quick whiz to combine, then strain the juice into a bowl. Add 1 Tbsp of the juice to the marshmallows and fold through. Then pour into a baking paper lined container to set.
Green Marshmallows
  1. Fold through the liquid chlorophyll and pour into a baking paper lined container to set.
  2. They will need at least 1-2 hours to set. (You can also pop them in the fridge if you need them to set quickly!)
  3. Once set, remove from containers and cut neatly into squares or cut into marshmallow rounds (using a well oiled small round pastry cutter).
  4. Toss in tapioca starch or cornflour for a traditional look. Don't be tempted to roll them in icing sugar. They sweat and become far too wet!
  5. Store in an airtight container for 3-5 days.
Kitch'n Thyme https://kitchnthyme.com.au/